After downloading, open the APK file on your device and follow the installation instructions. You may need to allow installation from unknown sources in your settings.
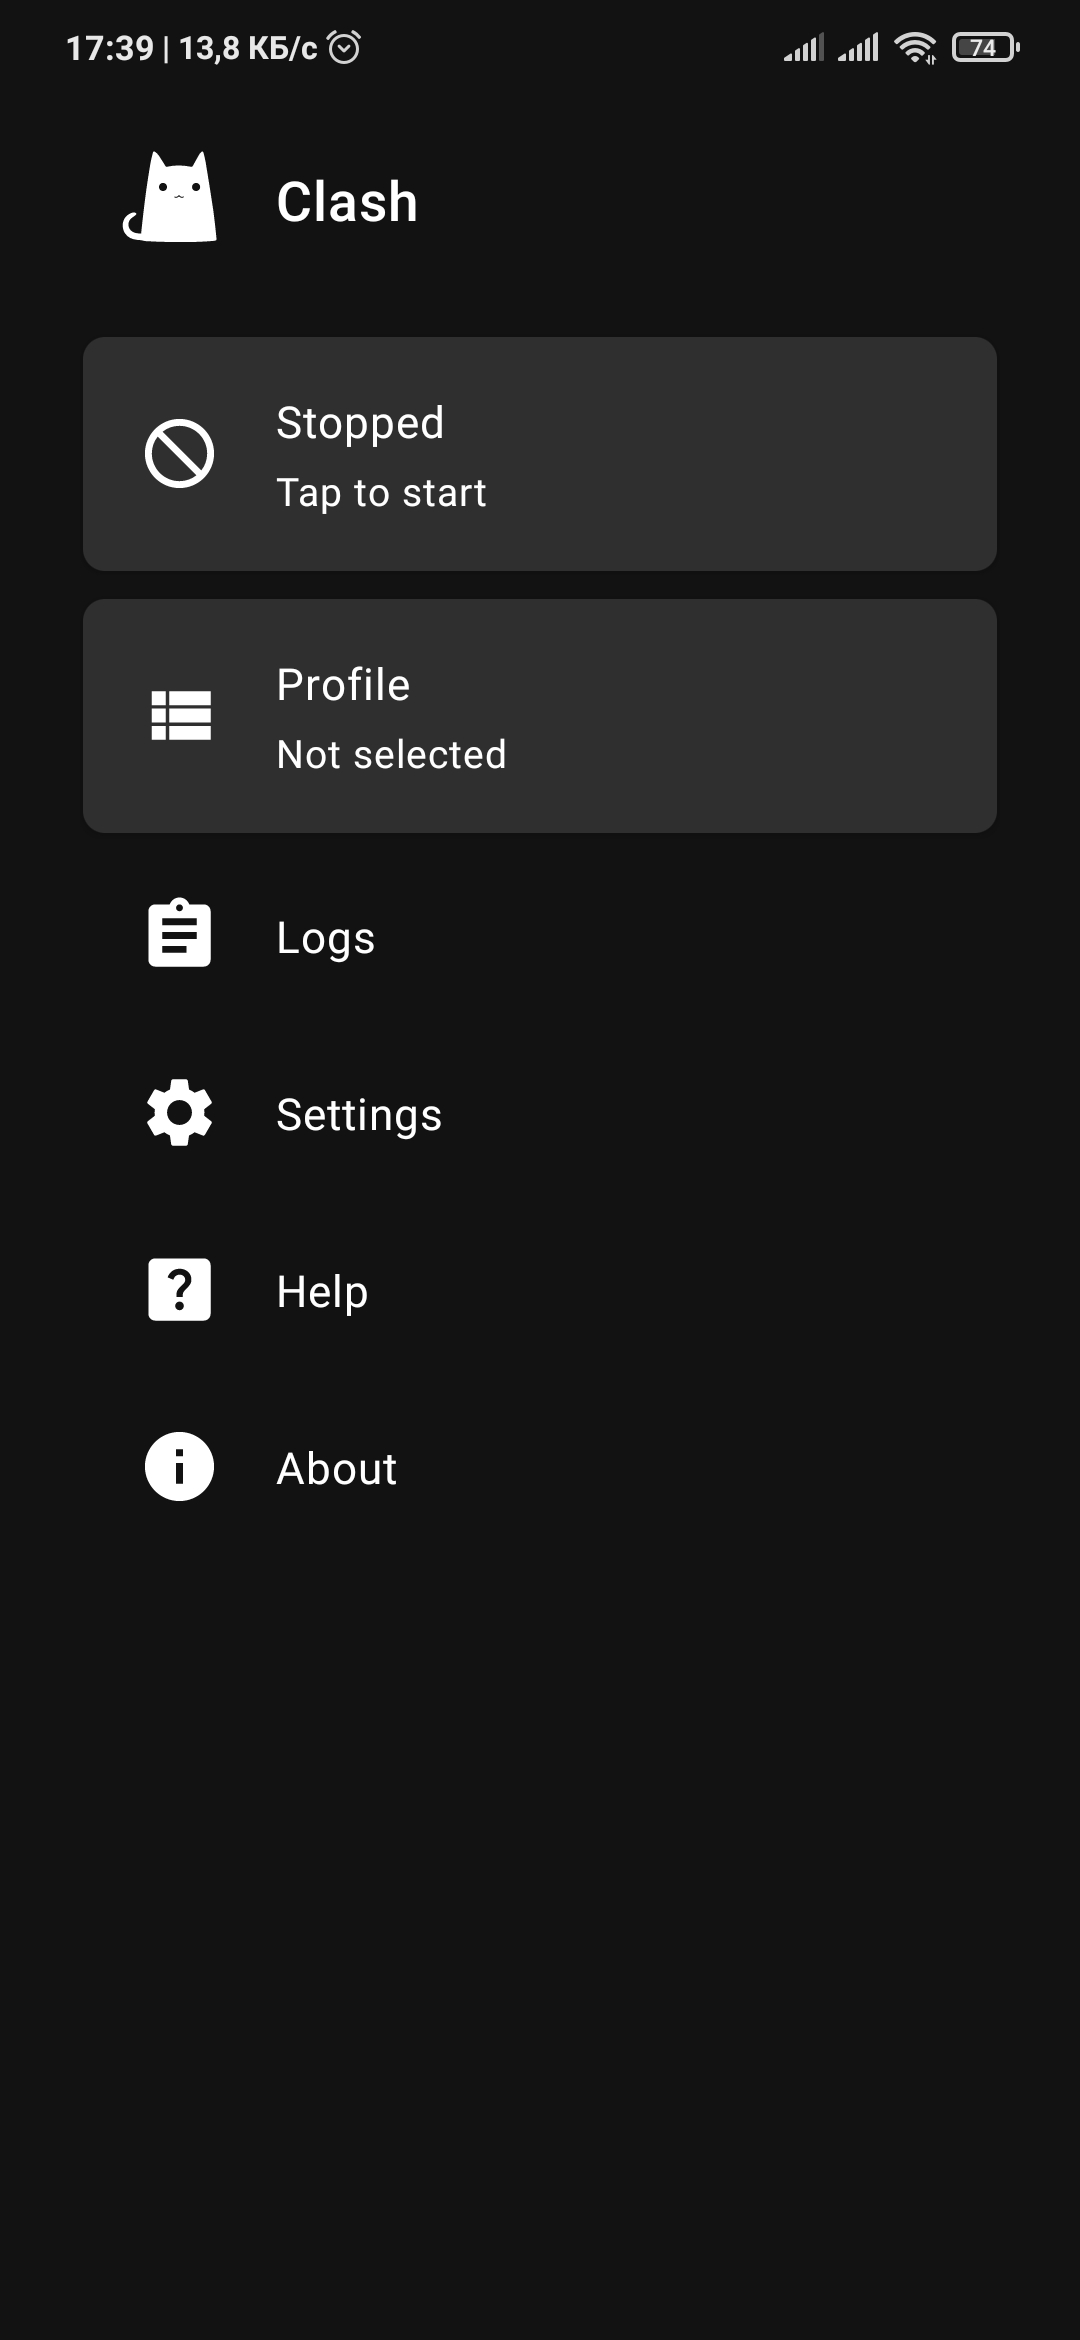
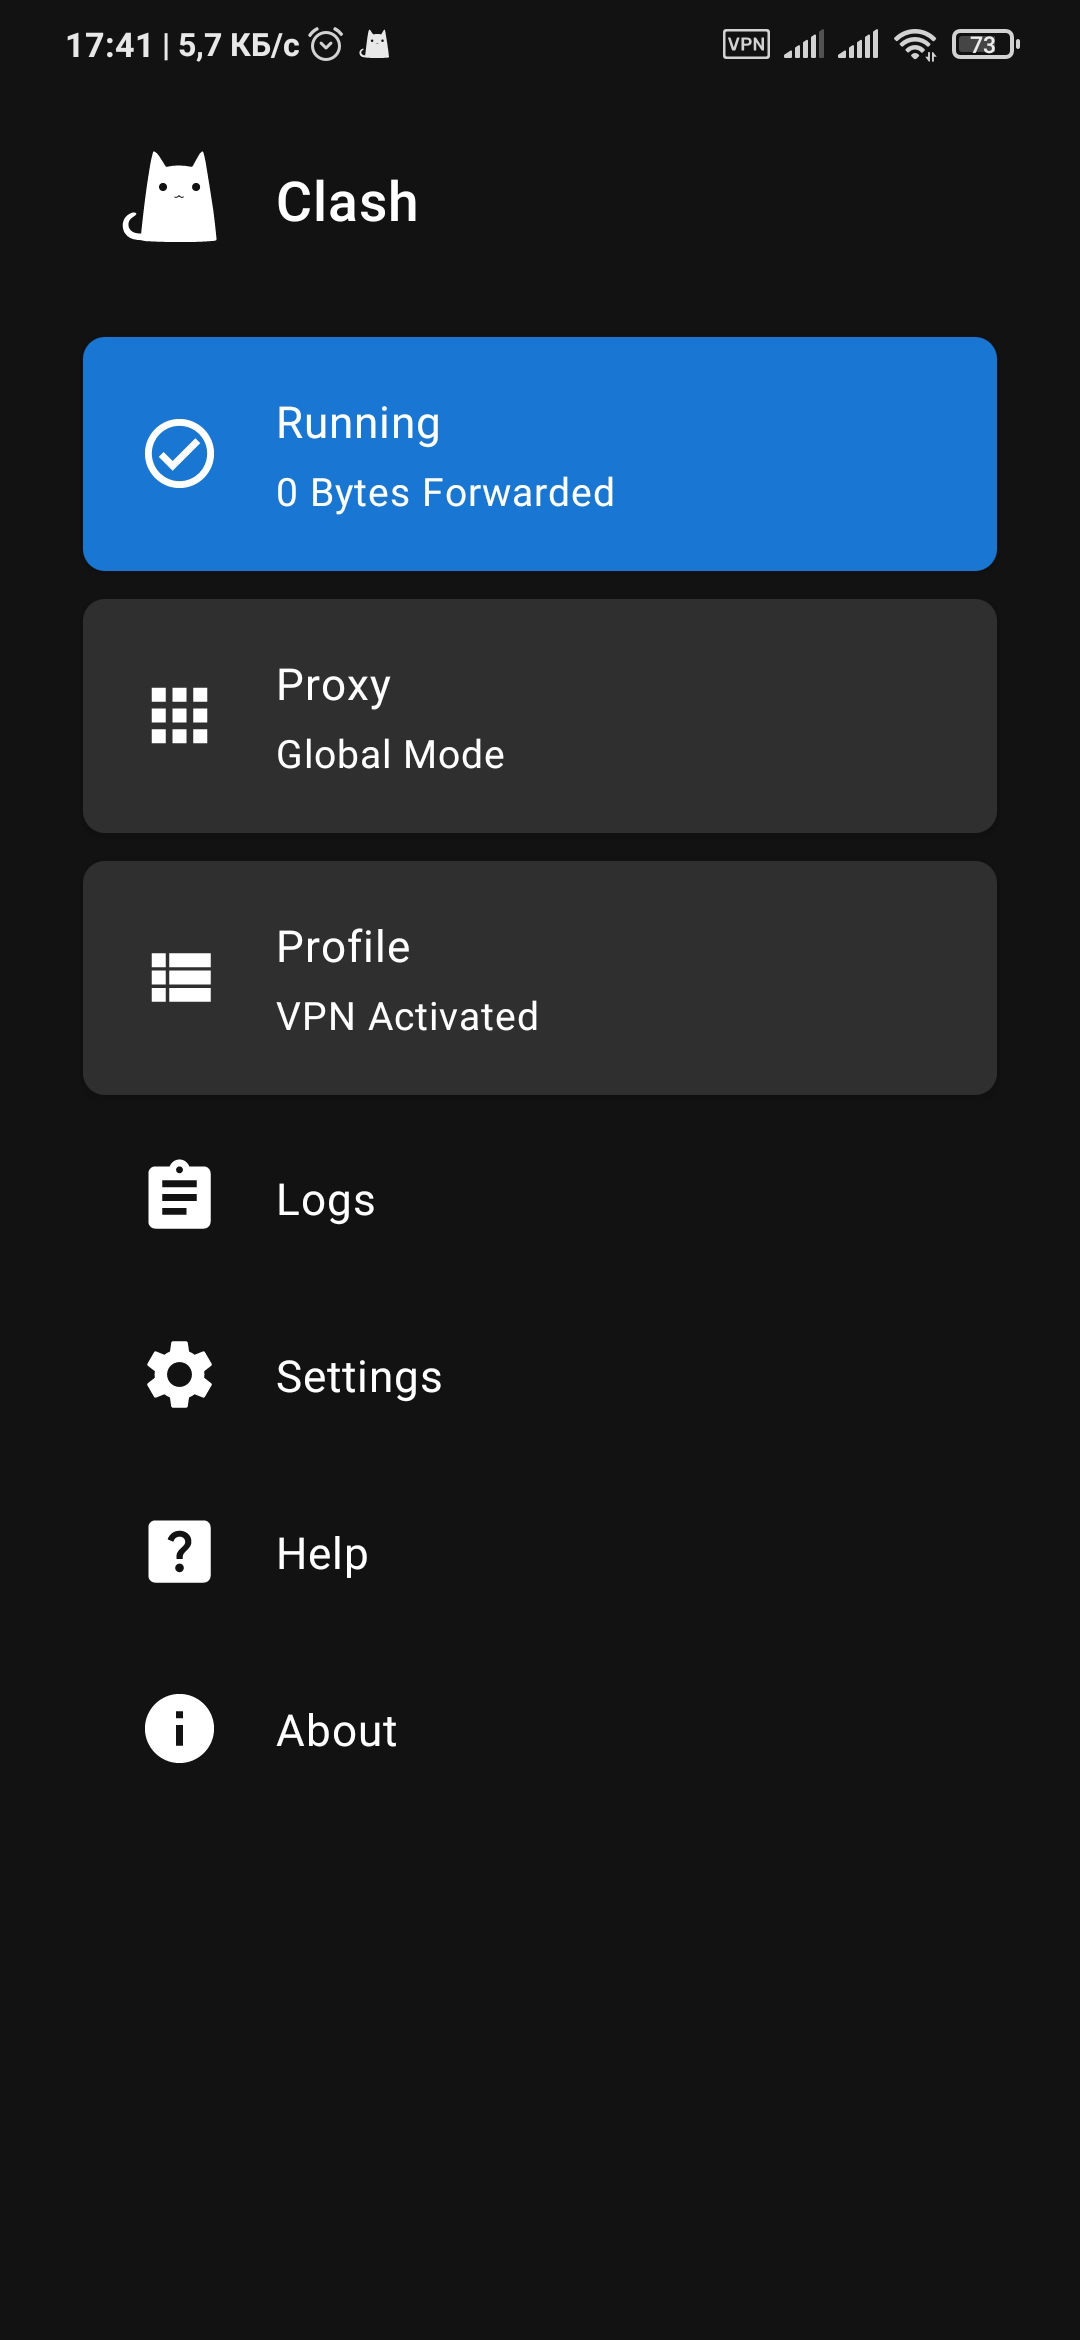
Launch the Clash for Android application:
Clash for Android application interface
Go to the Profile section to import your subscription:
Profile section in the Clash for Android application
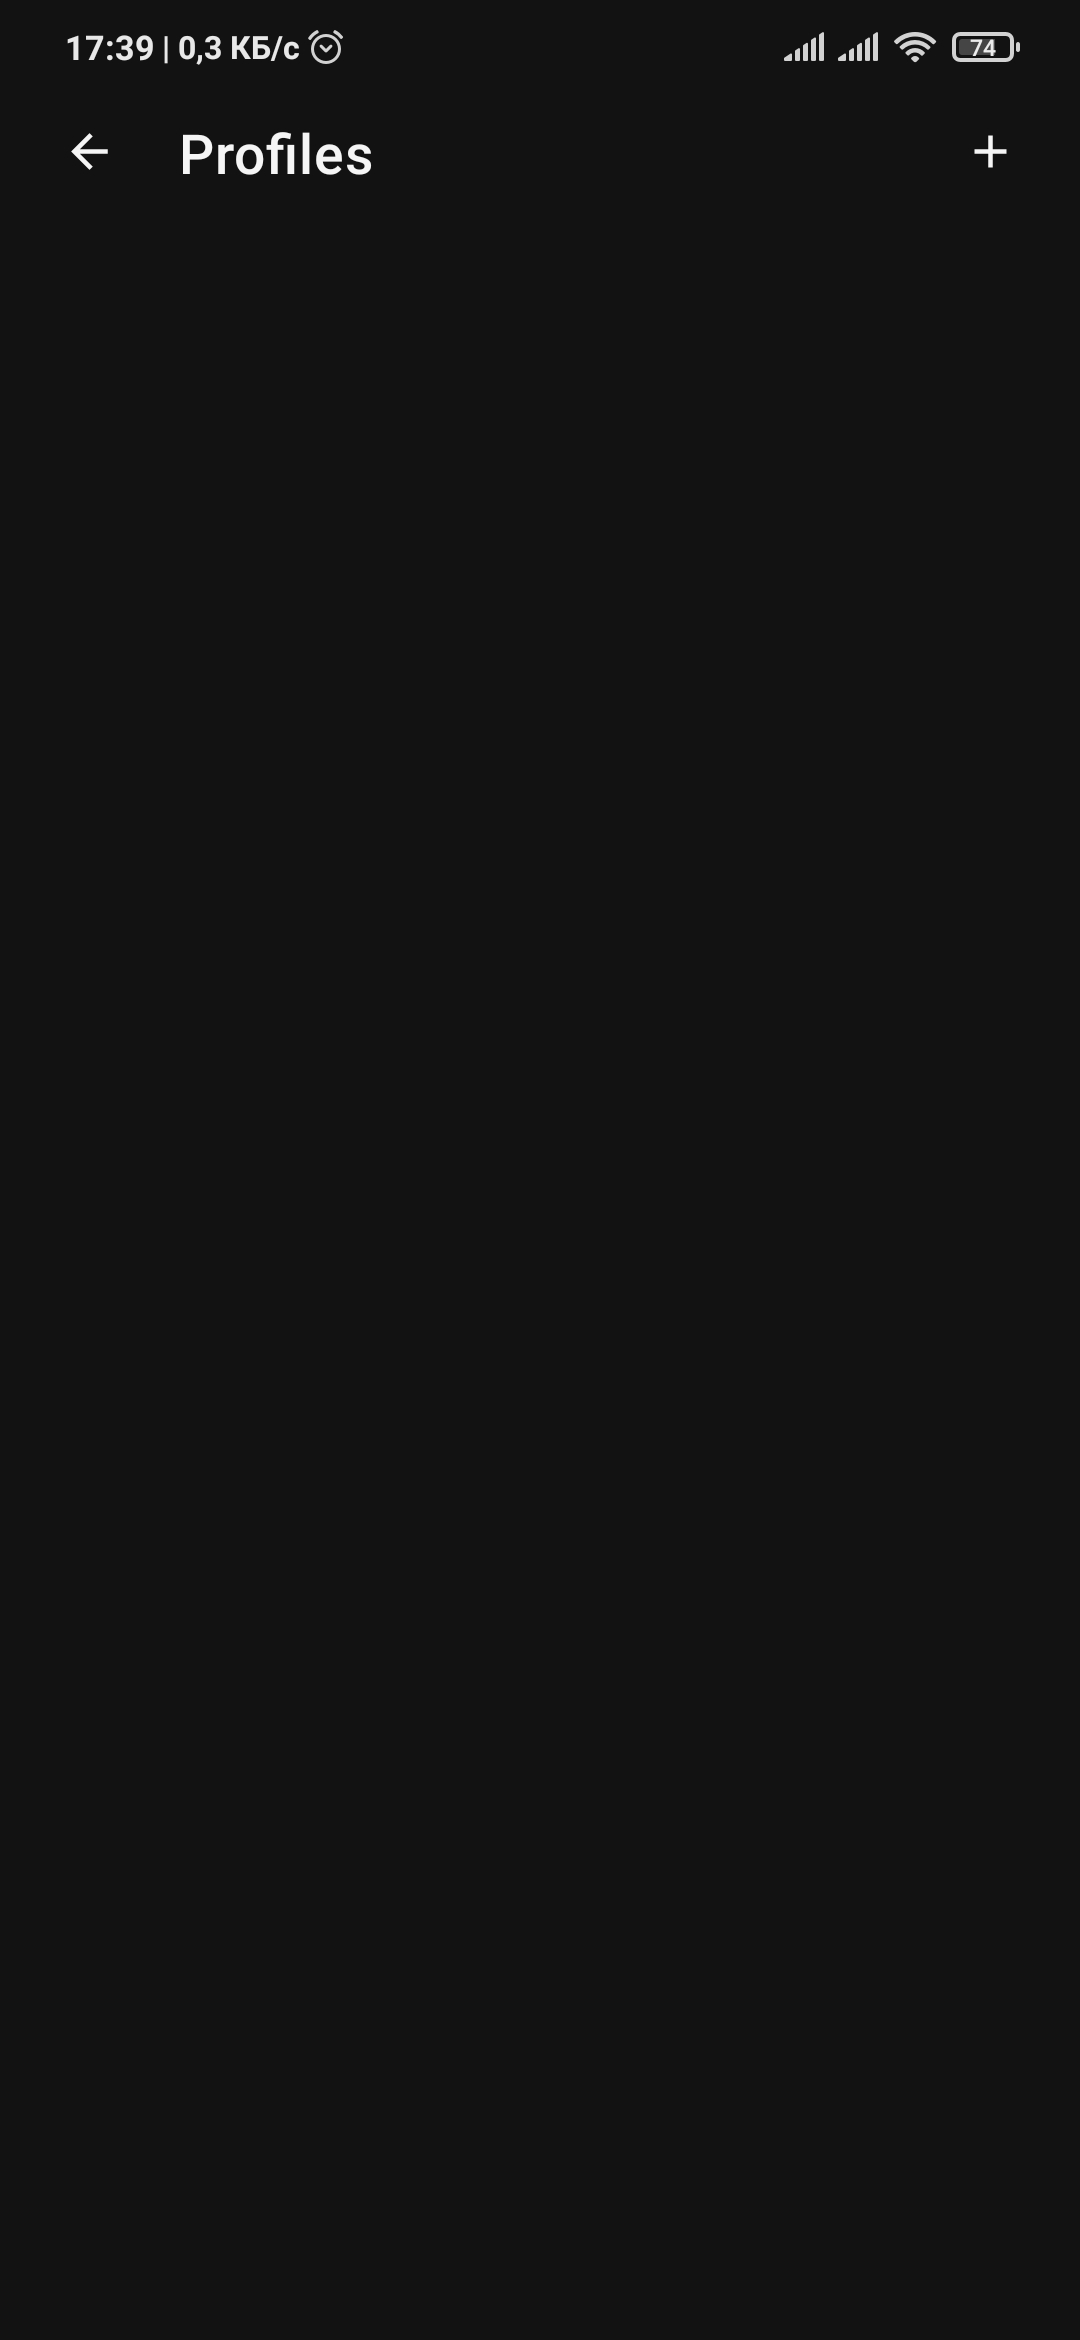
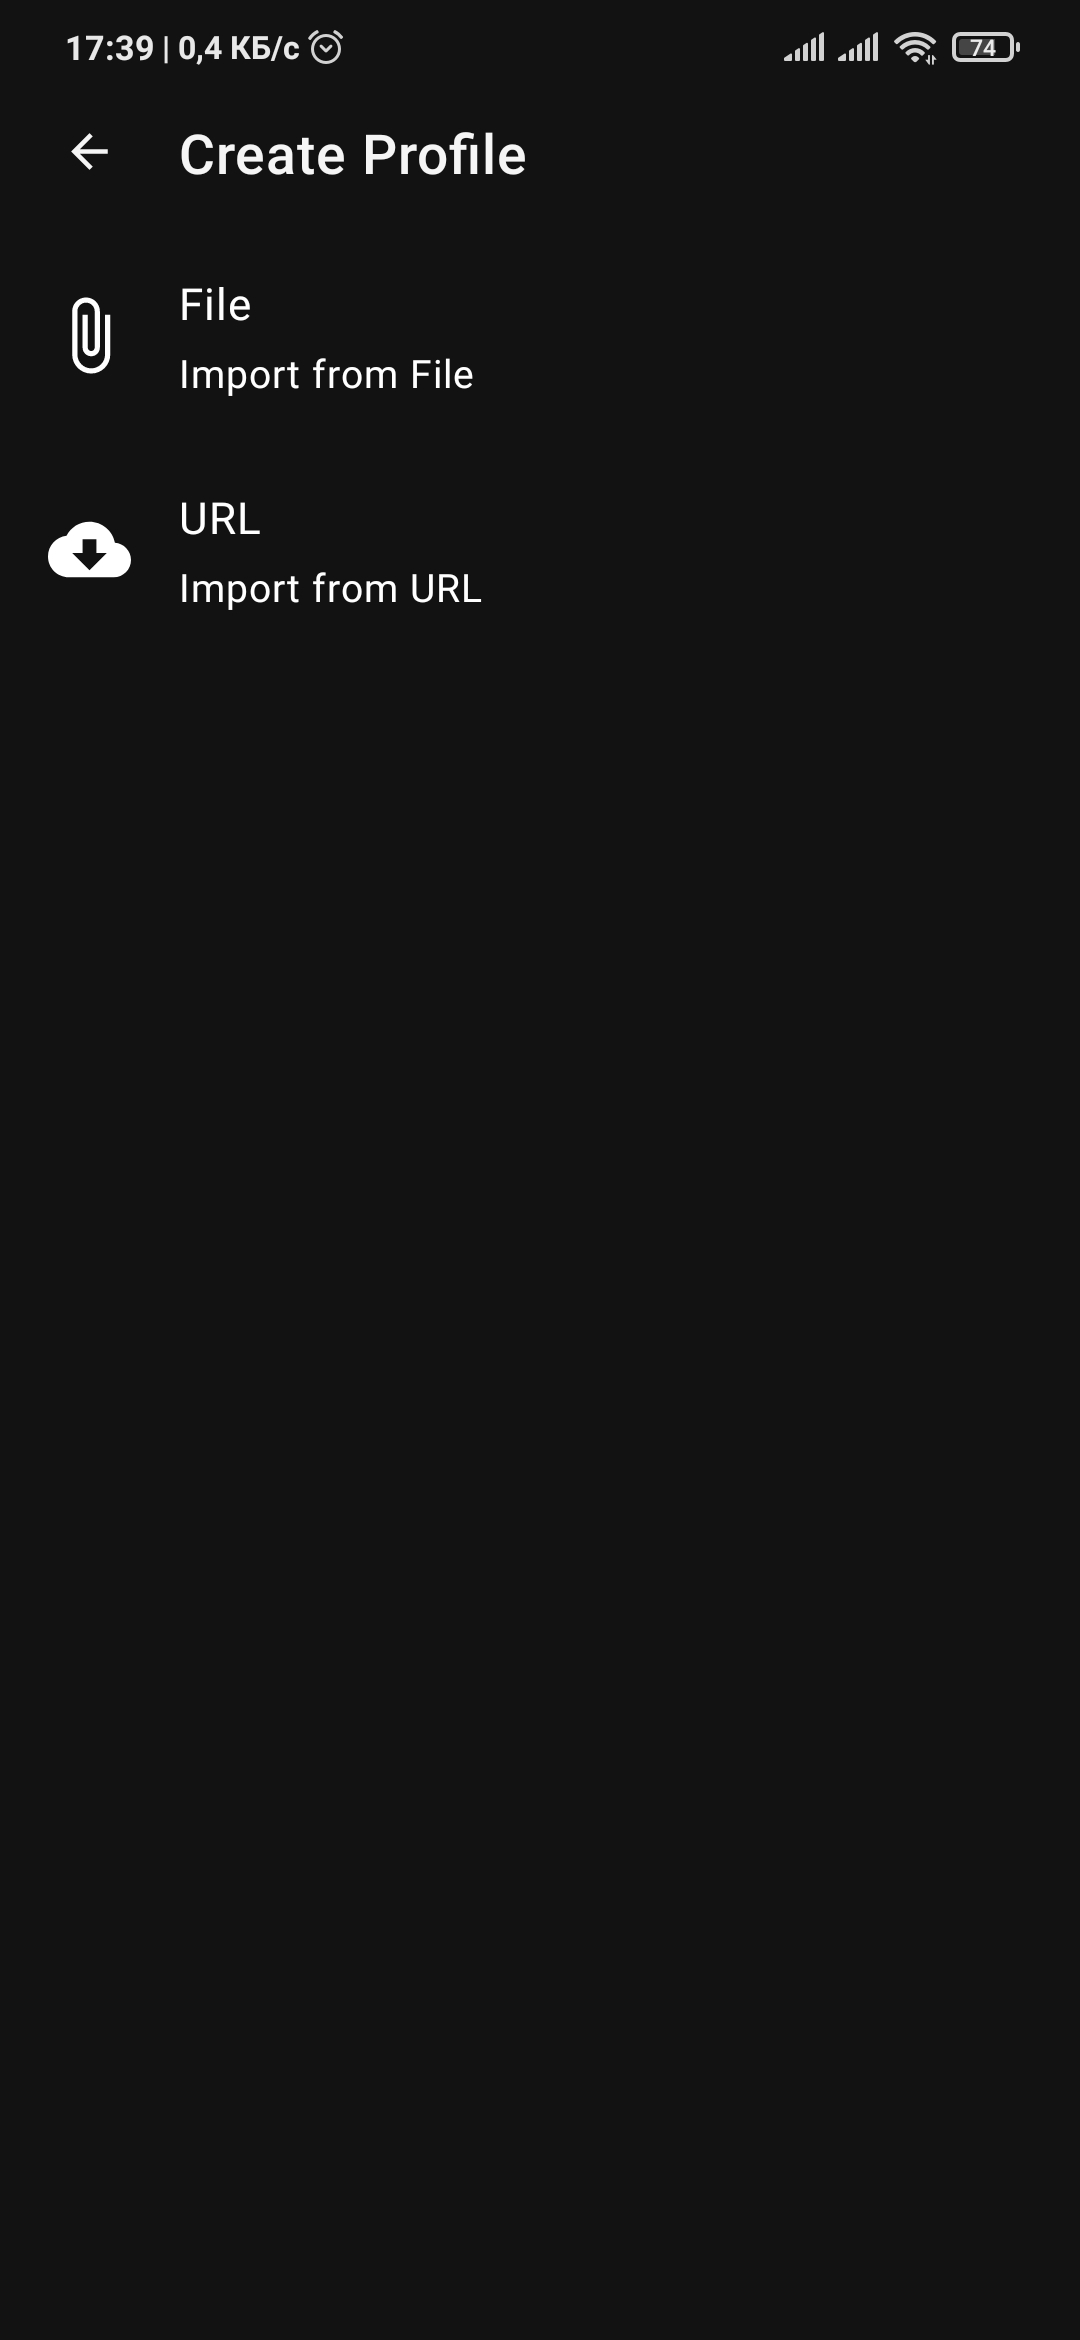
Click the "+" button at the top and select "Import from URL":
Import profile from URL
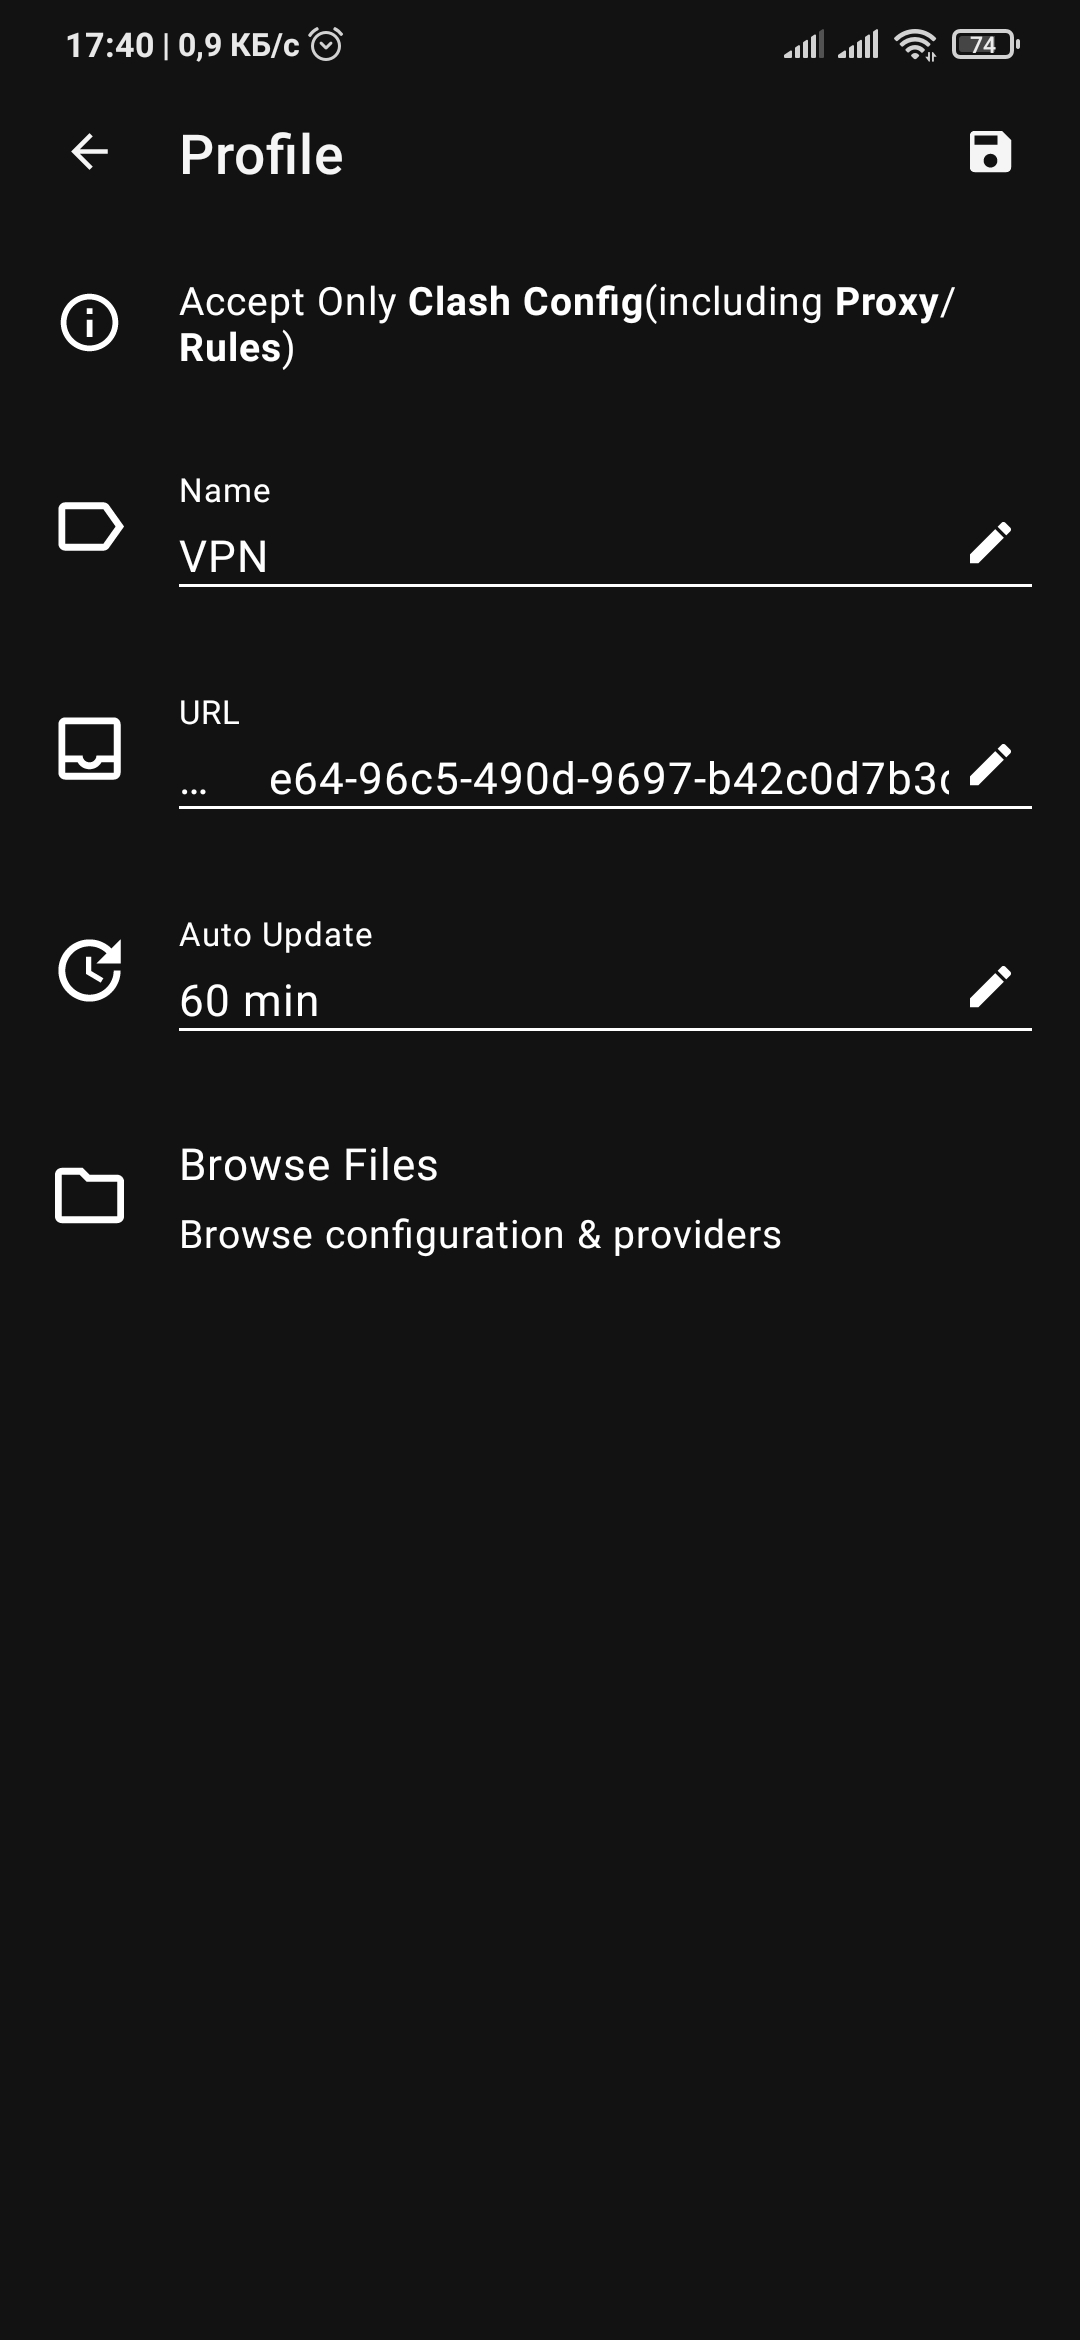
Specify the profile parameters:
Profile parameters when importing from URL
You can enter any name for the profile.
In the URL field, paste your subscription link.
The subscription link is included in the email sent to you
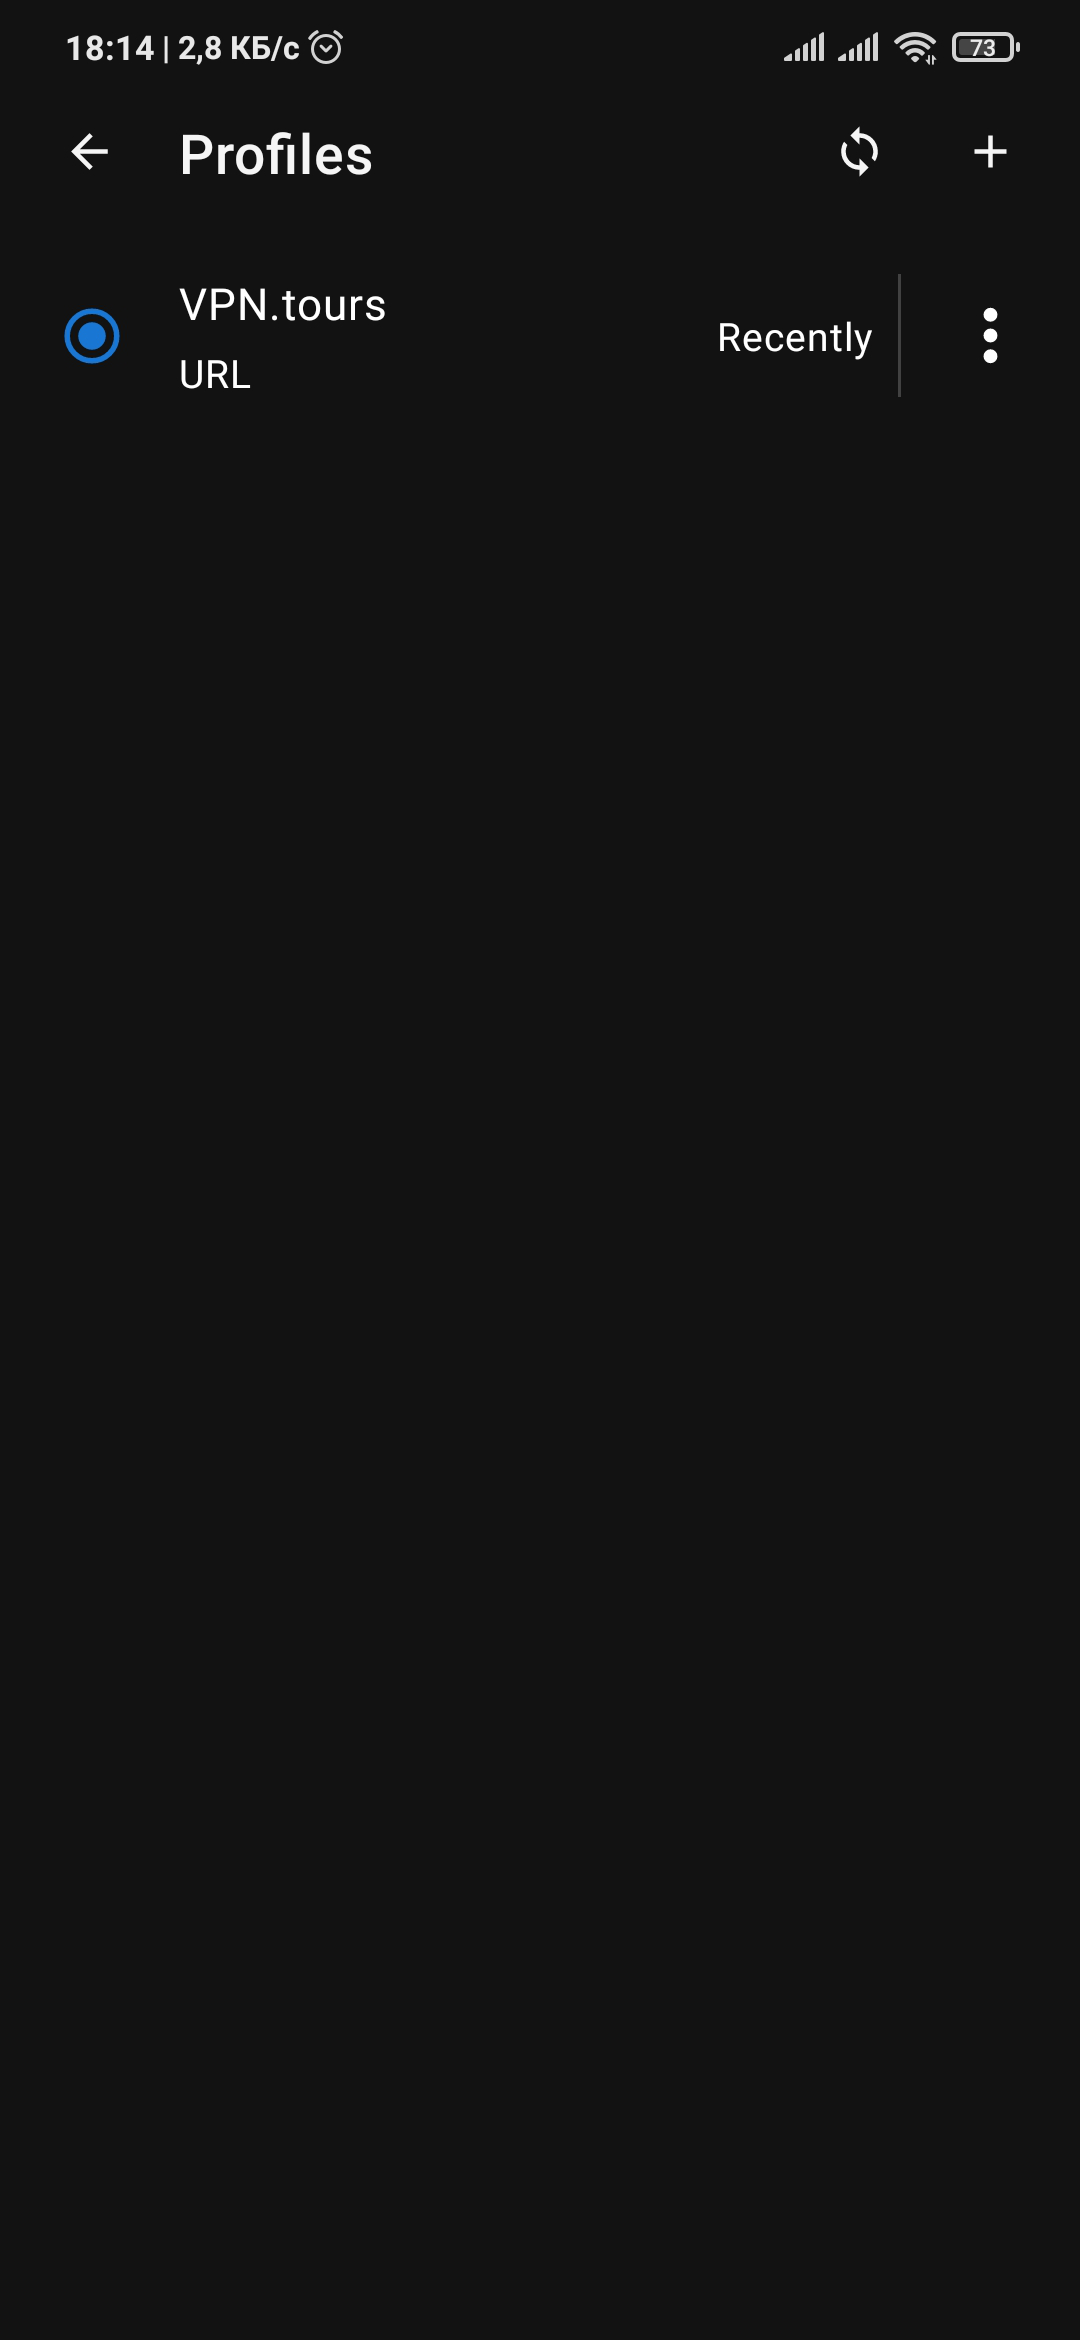
Save the profile by clicking the floppy disk icon at the top, then activate it by selecting the profile and clicking it (a round marker will appear on the left):
Profile activation after import
Return to the main menu of the application and start the VPN by clicking the first "Stopped" button:
First VPN connection
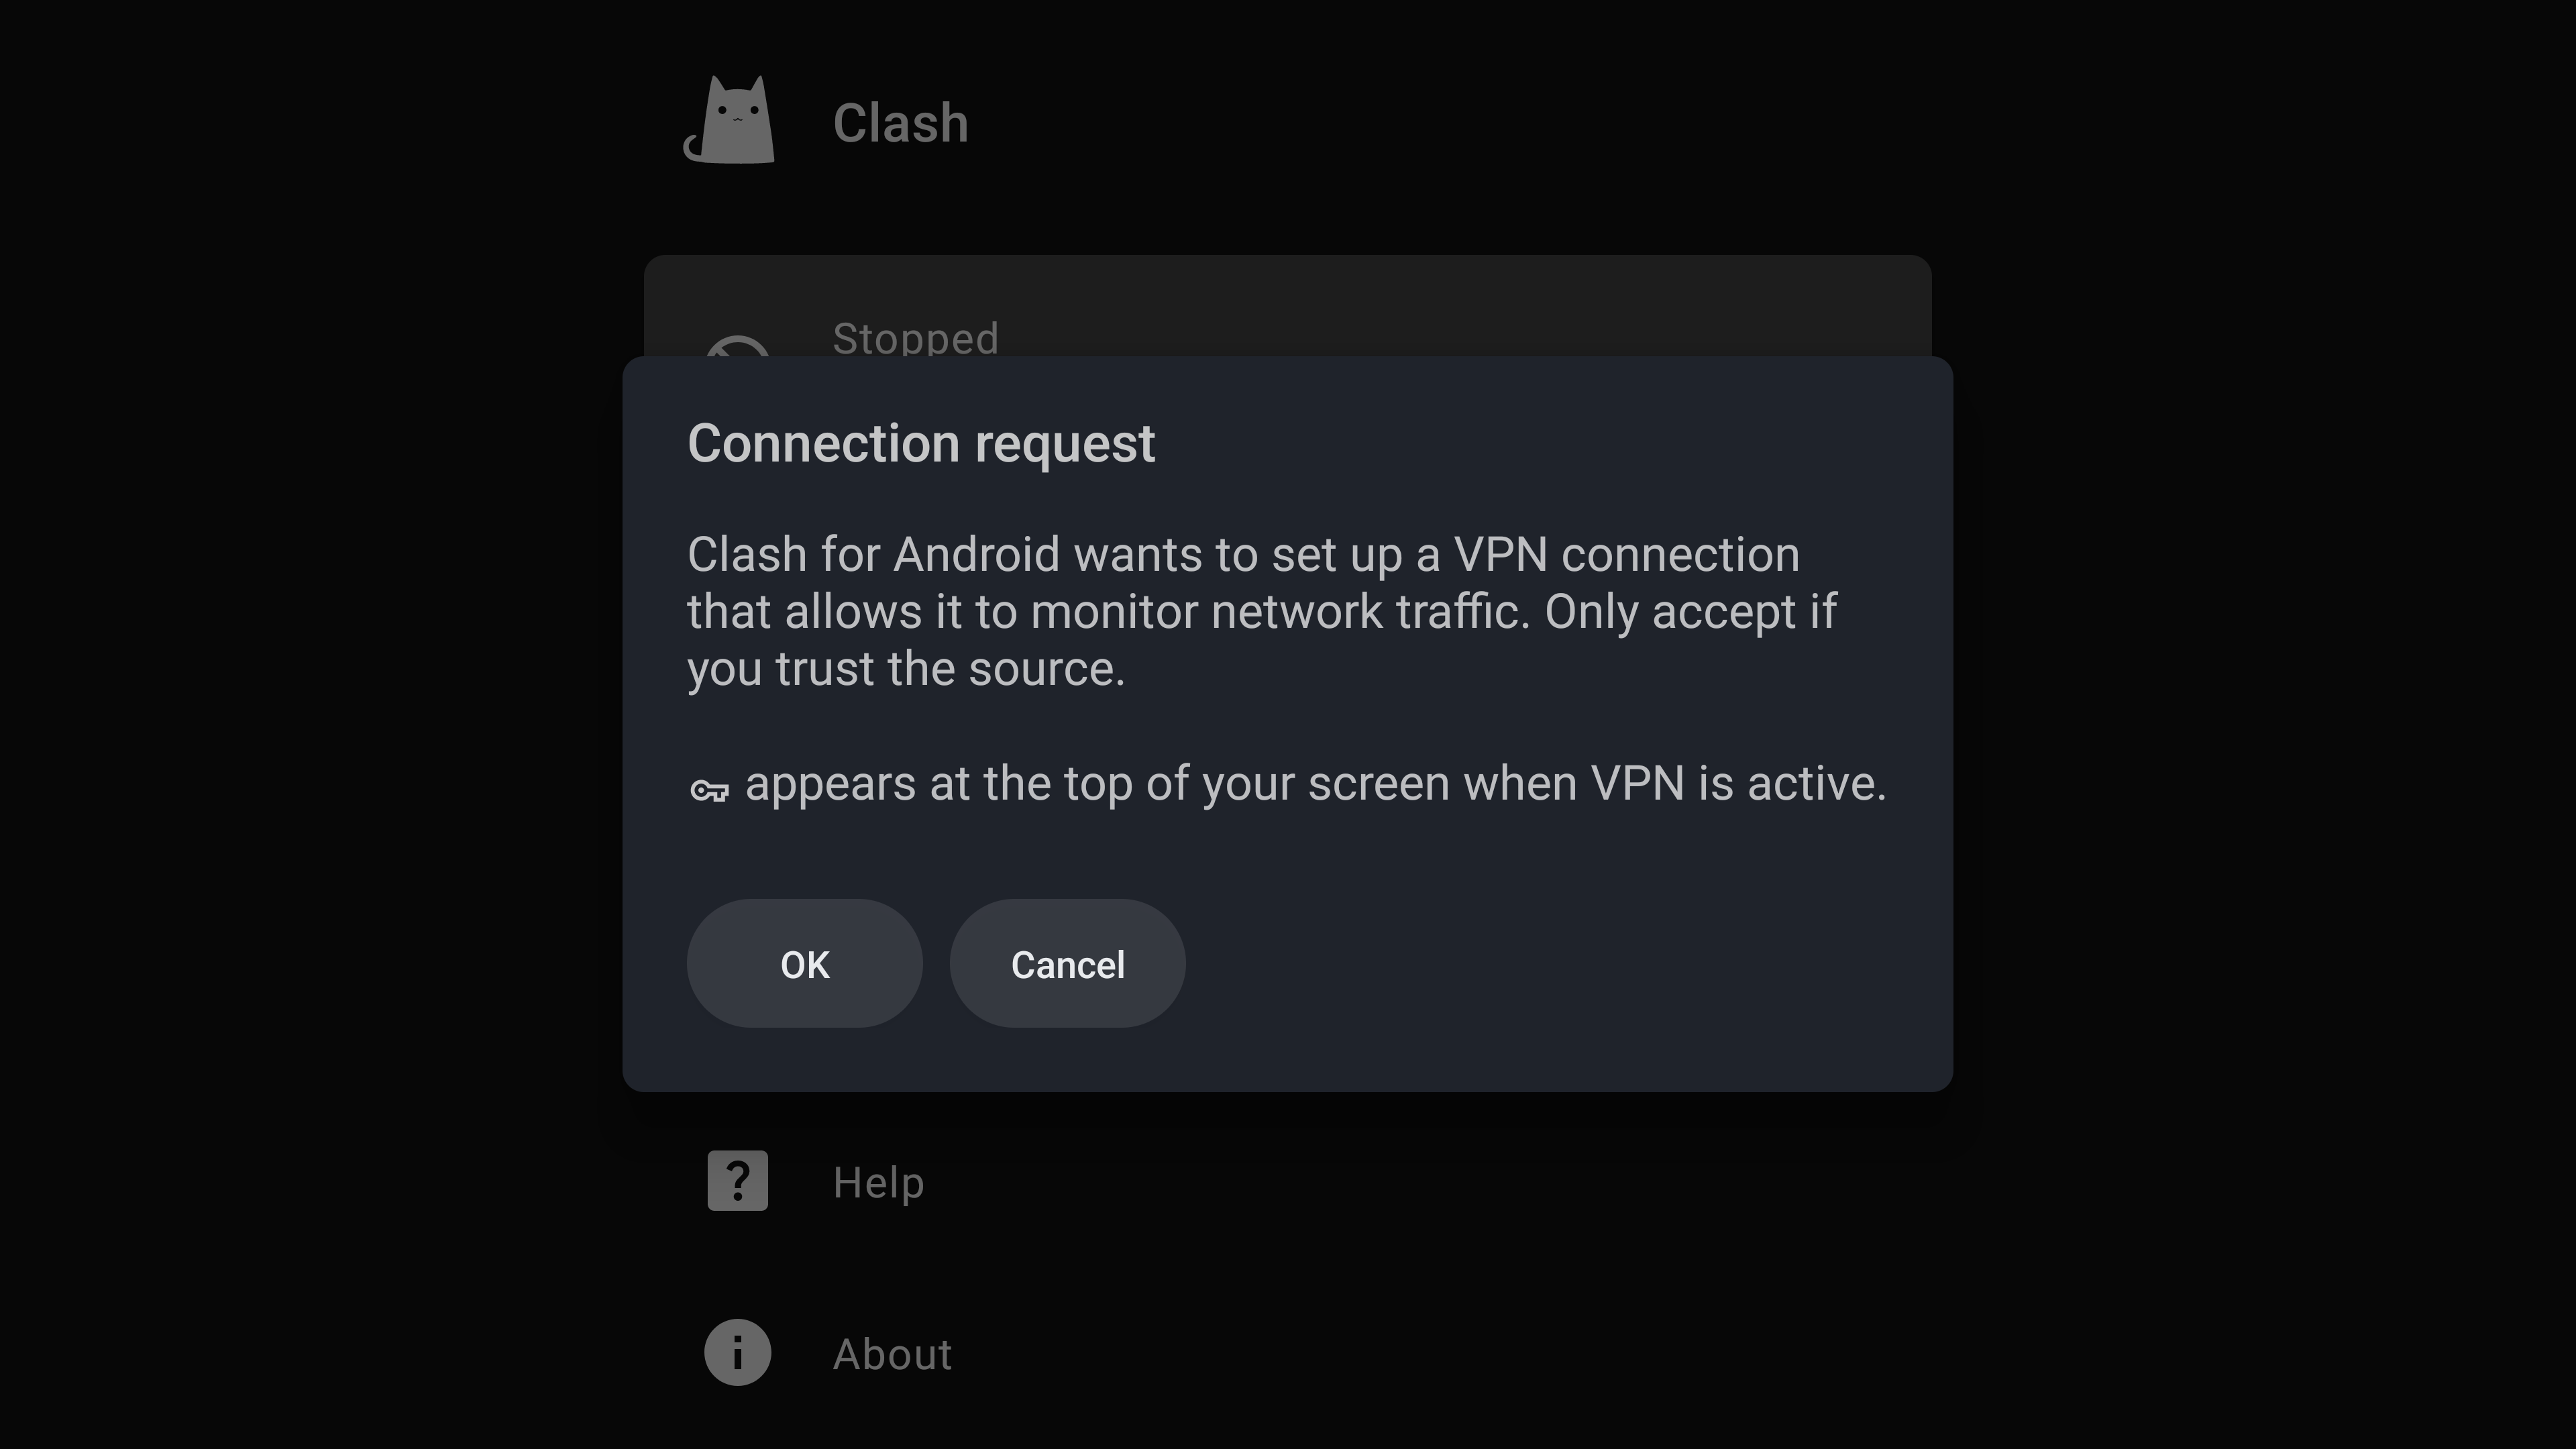
On the first connection, you will need to grant permission to establish a VPN connection in the system.
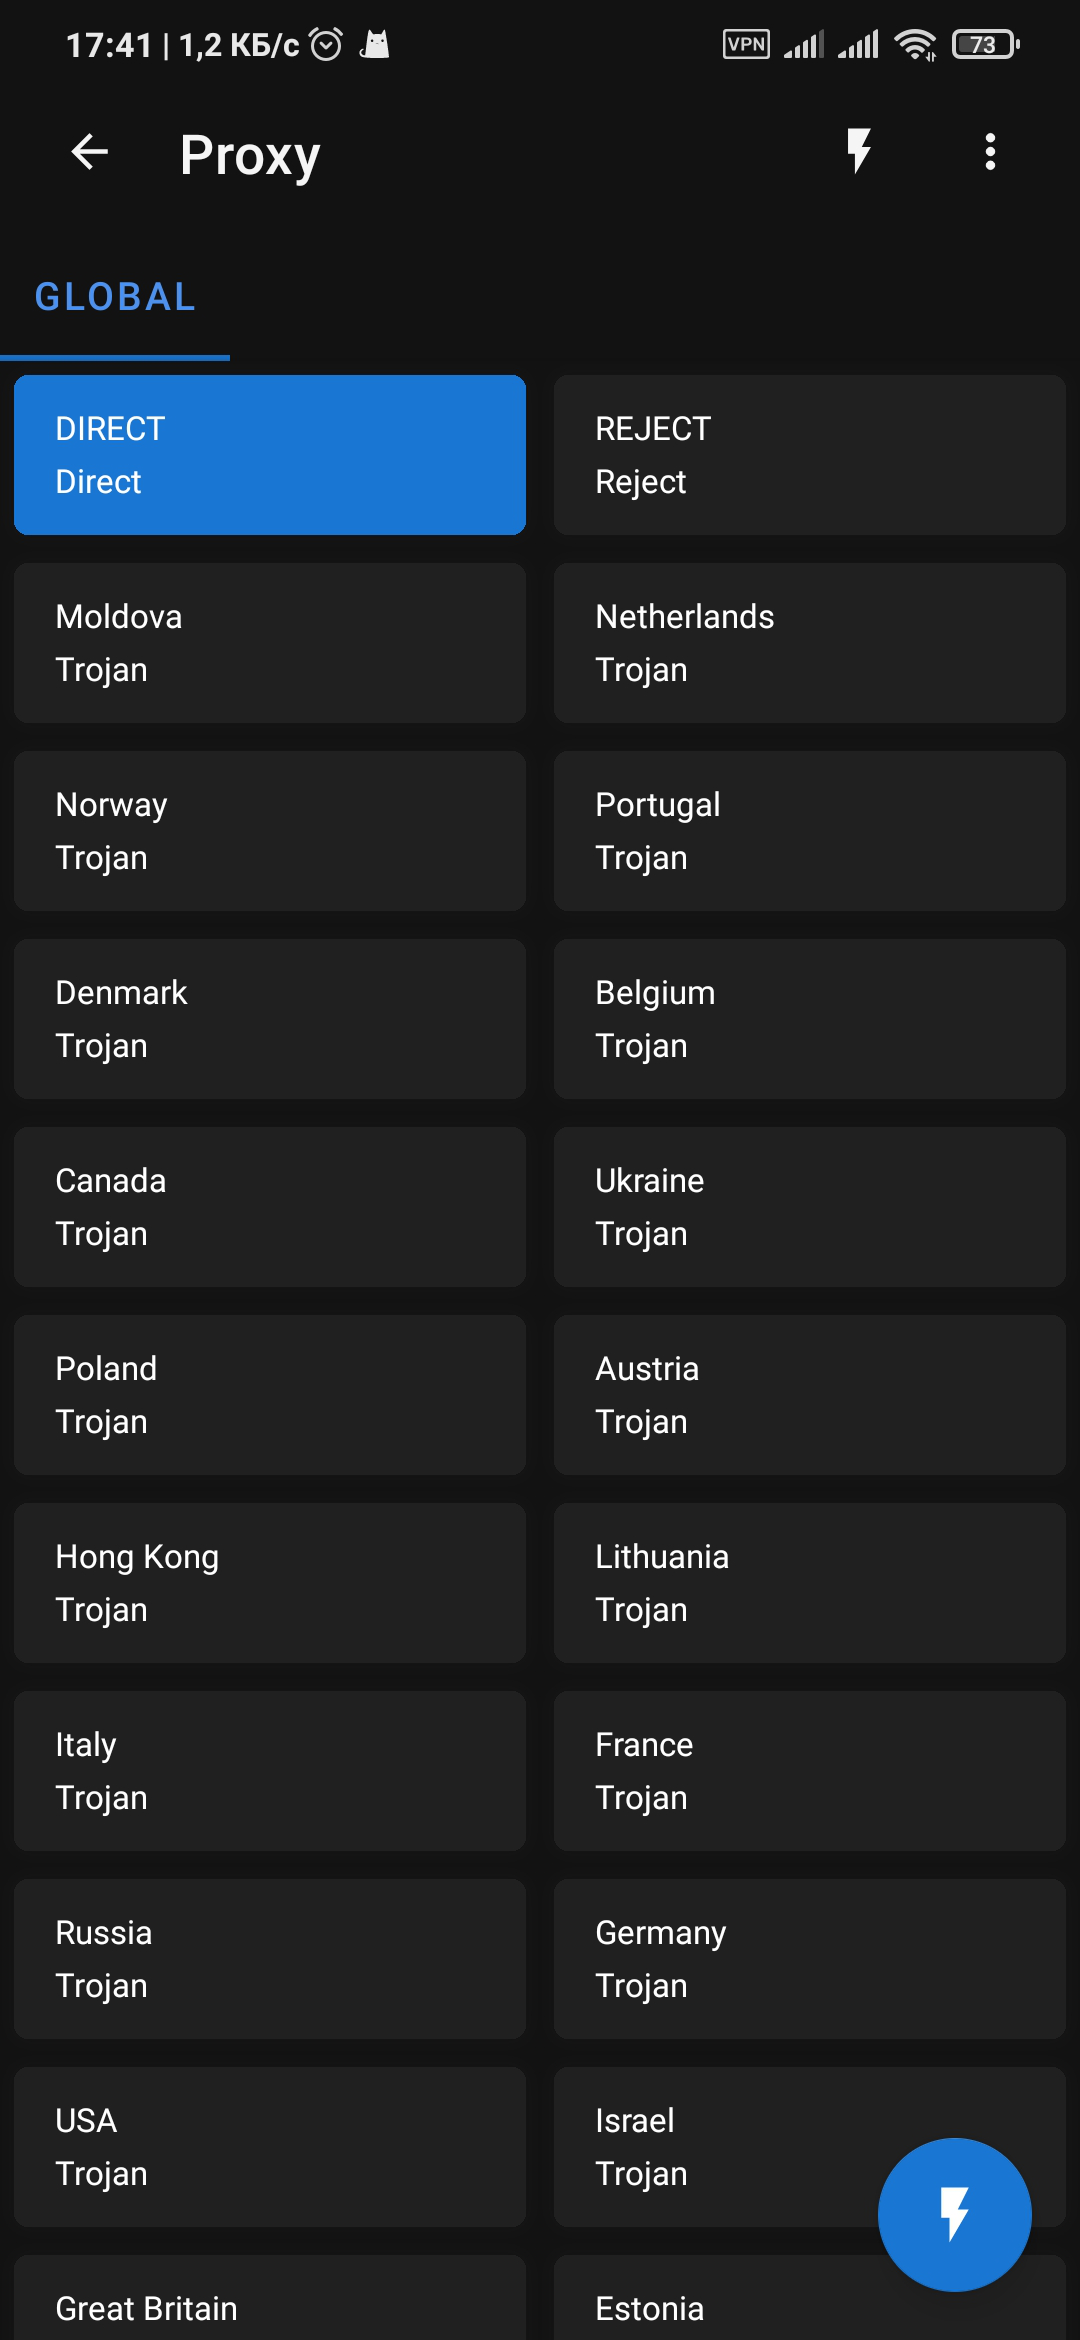
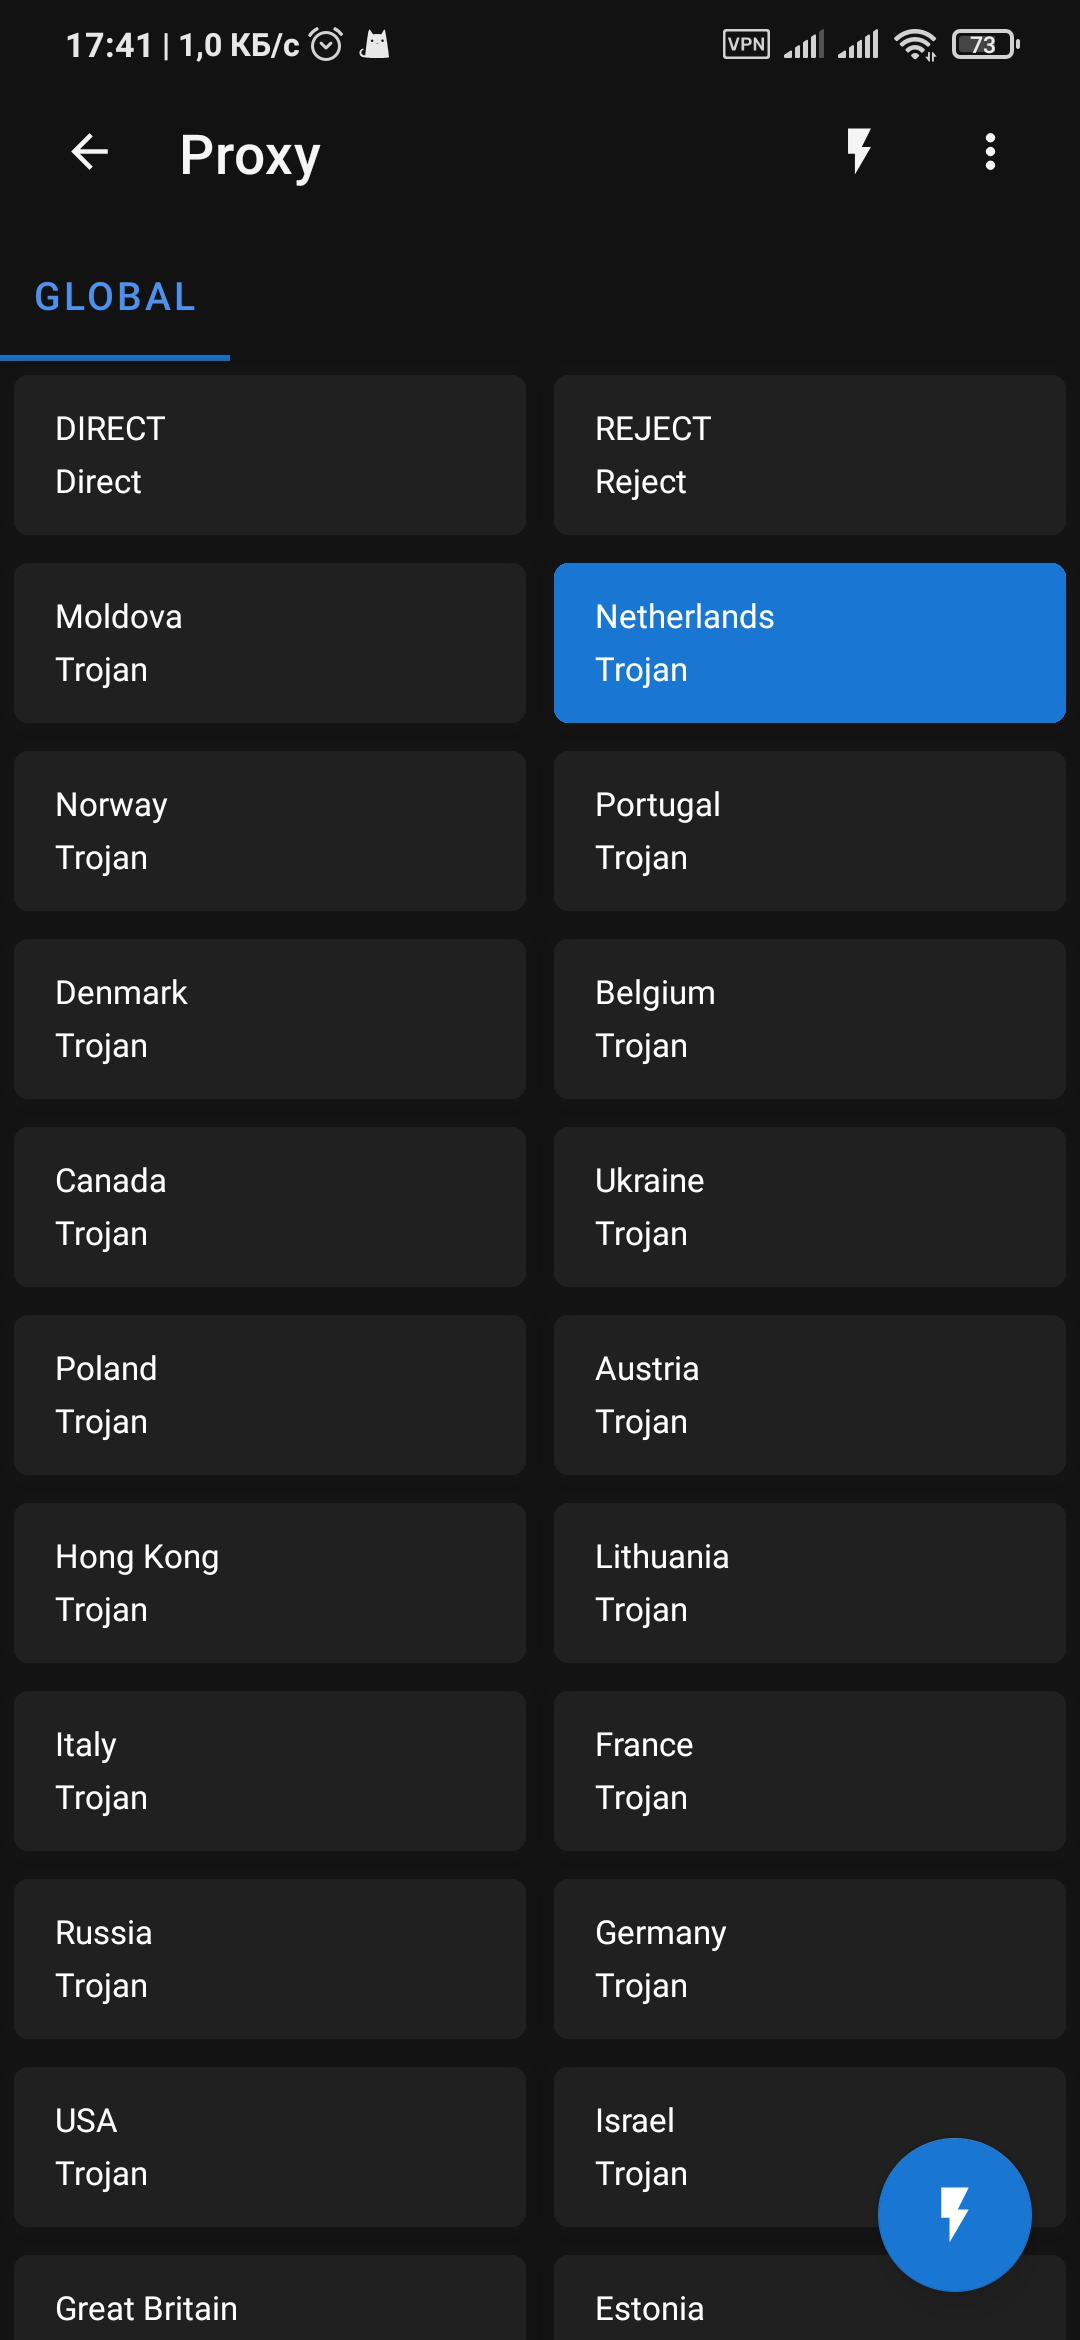
After activating the connection, the status will change to "Running". Go to "Proxy" and select the desired server:
VPN profile activation in the applicationLocation selection in the applicationNote: Among the servers, there are DIRECT and REJECT. DIRECT — a policy where traffic is sent directly, bypassing the VPN server. REJECT — a policy where all network traffic is blocked.
When the VPN is not needed, you can simply select DIRECT instead of turning off the application.
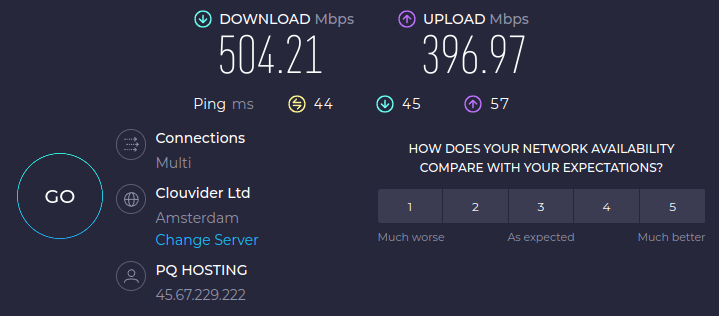
Check the VPN operation by opening YouTube or the website:
https://whatsmyip.comIP address check after connecting to a VPN server in PortugalNote: The best performance is achieved when using Wi-Fi or mobile internet with a good signal. Speed depends on the geographical distance from the VPN server, current network load, and other factors beyond external control.
If the location is unstable, select another one for optimal internet connection.
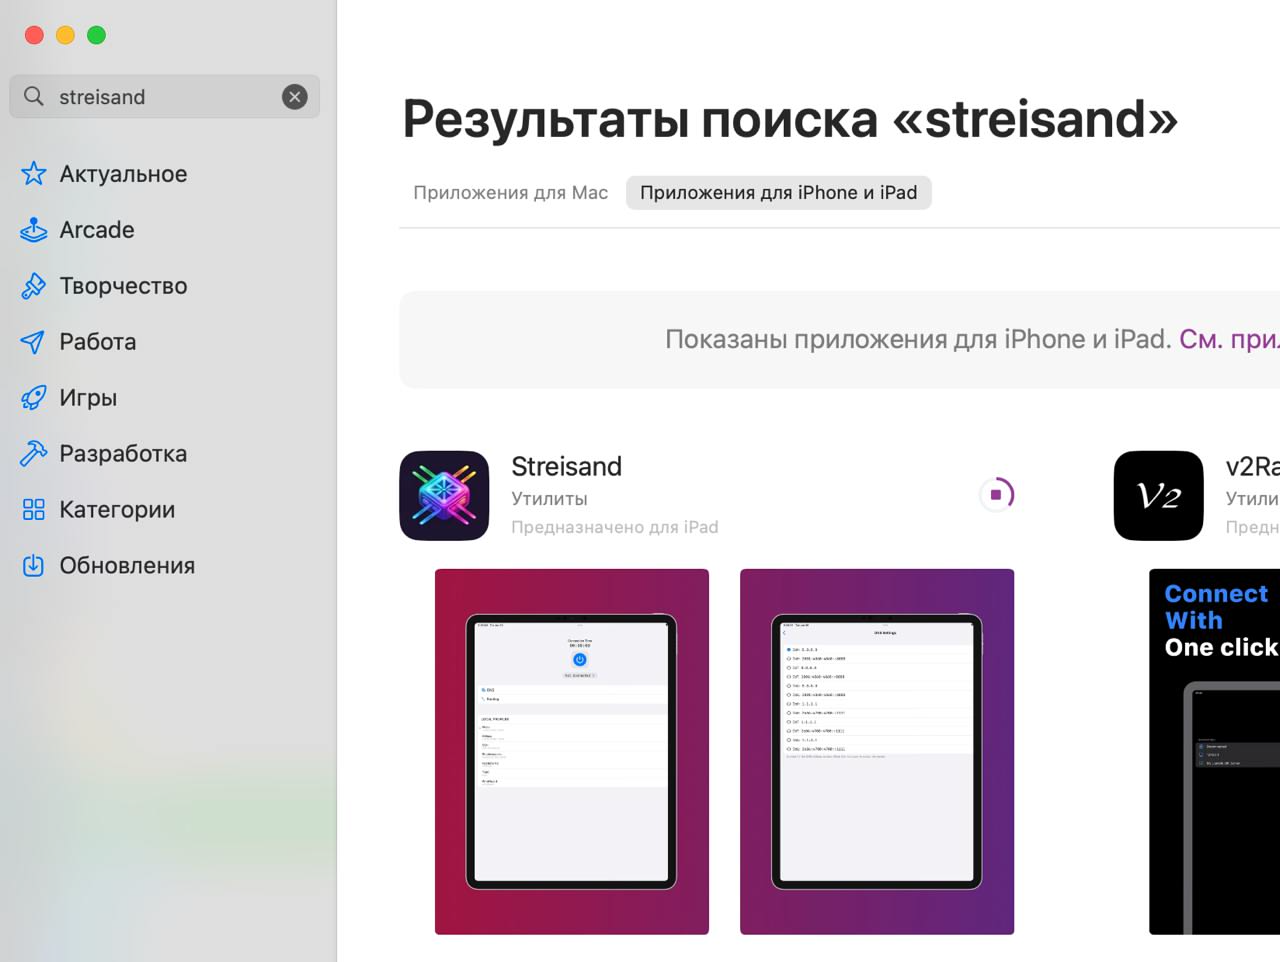
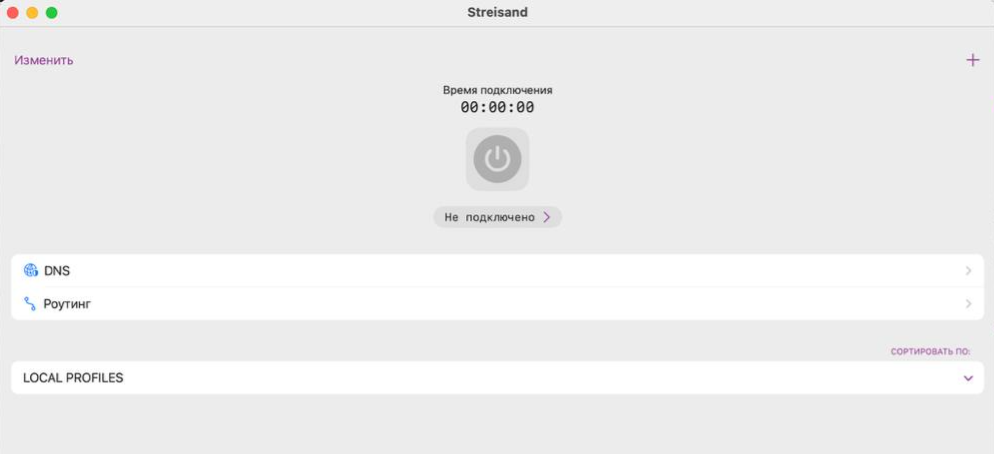
Launch the application:
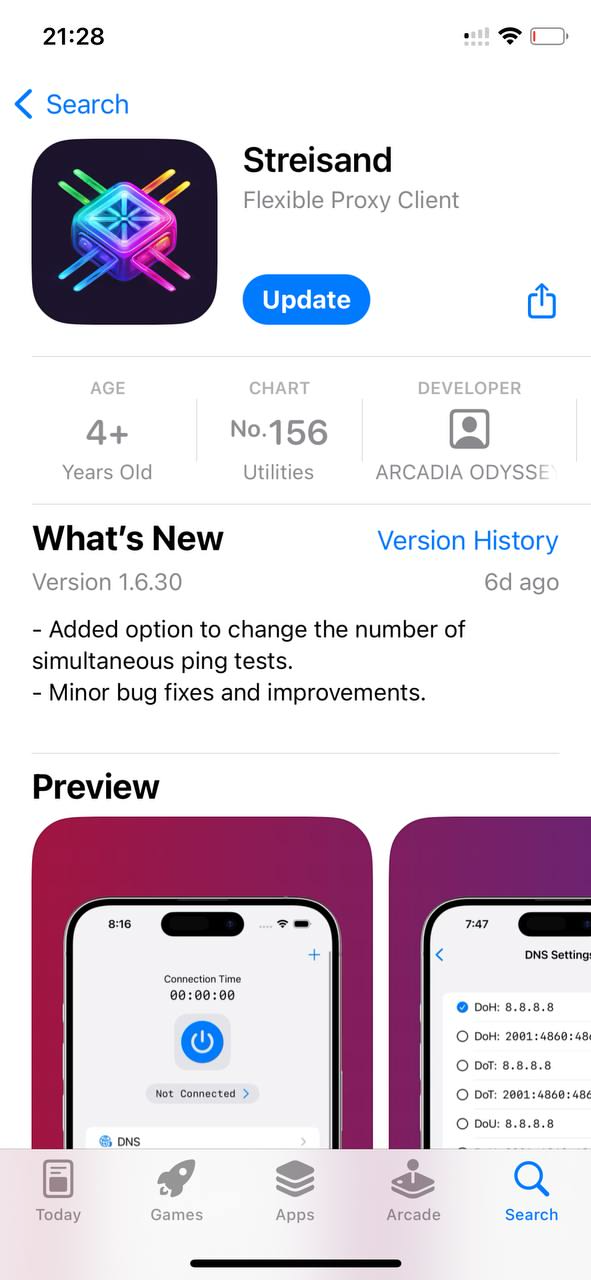
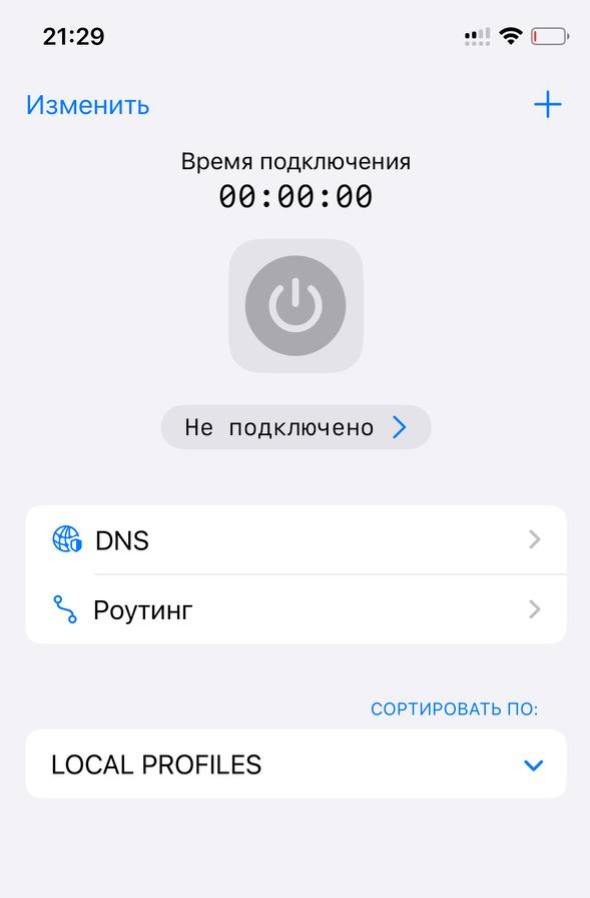
Streisand application interface
Copy the link to your VPN subscription to the clipboard.
The subscription link is included in the email sent to you
Note: You don’t need to copy the subscription contents; only the link is required for import.
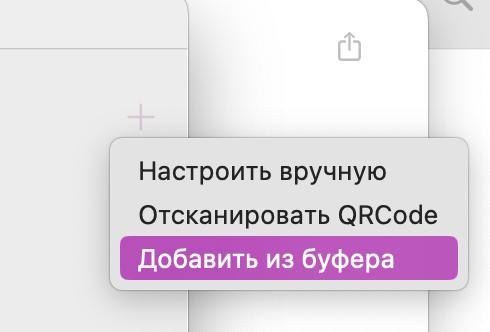
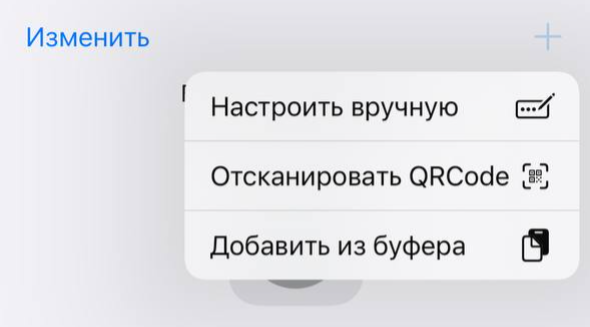
Click the "+" button on the right and select "Paste from clipboard":
Import subscription in the Streisand application
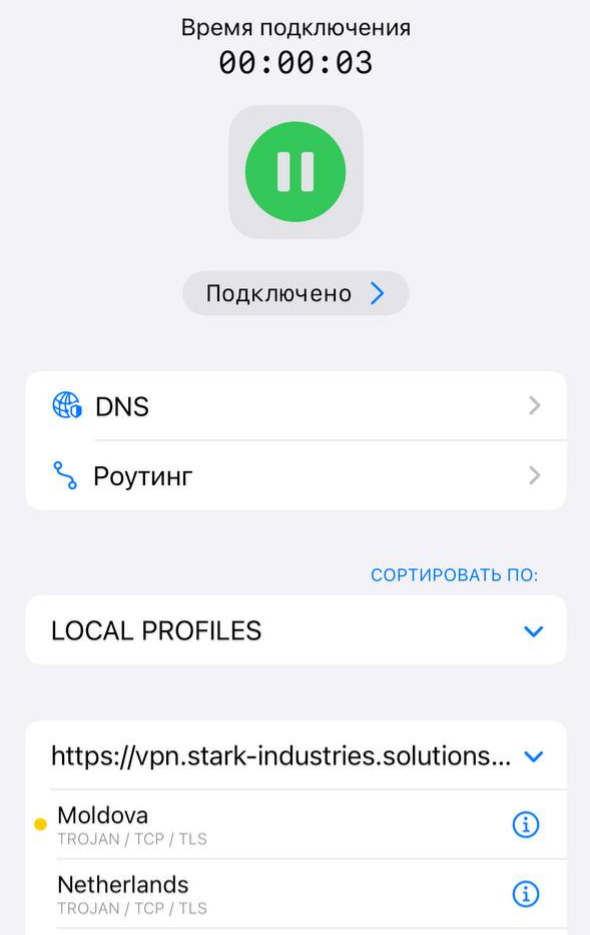
Select the desired server and click the connection button at the top:
Connect to VPN from the Streisand application
On the first connection, you will need to grant the application permission to create a VPN connection:
Permission request to create a VPN connection
To check the VPN operation, you can open:
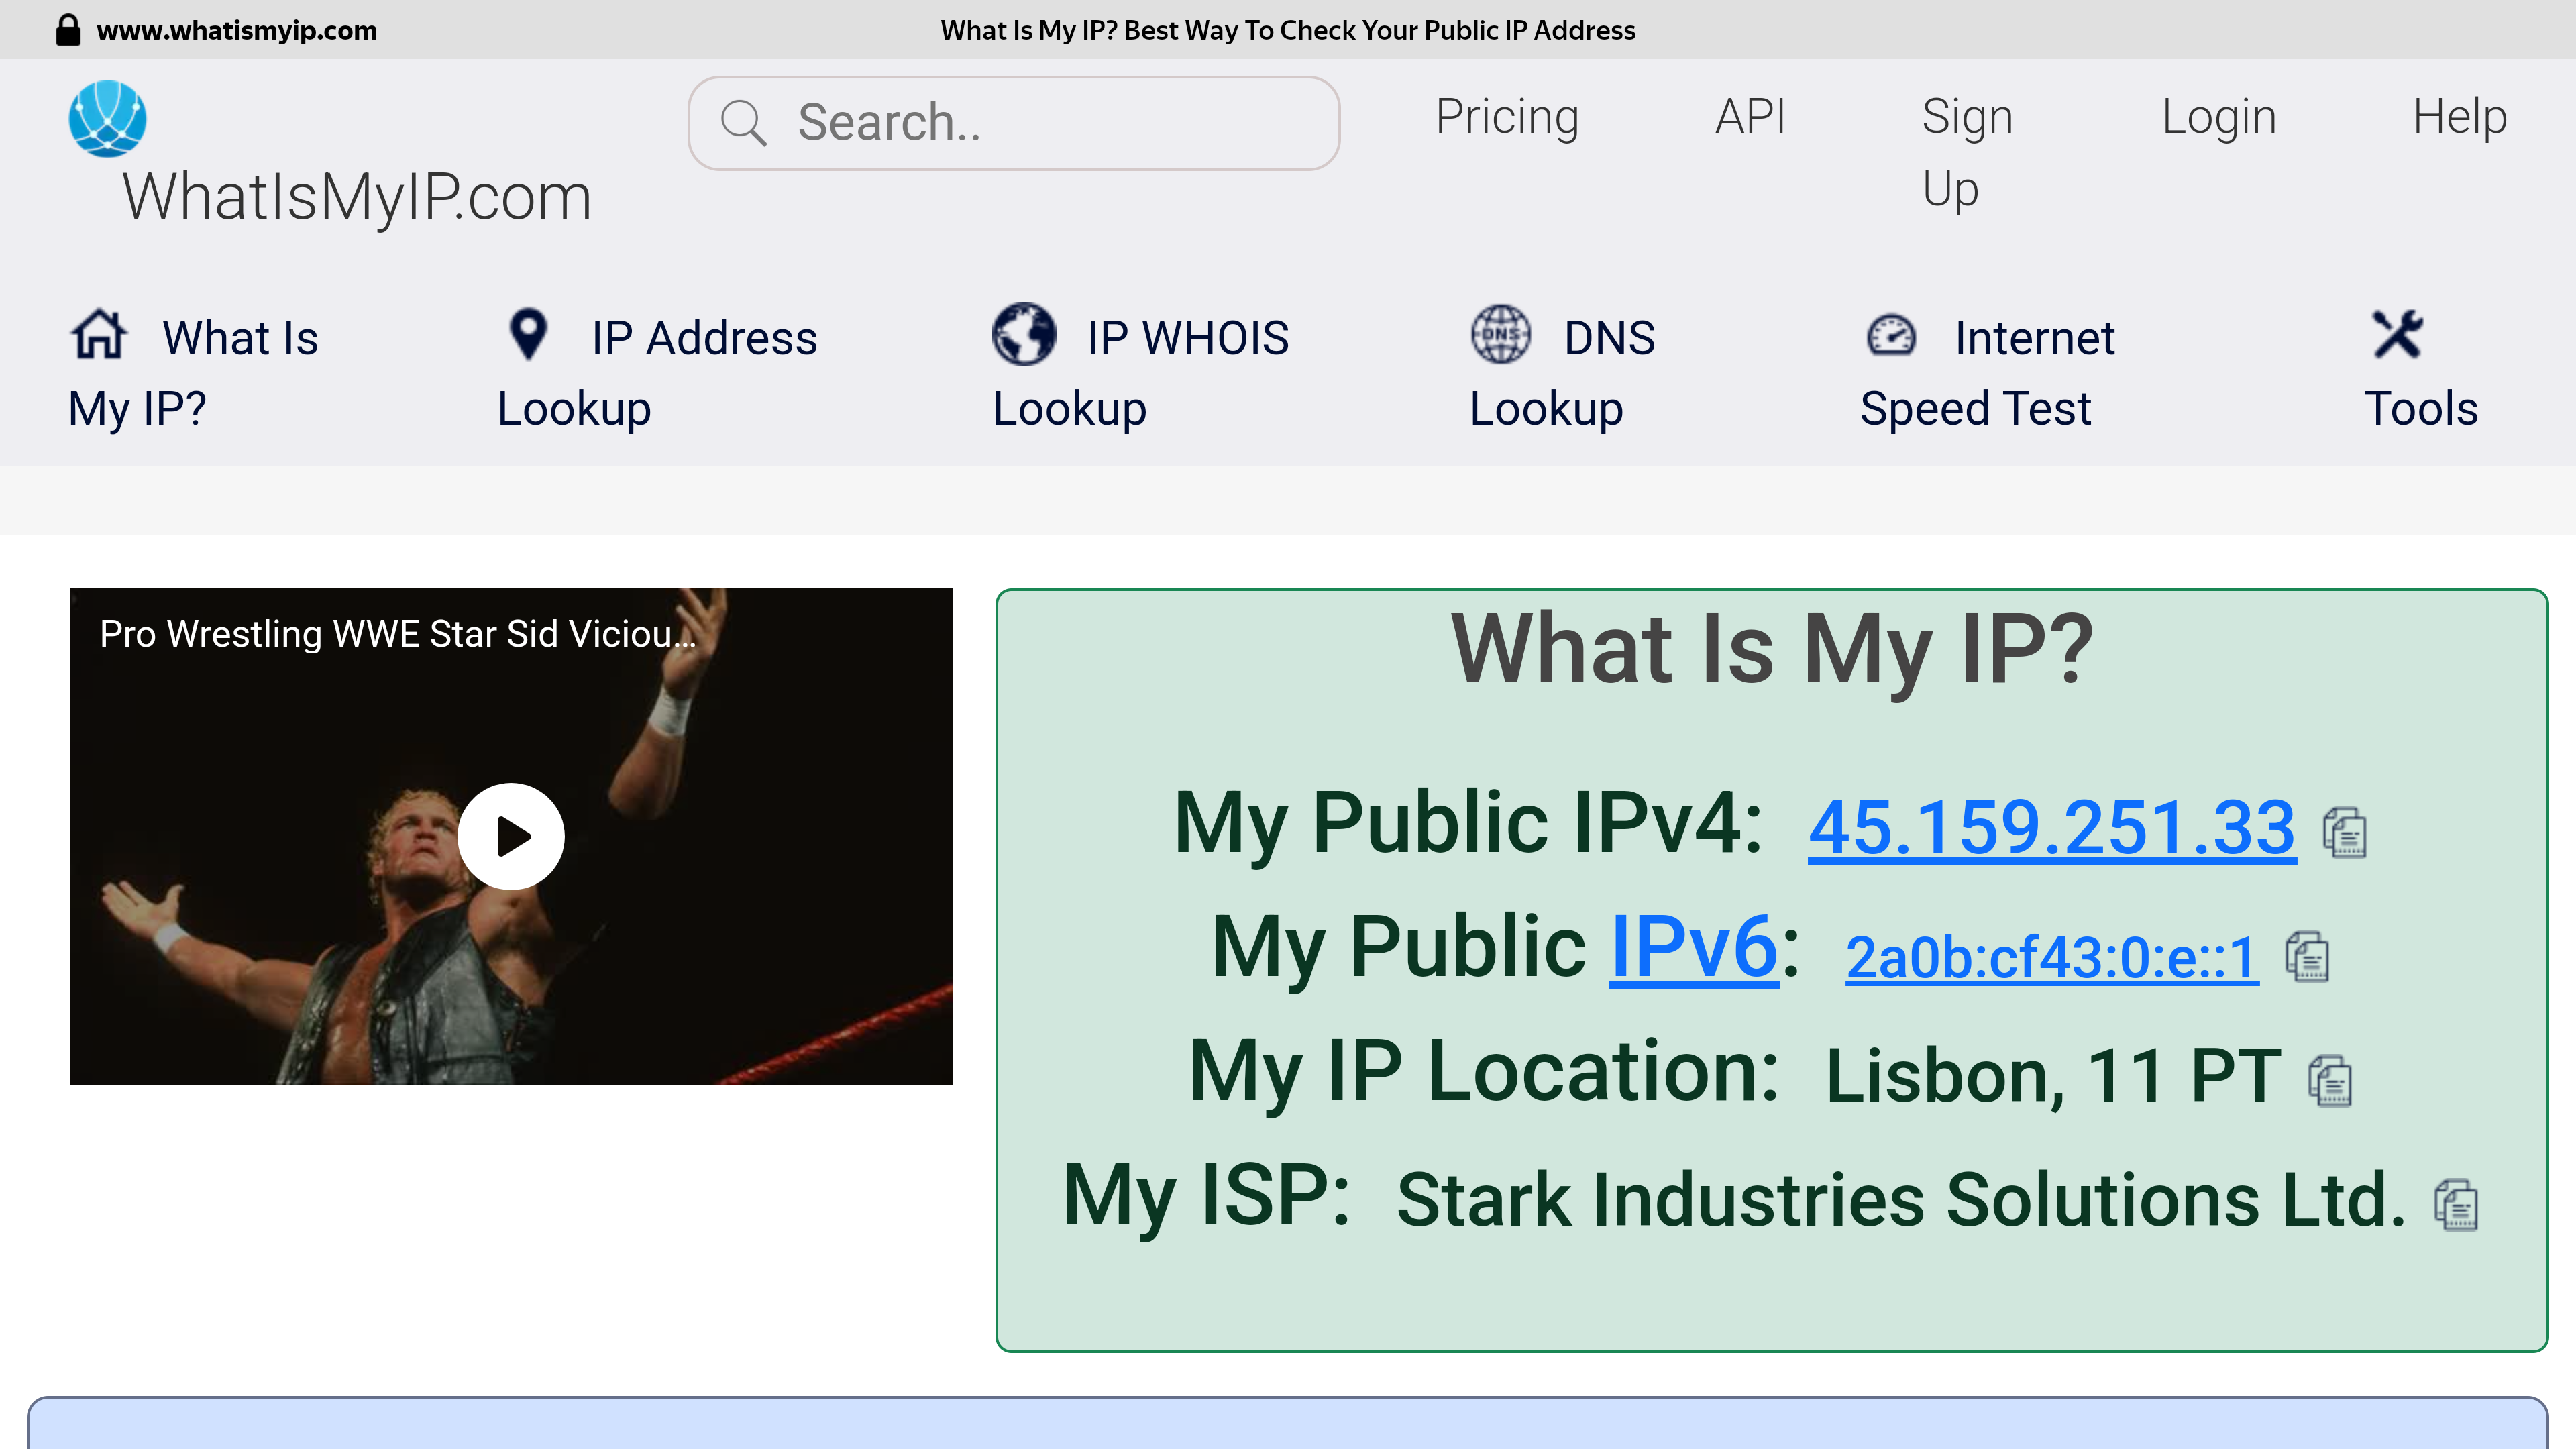
https://www.whatismyip.com/IP address check after connecting to the Moldova serverNote: Speed is affected by the geographical distance from the VPN server, backbone network channels between checkpoints, current load on your ISP and VPN server channels, your internet plan, and other factors beyond external control.
If the location is unstable, select another one for an optimal internet connection.
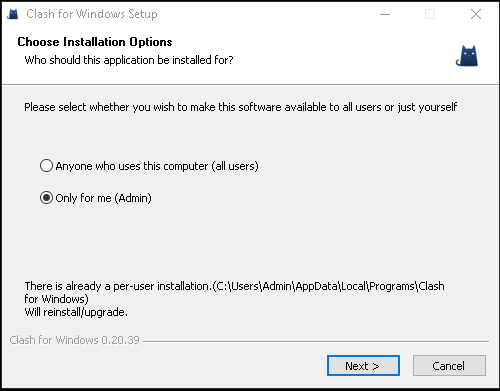
Run the installation and follow the setup wizard steps:
Application setup wizard
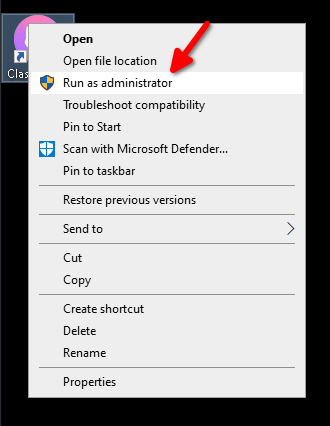
Launch the application as an Administrator; the shortcut is on the desktop:
Launch application from desktop shortcutNote: The application requires Administrator rights to operate in TUN mode. In this mode, it creates a virtual network interface through which network traffic passes. This is necessary for all applications to access the internet via the VPN server.
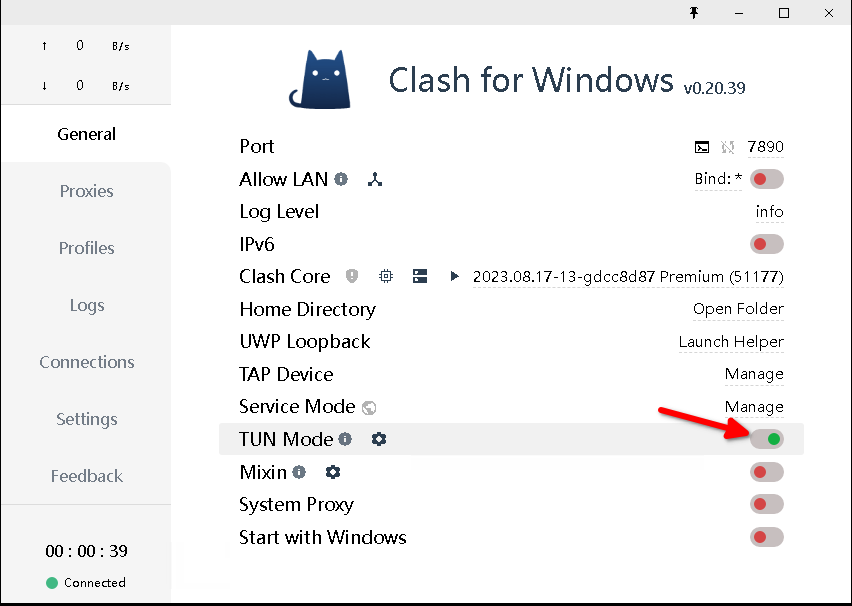
Go to General. Enable TUN mode:
Clash for Windows application settings
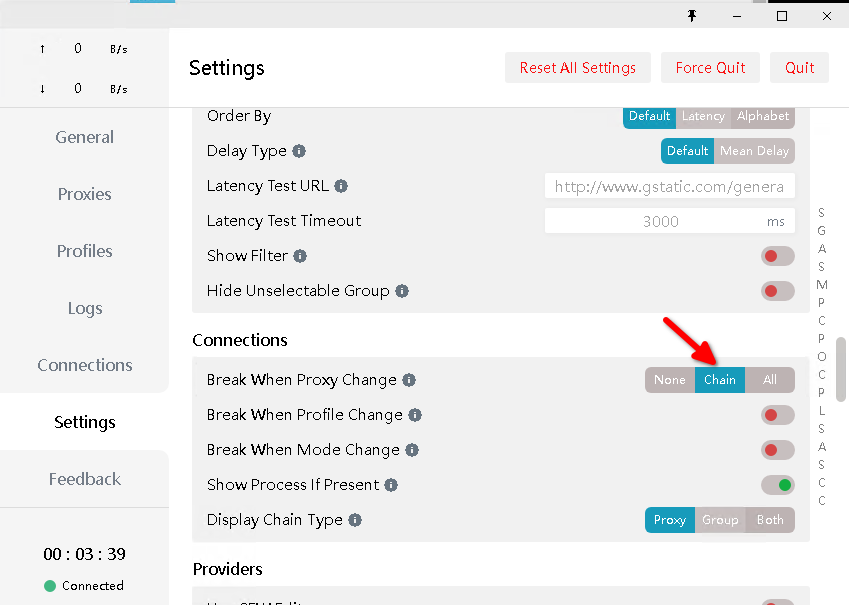
Go to Settings. Enable connection termination when the proxy changes:
Setting to terminate connections when proxy changes
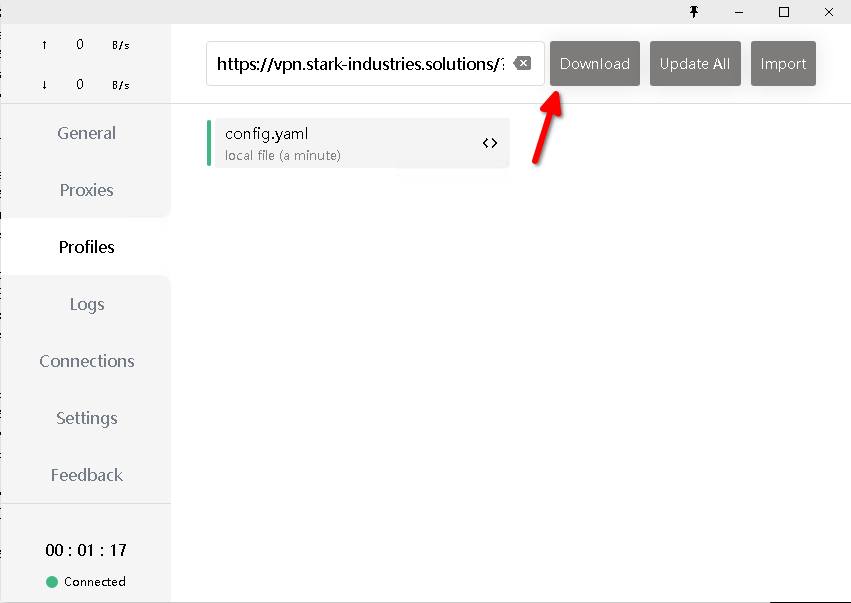
Go to Profiles. Paste the subscription link and click Download:
Import subscription in the Clash for Windows application
The subscription link is included in the email sent to you
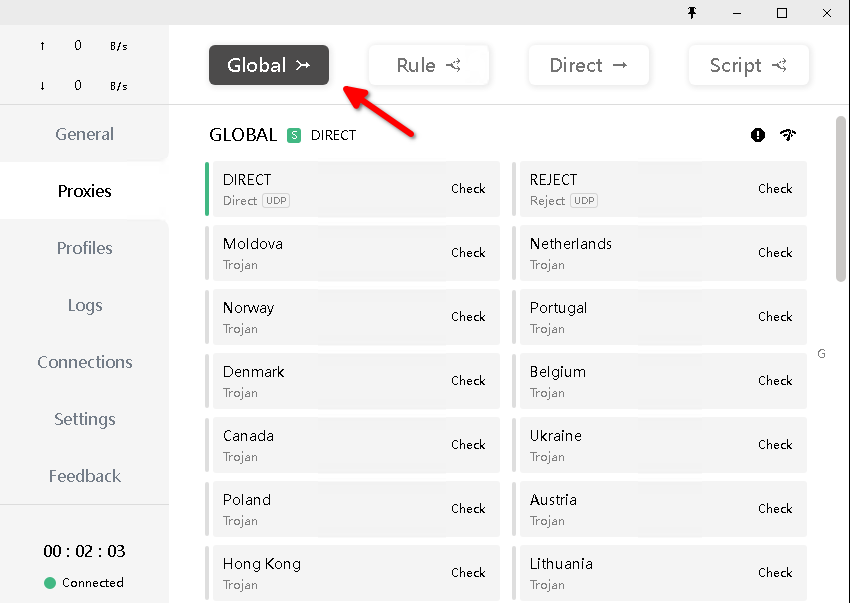
Go to Proxies. Enable Global routing mode:
Application operating mode selection
Select the desired server and check the VPN operation:
Note: Among the servers, there are DIRECT and REJECT. DIRECT — a policy where traffic is sent directly, bypassing the VPN server. REJECT — a policy where all network traffic is blocked.
When the VPN is not needed, you can simply select DIRECT instead of turning off the application.
To check the VPN operation, you can open:
https://www.whatismyip.com/IP address check after connecting to the Moldova serverNote: The best performance is achieved with a wired connection. Speed depends on the geographical distance from the VPN server, backbone network channels between checkpoints, current load on your ISP and VPN server channels, your internet plan, and other factors beyond external control.
If the location is unstable, select another one for an optimal internet connection.
Note: The application requires root privileges to operate in TUN mode. In this mode, it creates a virtual network interface through which network traffic passes. This is necessary for all applications to access the internet via the VPN server.
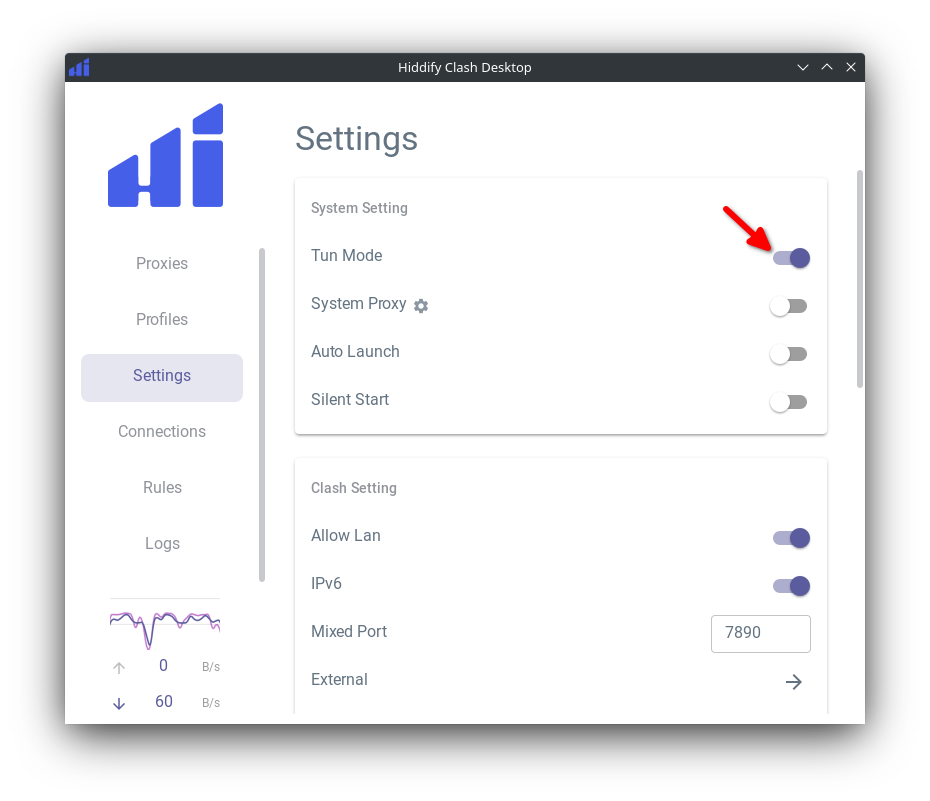
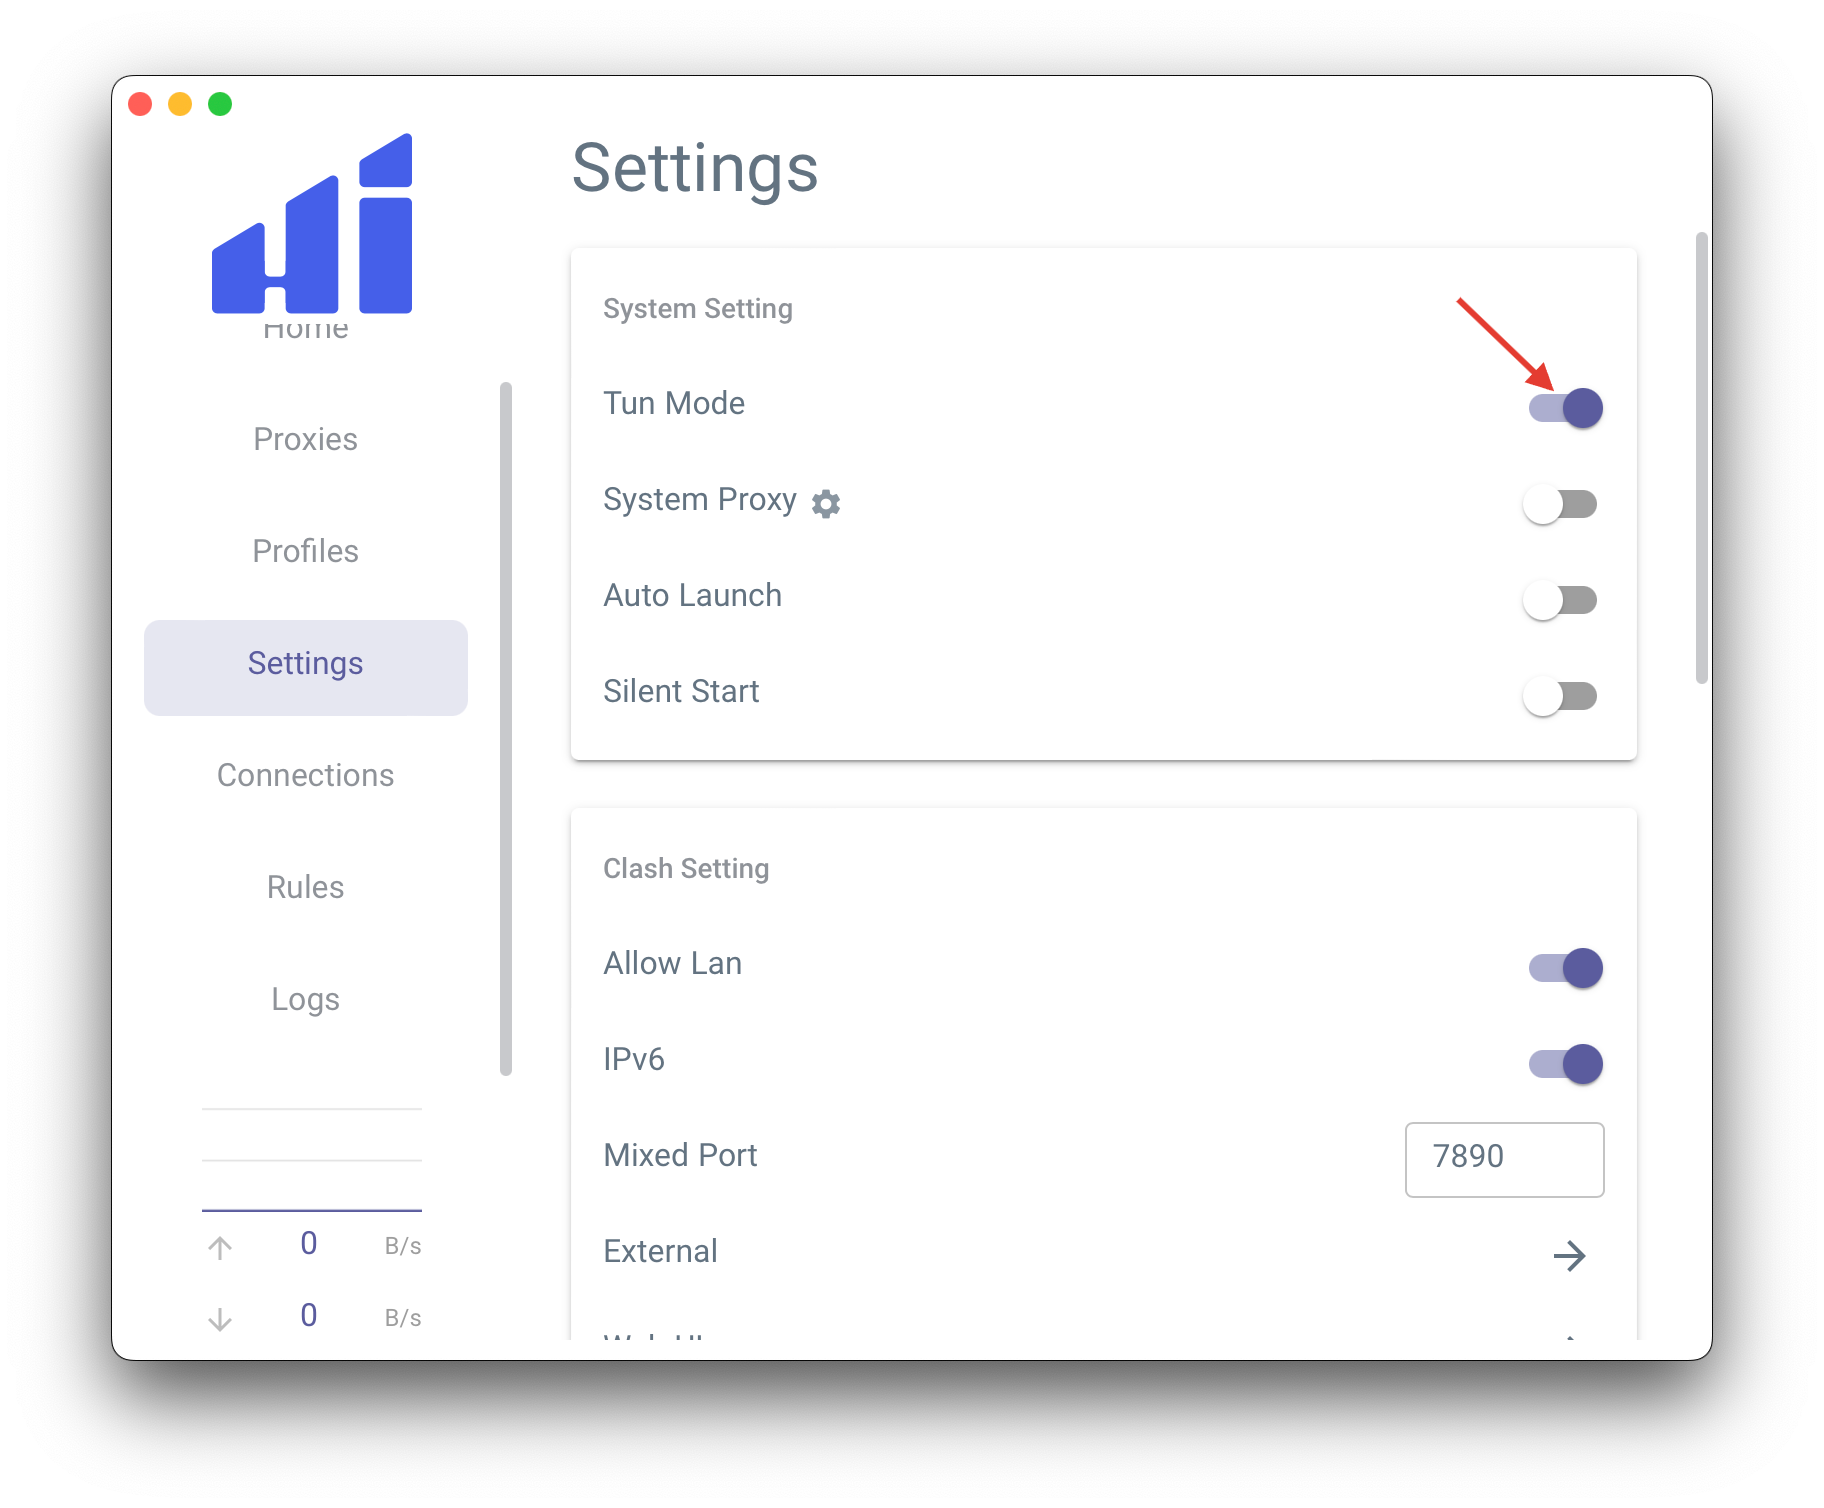
Go to Settings. Enable TUN mode:
Hiddify Clash Desktop application settings
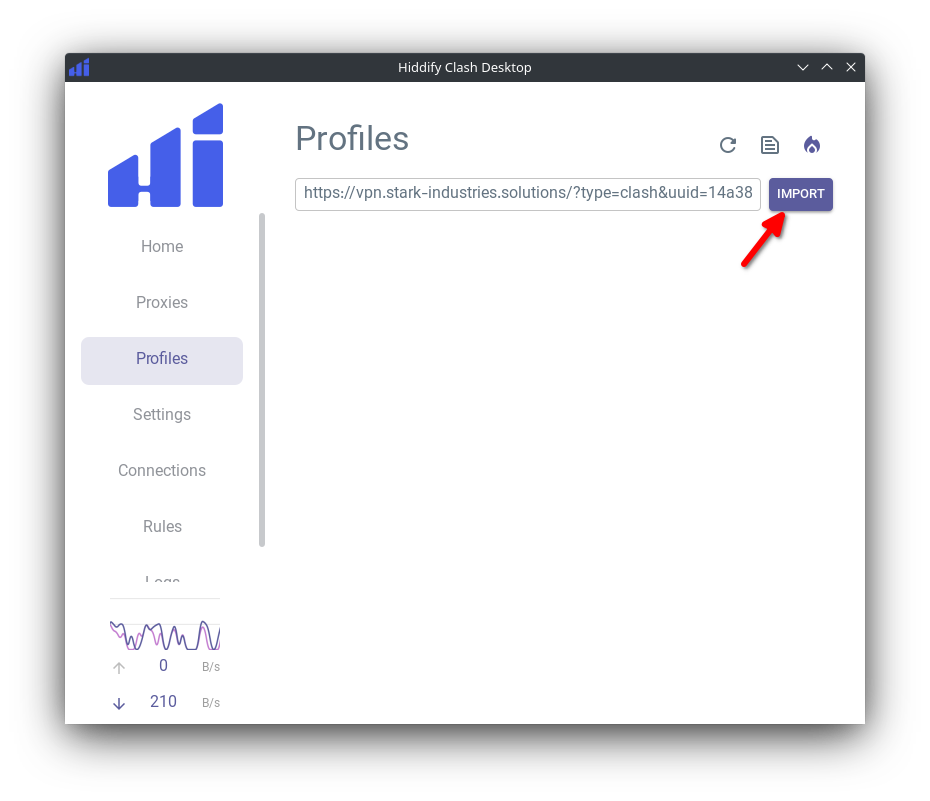
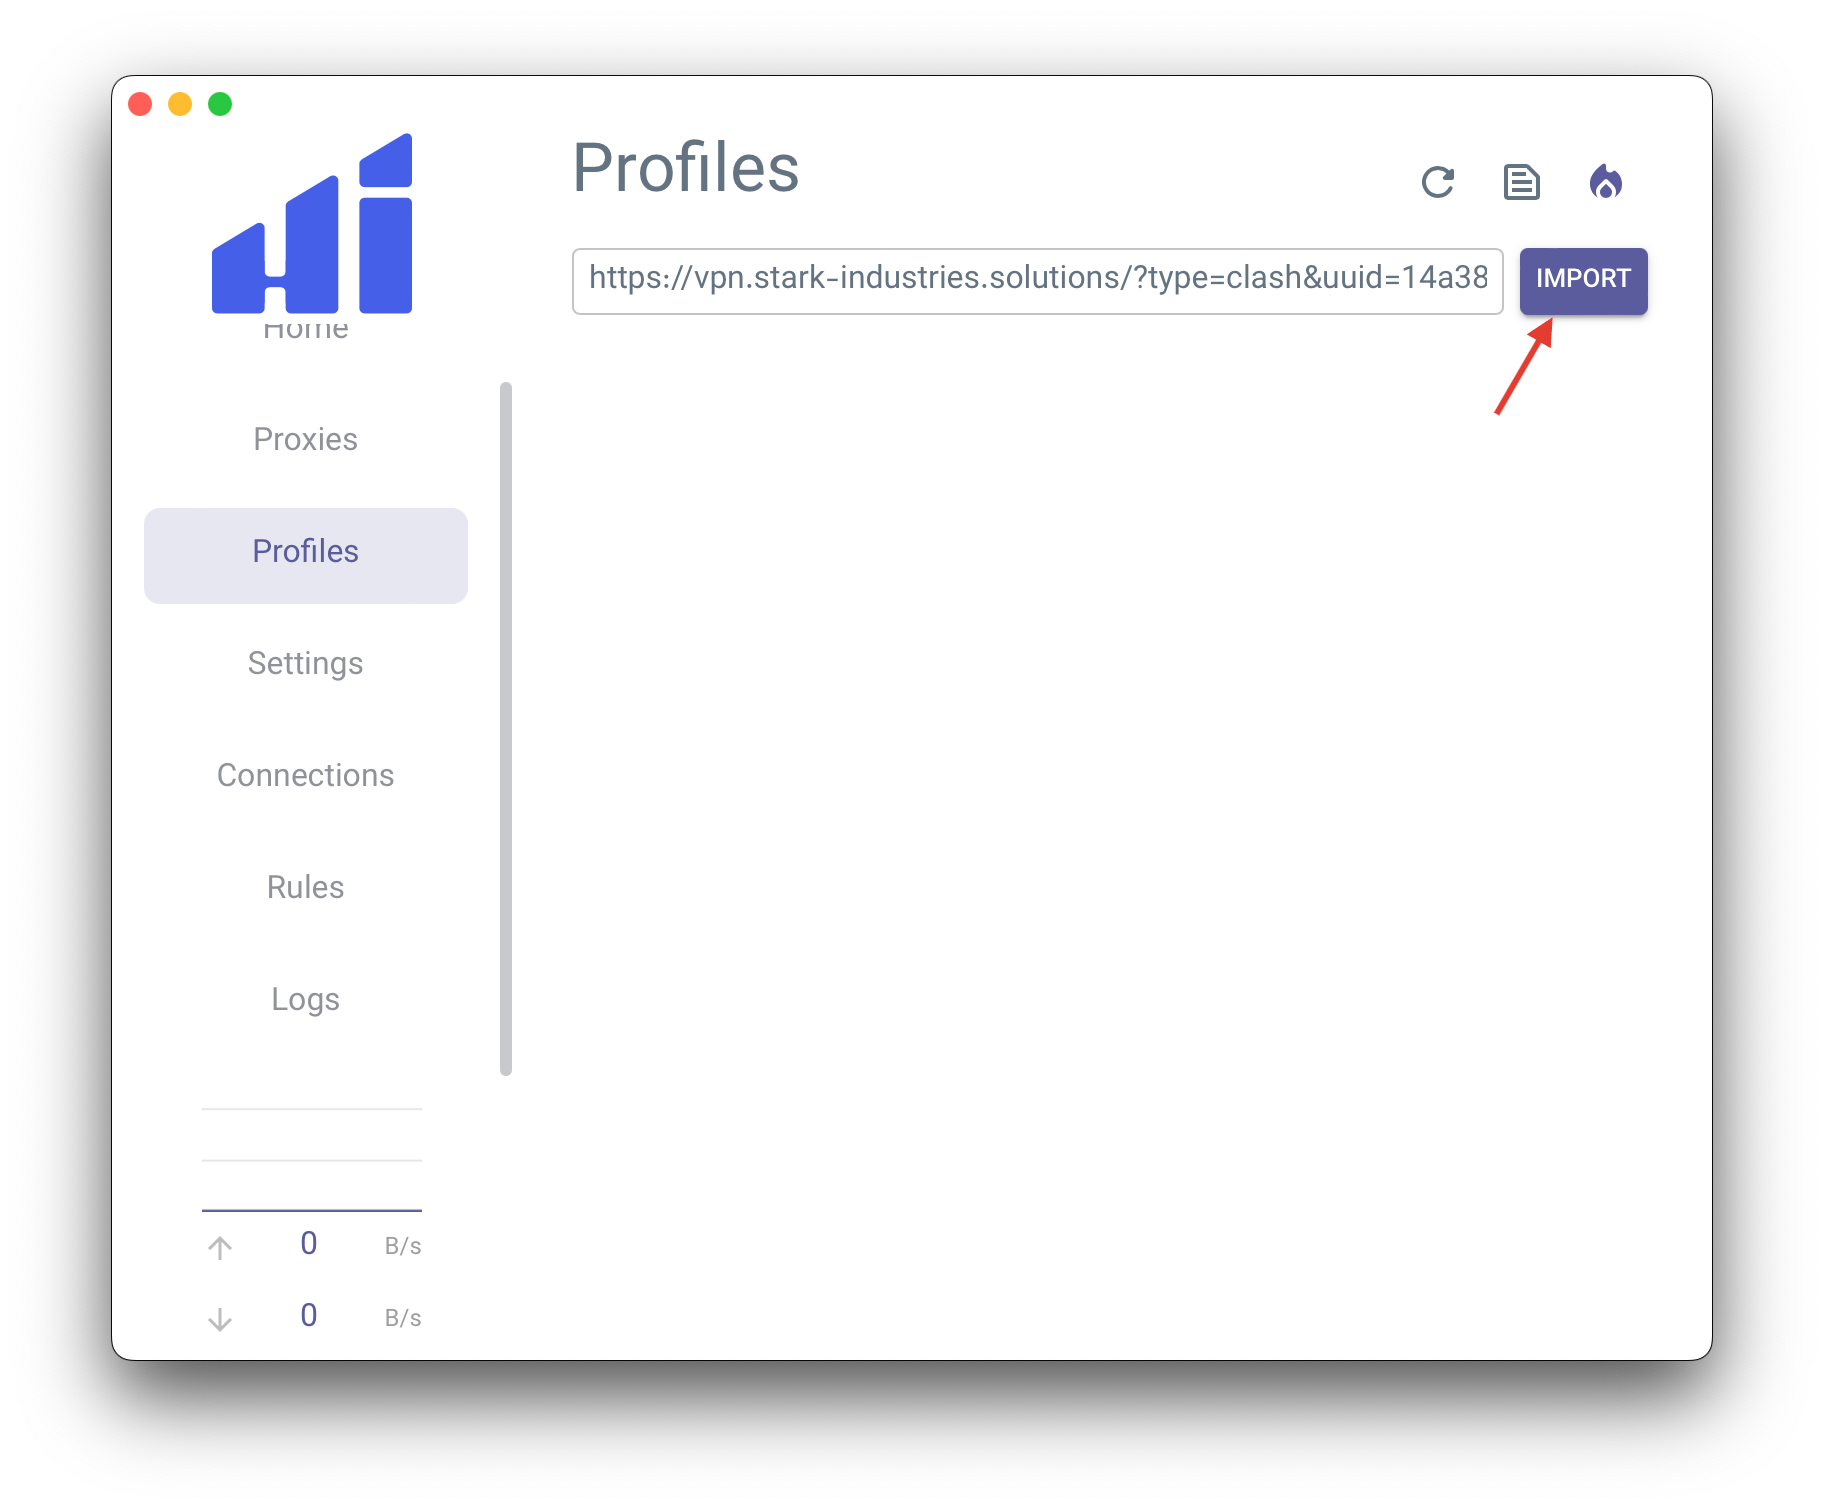
Go to Profiles. Paste the subscription link and click Import:
Import subscription in the Hiddify Clash Desktop application
The subscription link is included in the email sent to you
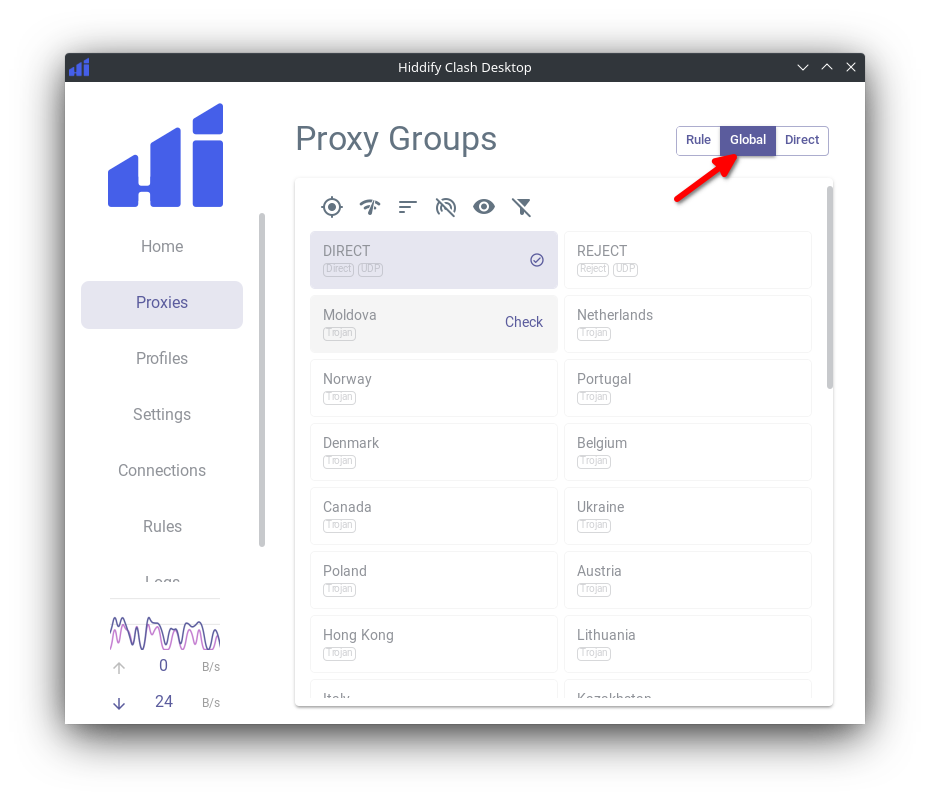
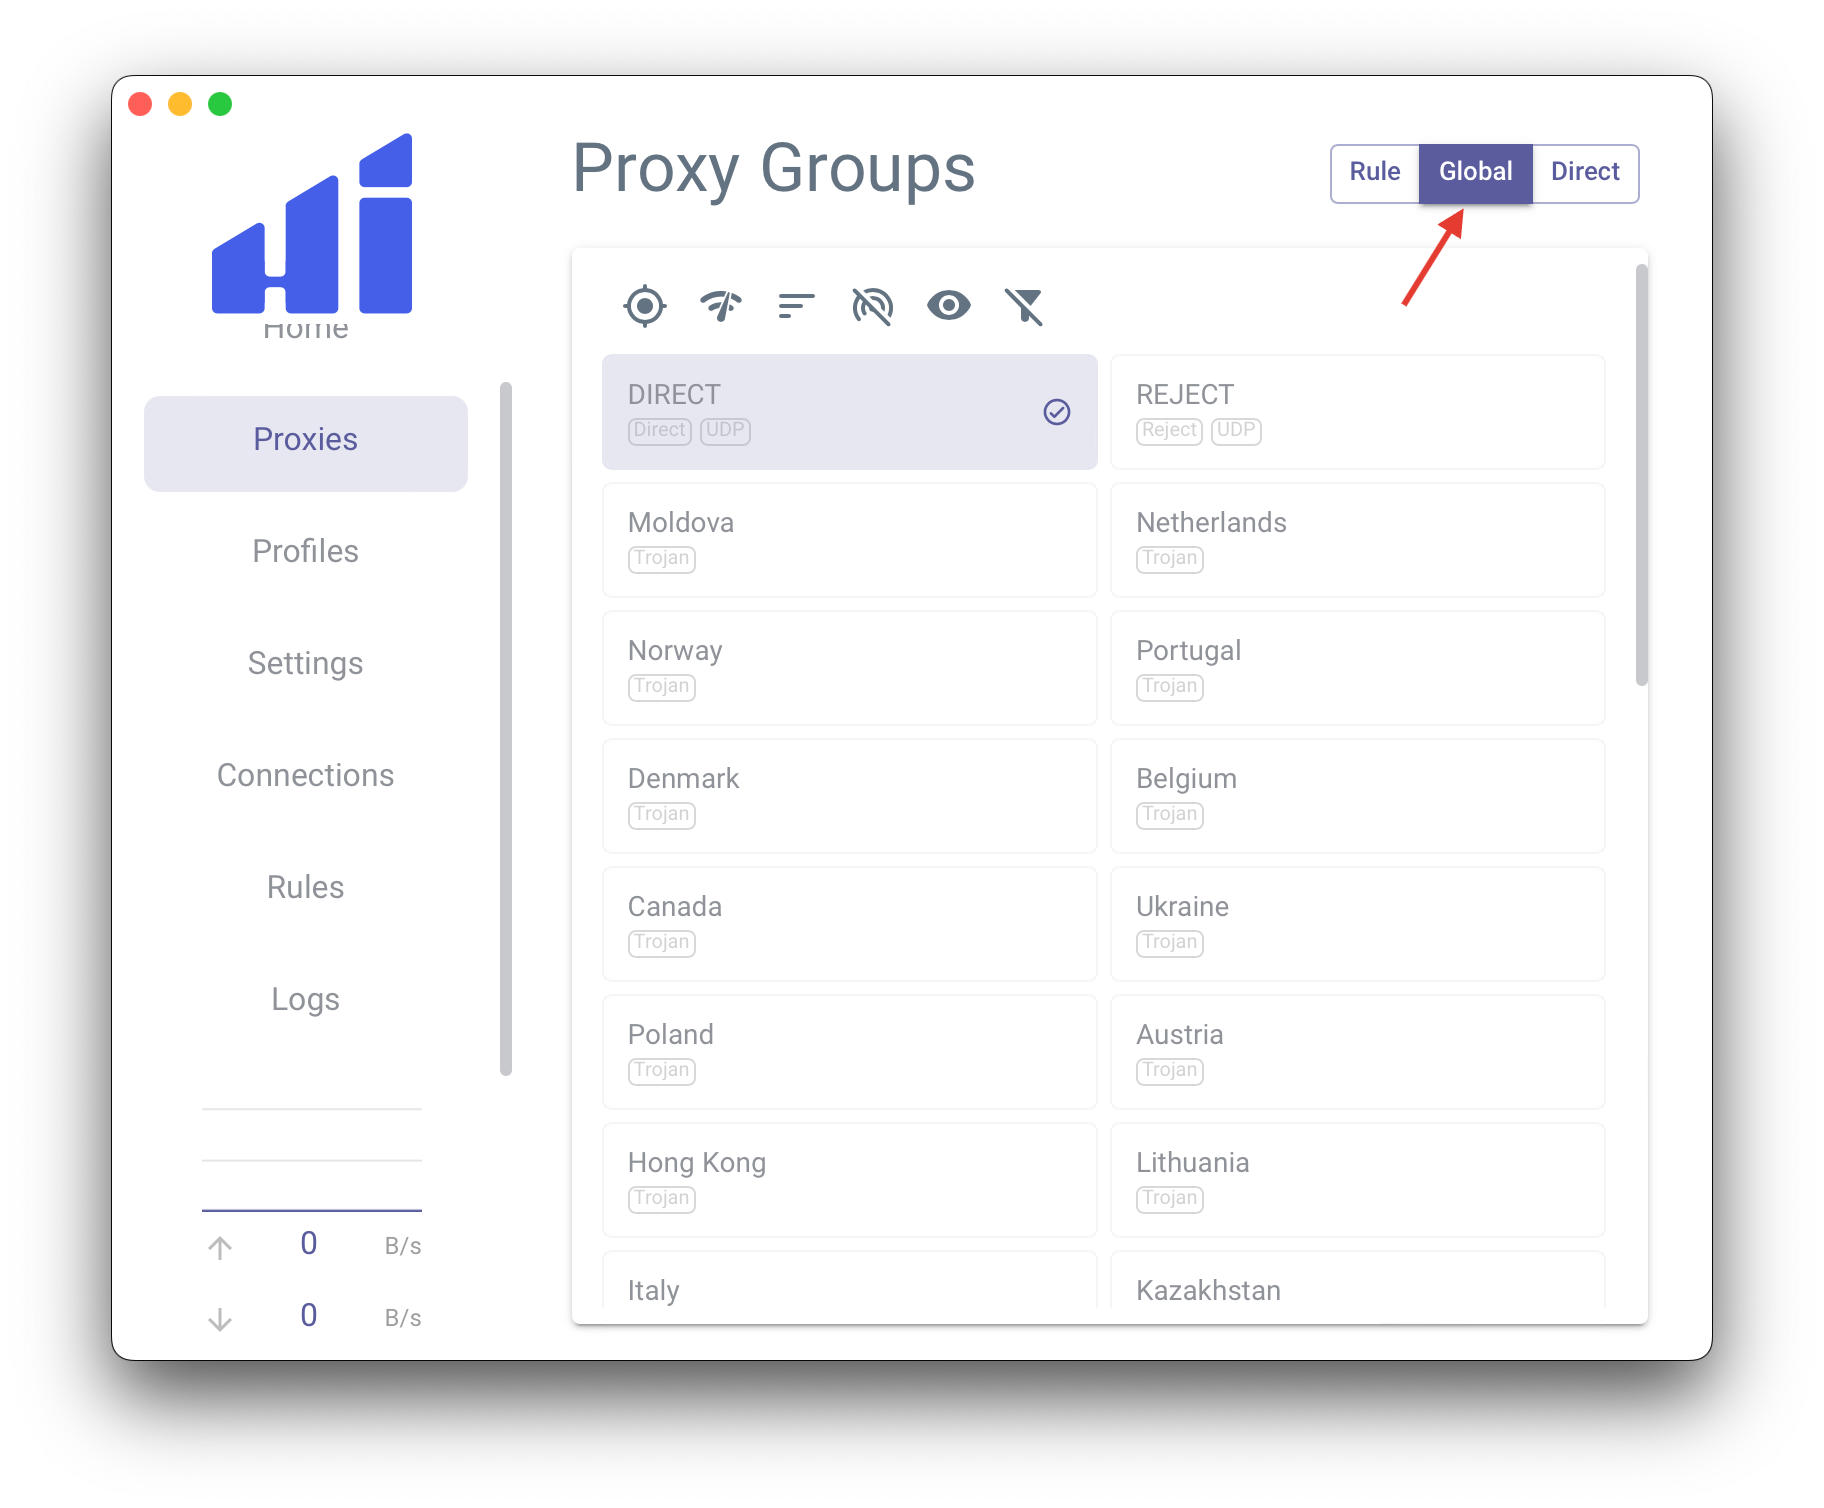
Go to Proxies. Enable Global routing mode:
Application operating mode selection
Select the desired server and check the VPN operation:
Note: Among the servers, there are DIRECT and REJECT. DIRECT — a policy where traffic is sent directly, bypassing the VPN server. REJECT — a policy where all network traffic is blocked.
When the VPN is not needed, you can simply select DIRECT instead of turning off the application.
To check the VPN operation, you can open:
https://www.whatismyip.com/IP address check after connecting to the Moldova serverNote: The best performance is achieved with a wired connection. Speed depends on the geographical distance from the VPN server, backbone network channels between checkpoints, current load on your ISP and VPN server channels, your internet plan, and other factors beyond external control.
If the location is unstable, select another one for an optimal internet connection.
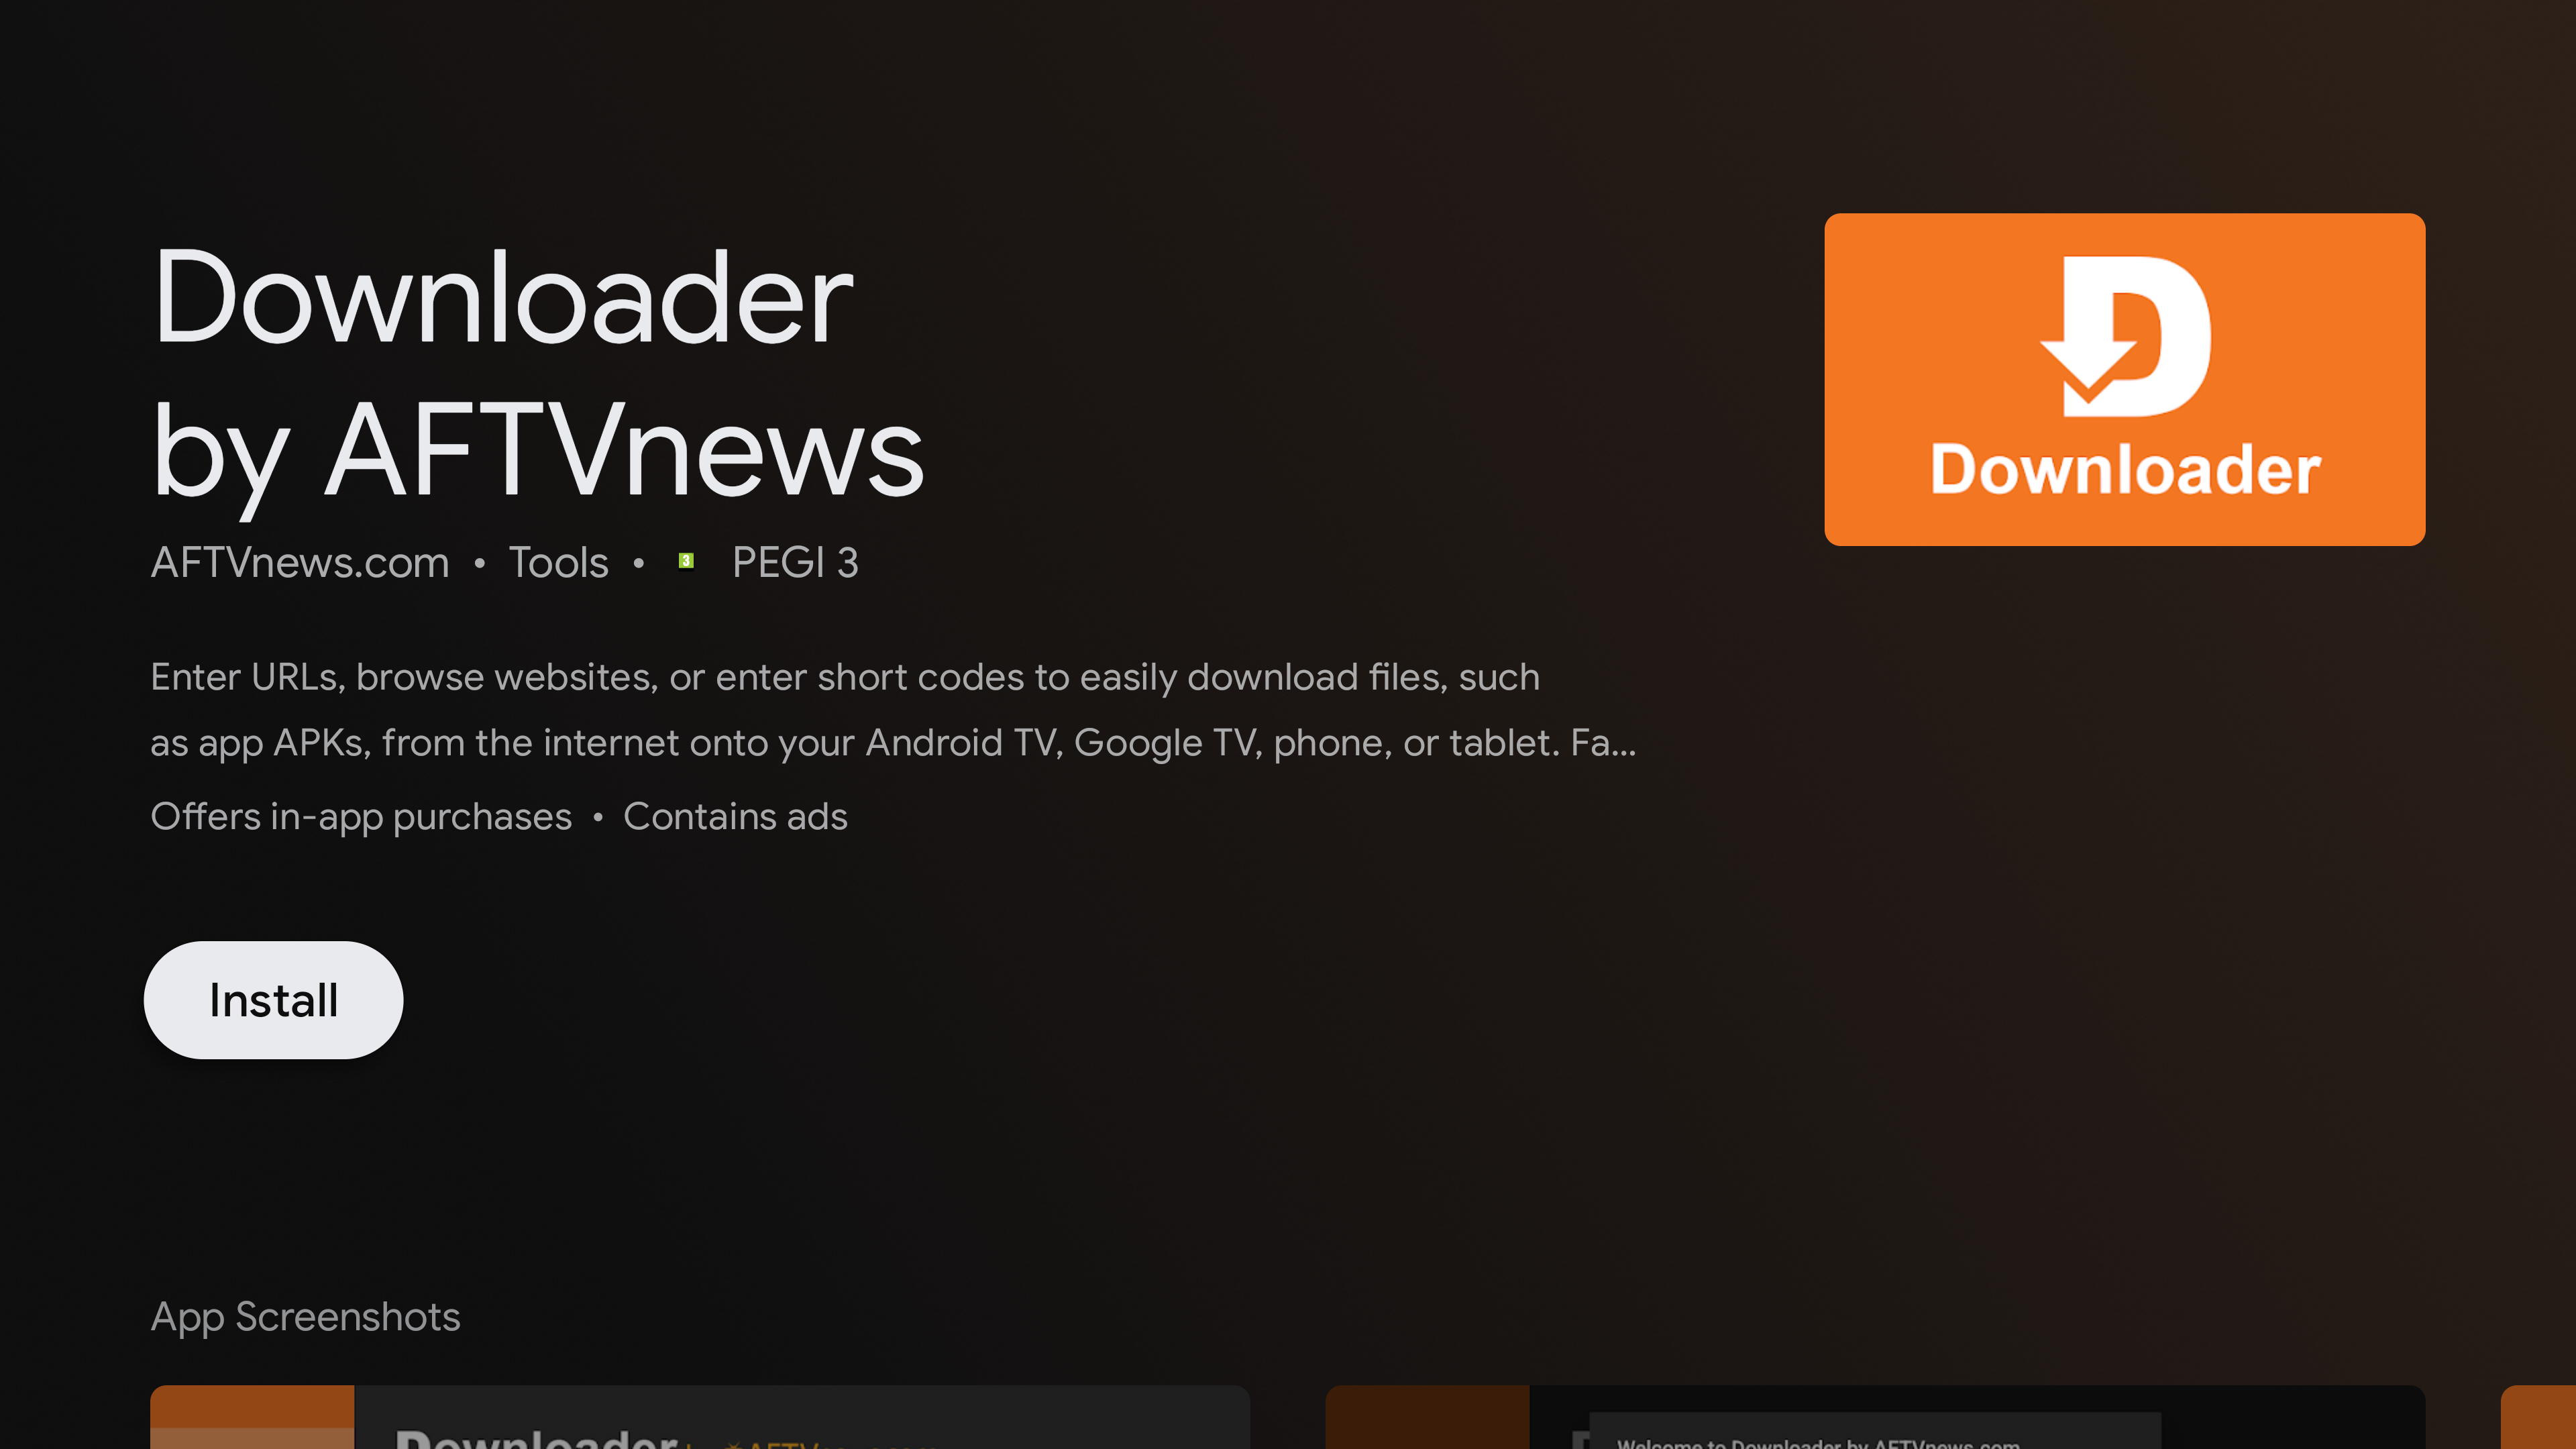
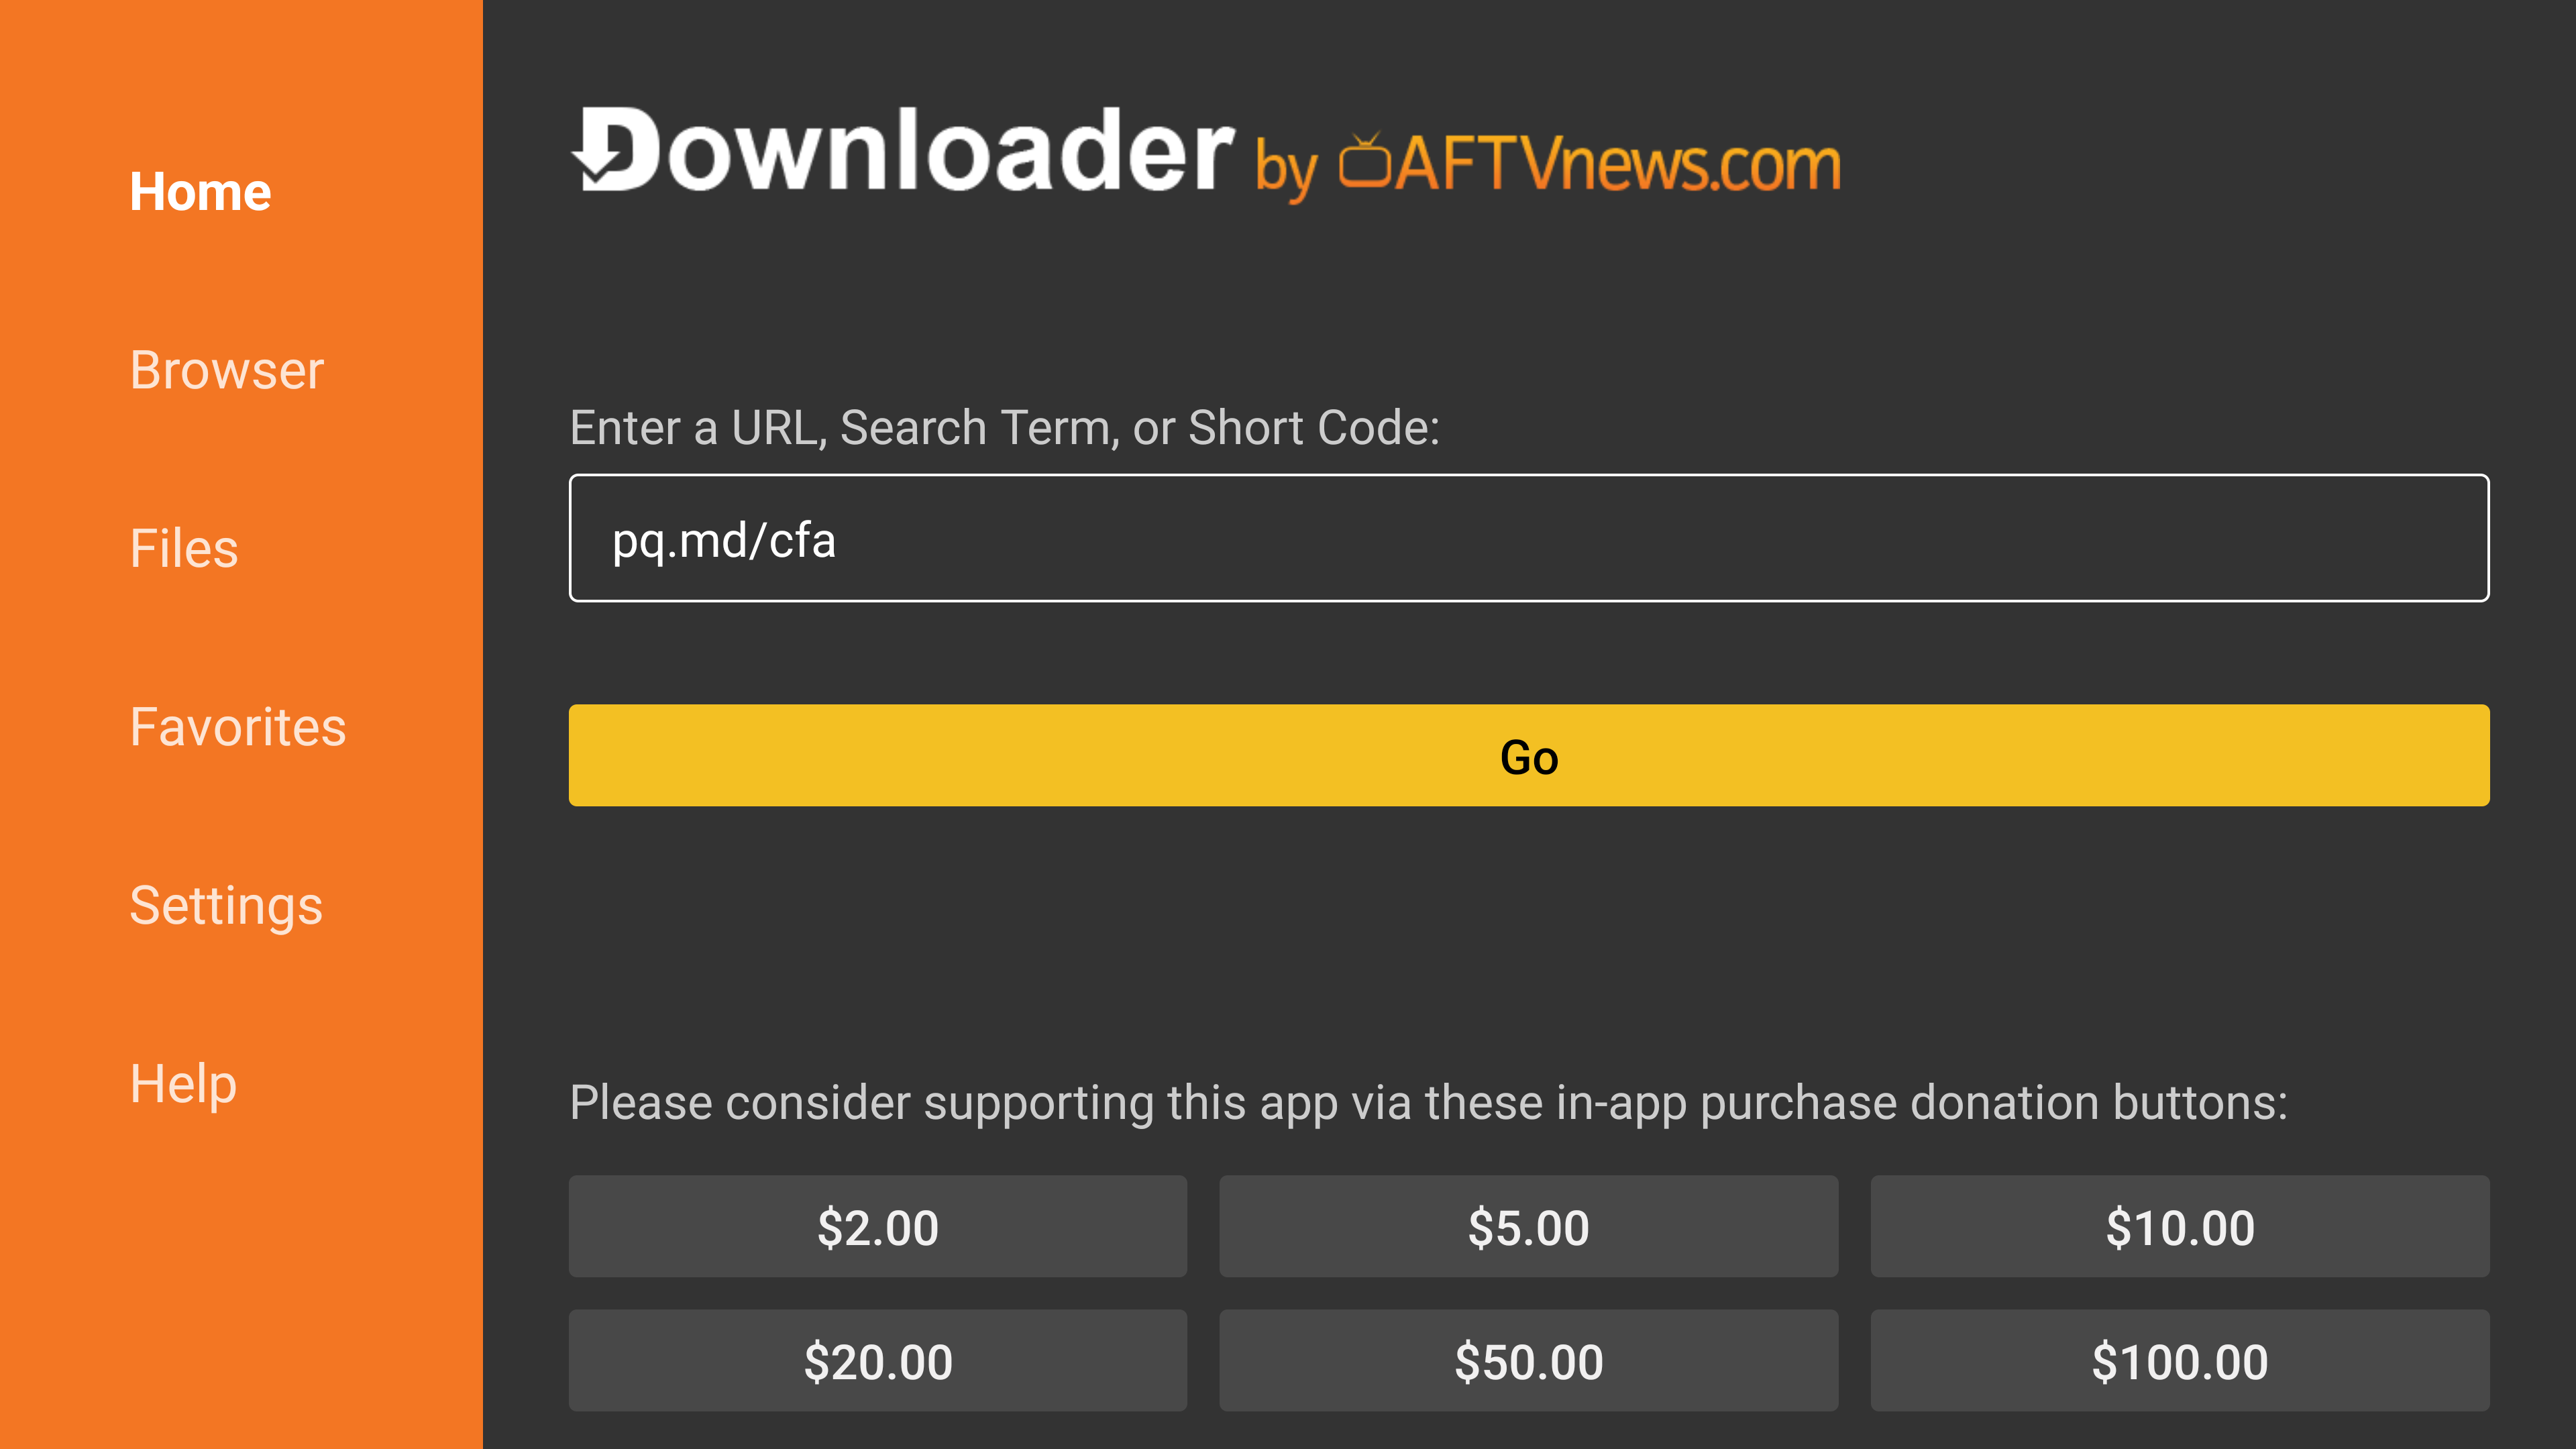
Launch the application and enter the download URL:
Download Clash for AndroidInterface of the application for downloading and installing apps from APK
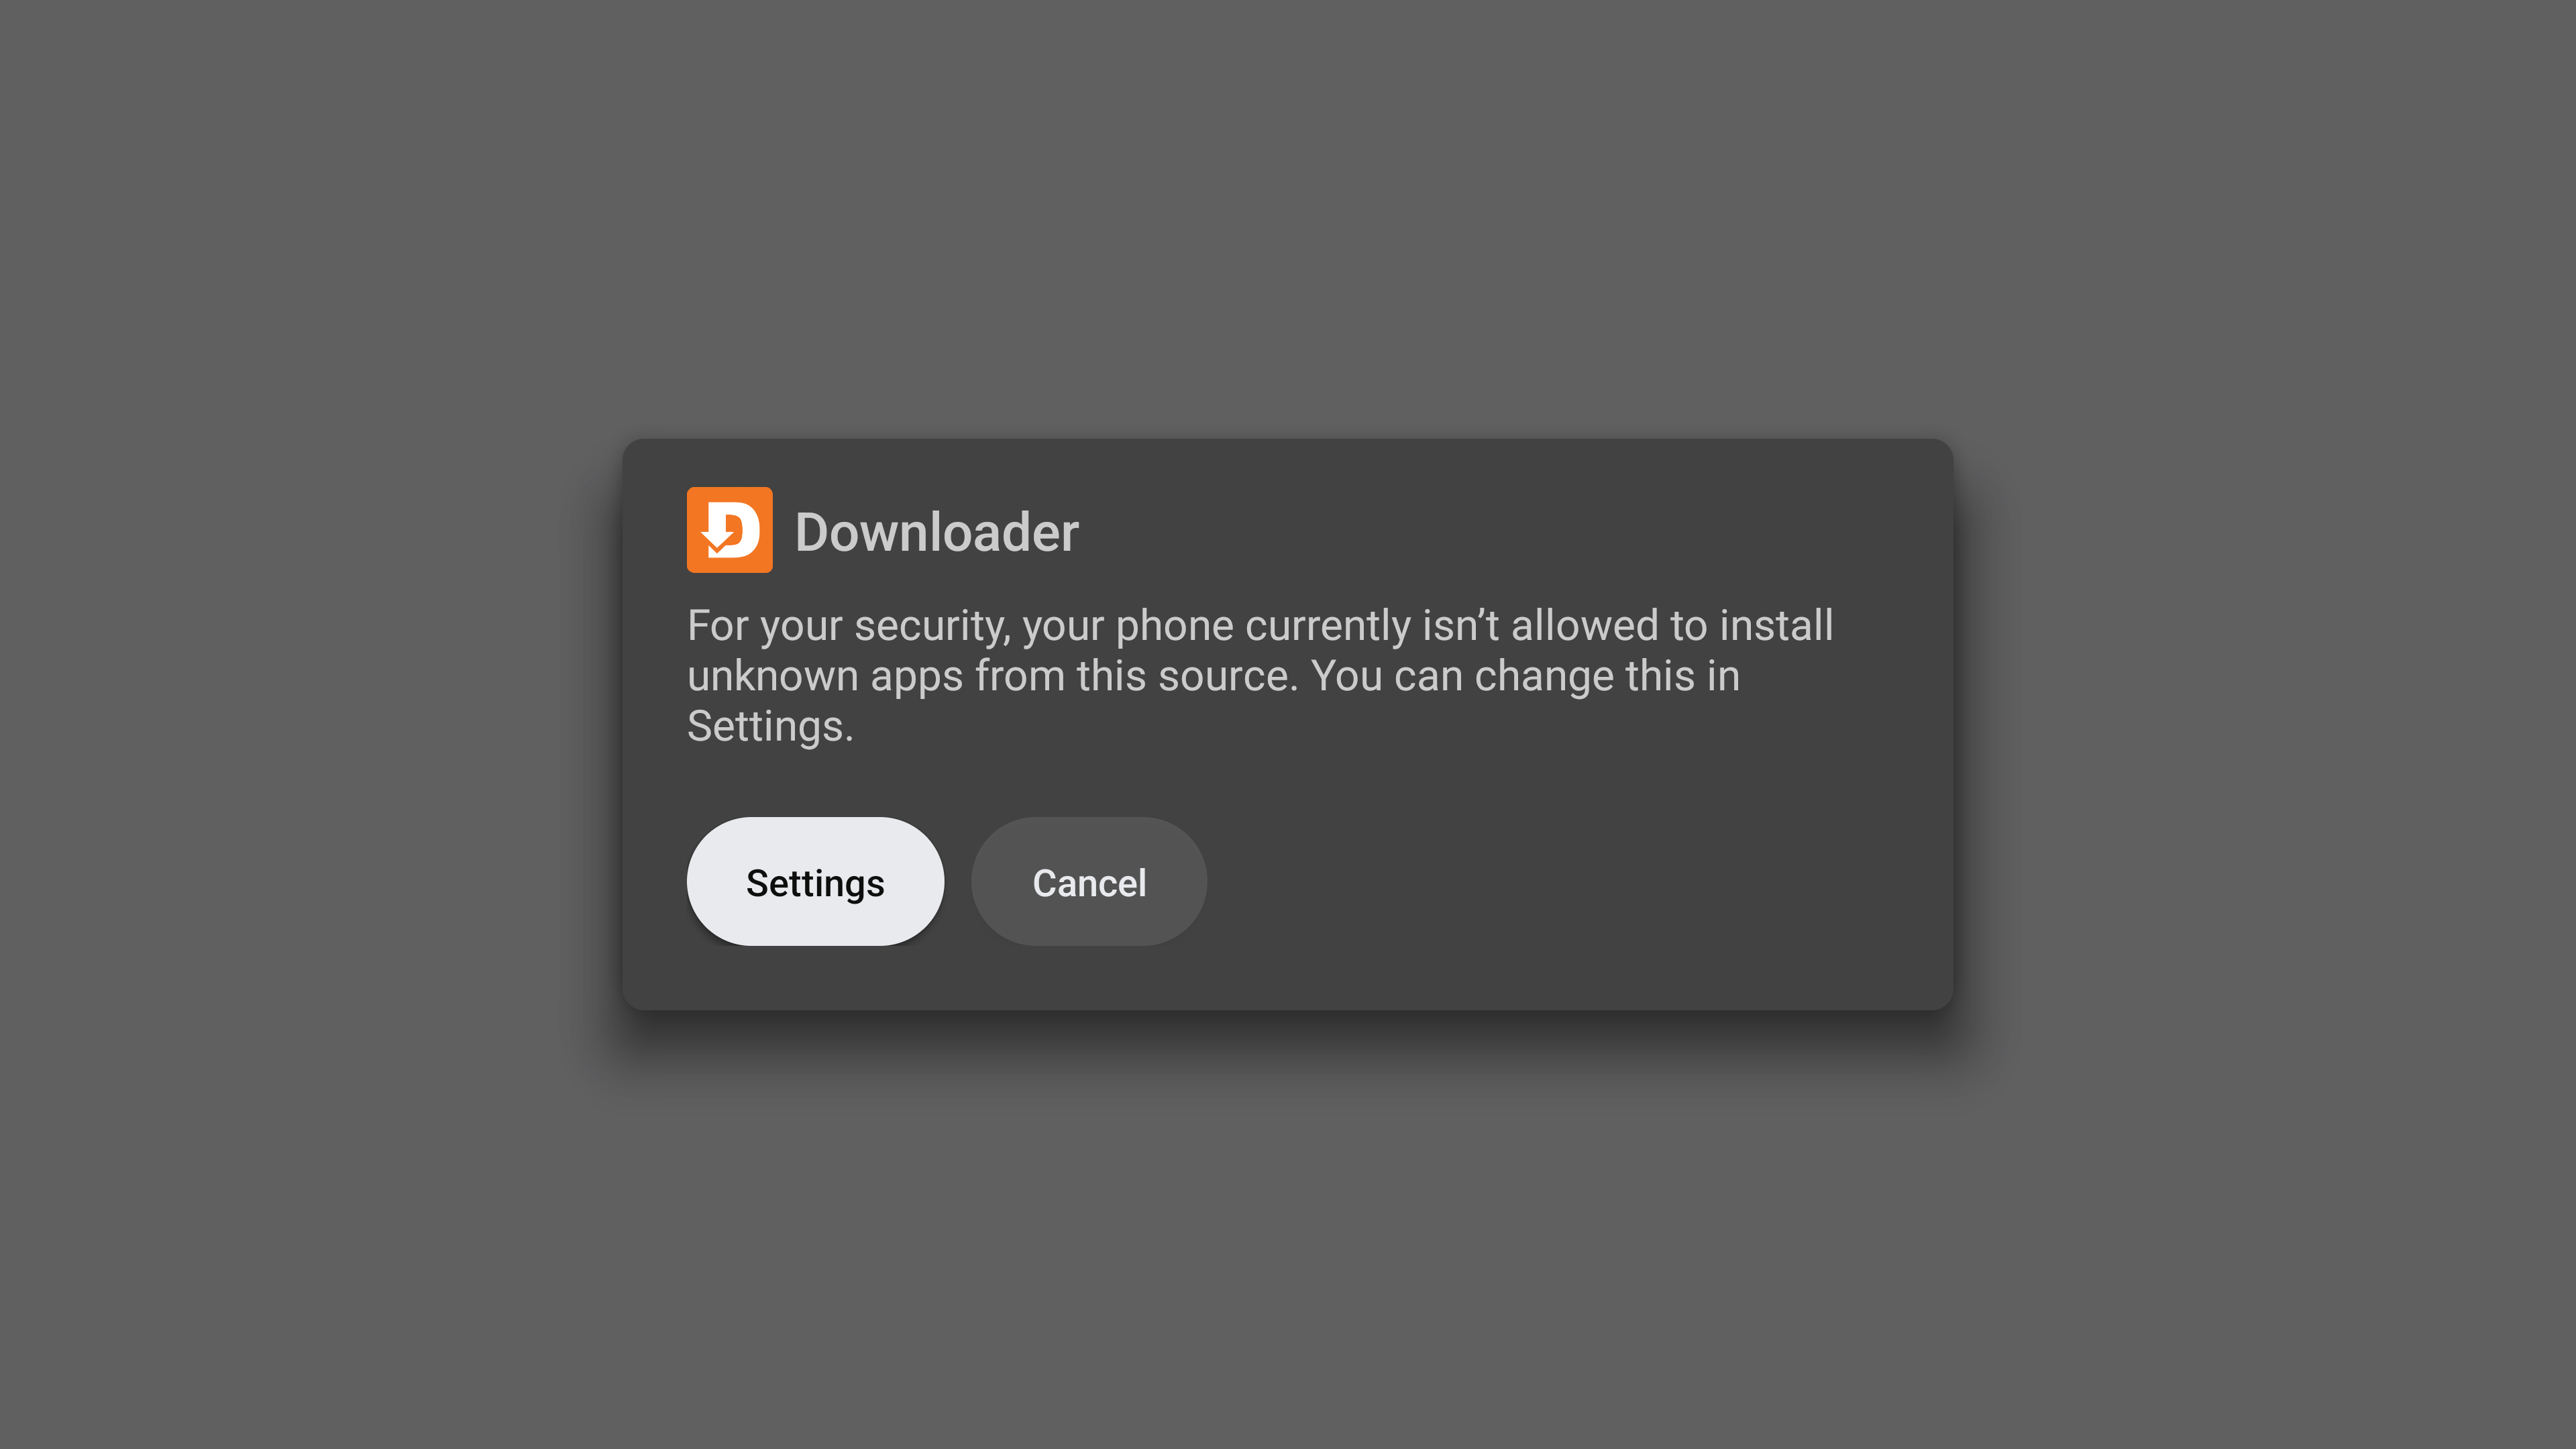
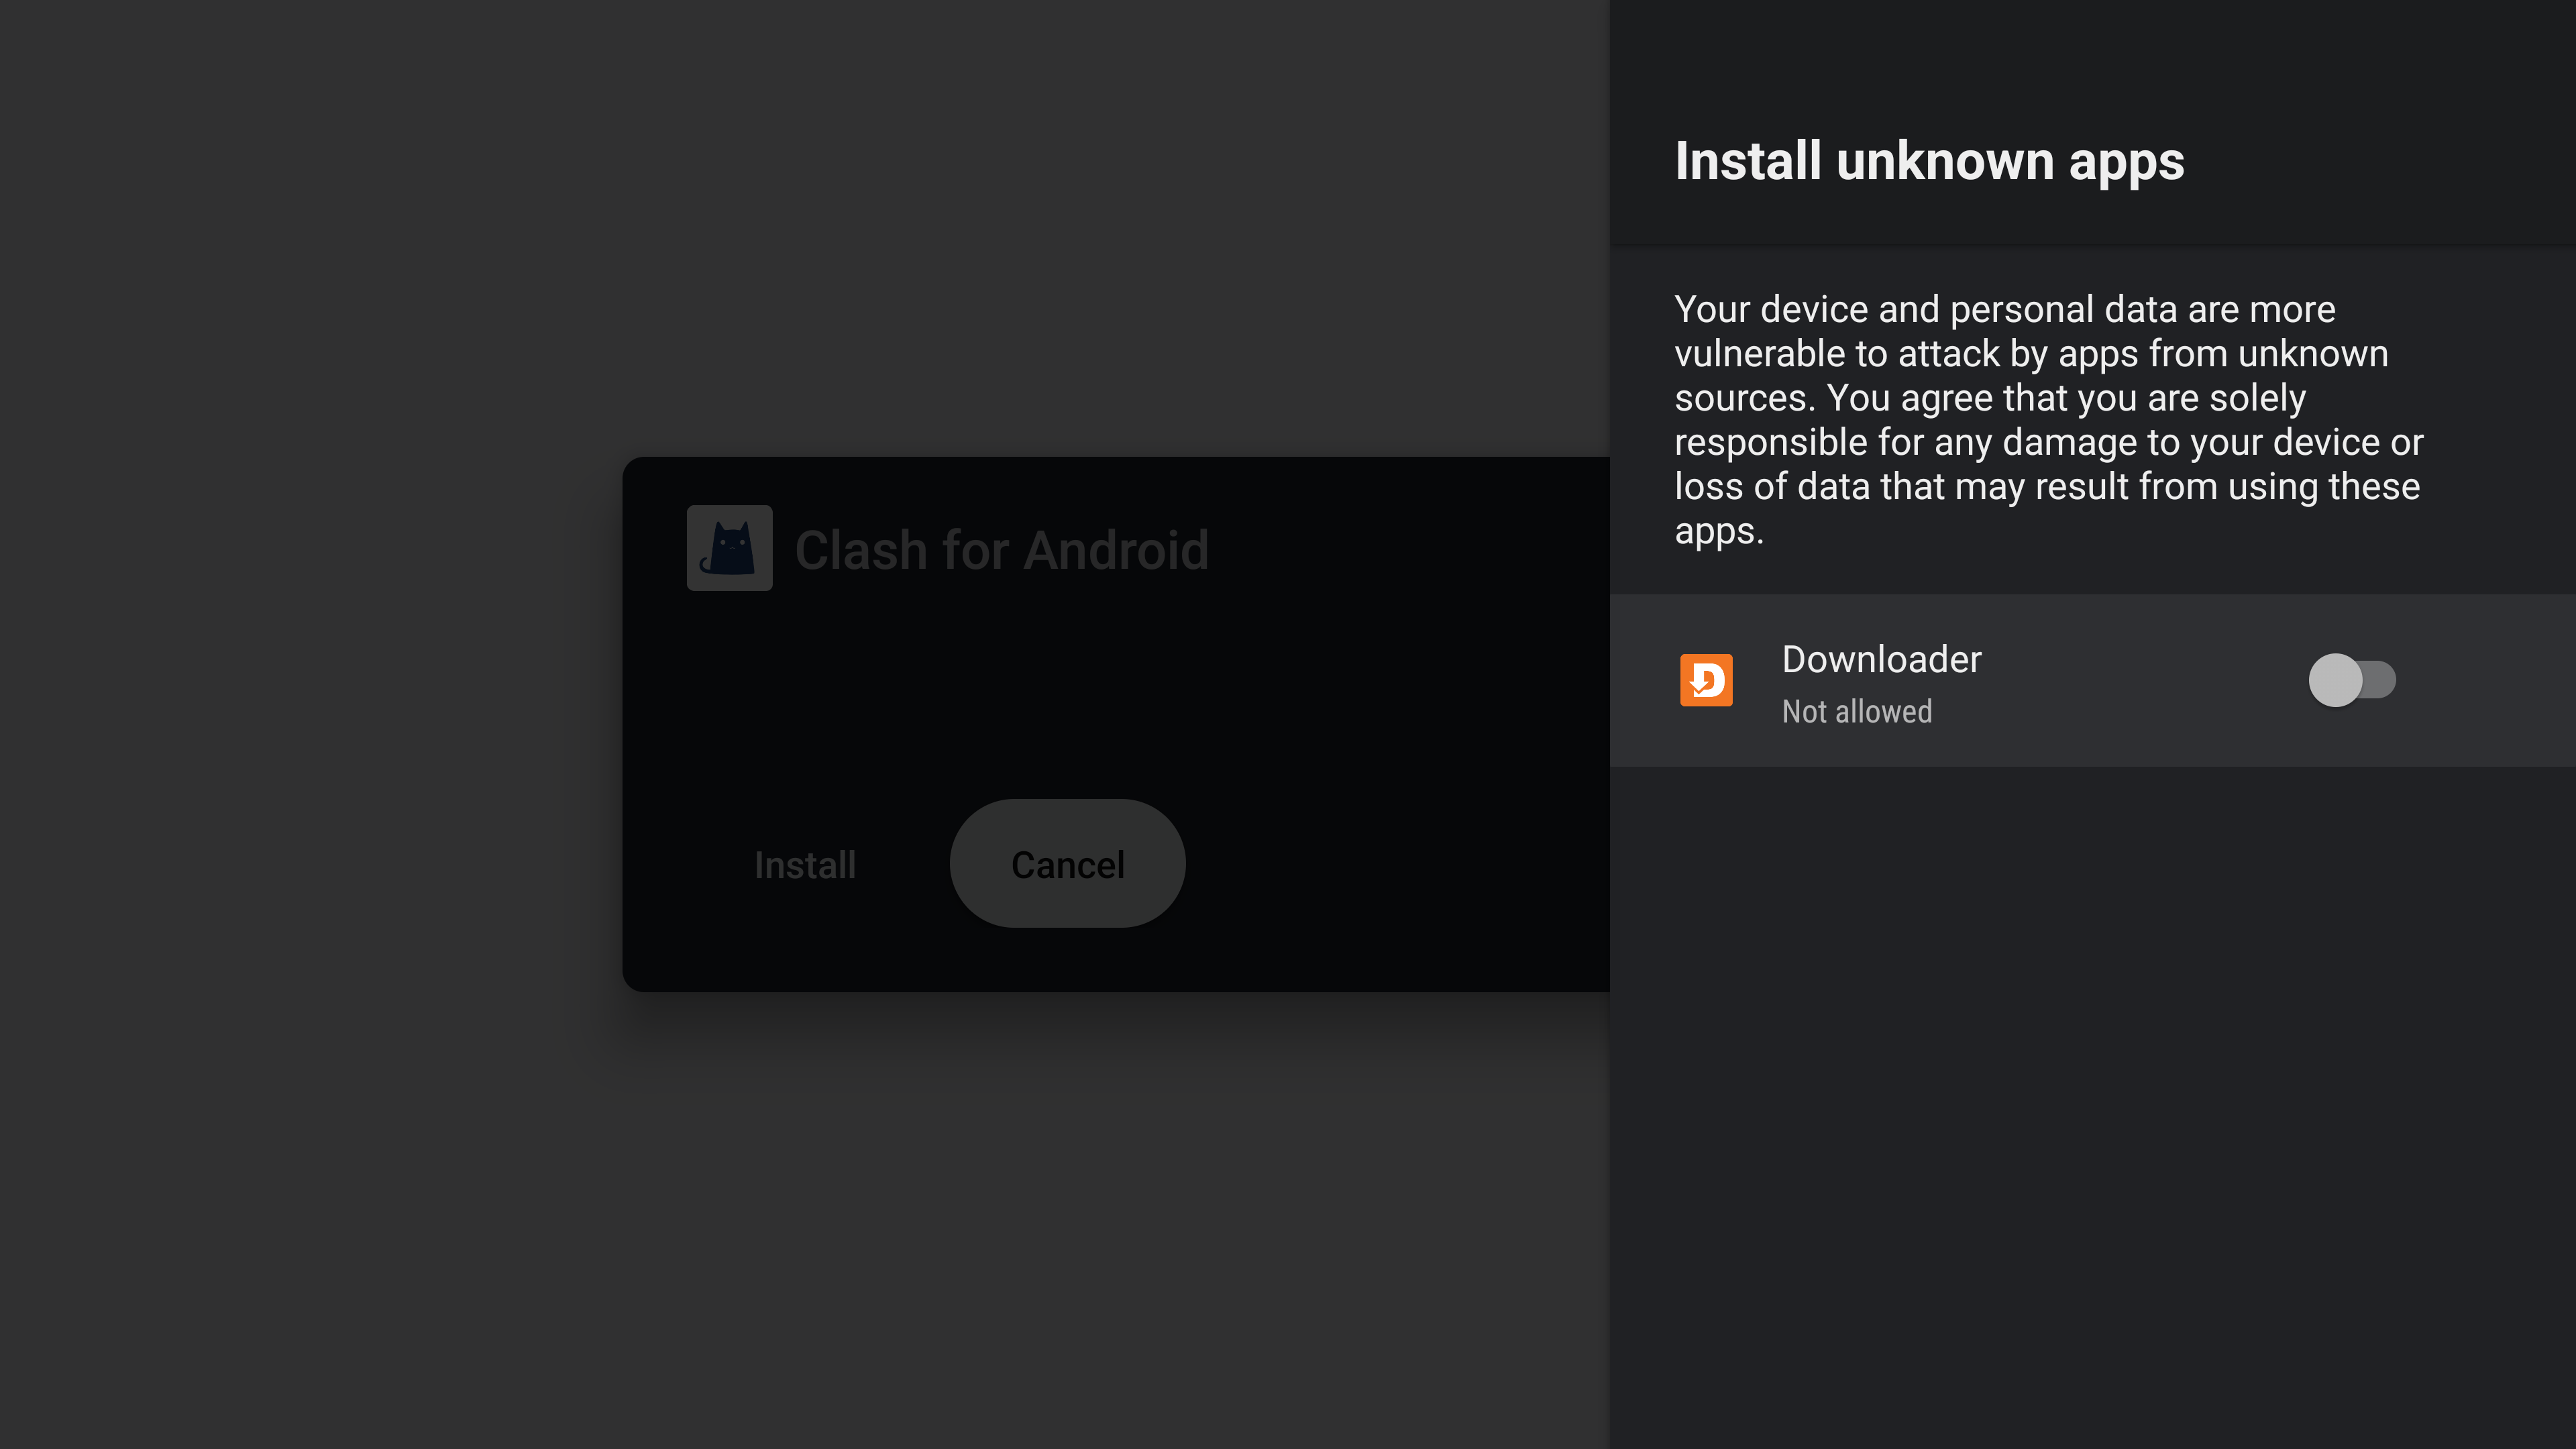
Grant permission to install the application:
Permission request to install applications from APKGranting permission to install applications from unknown sources
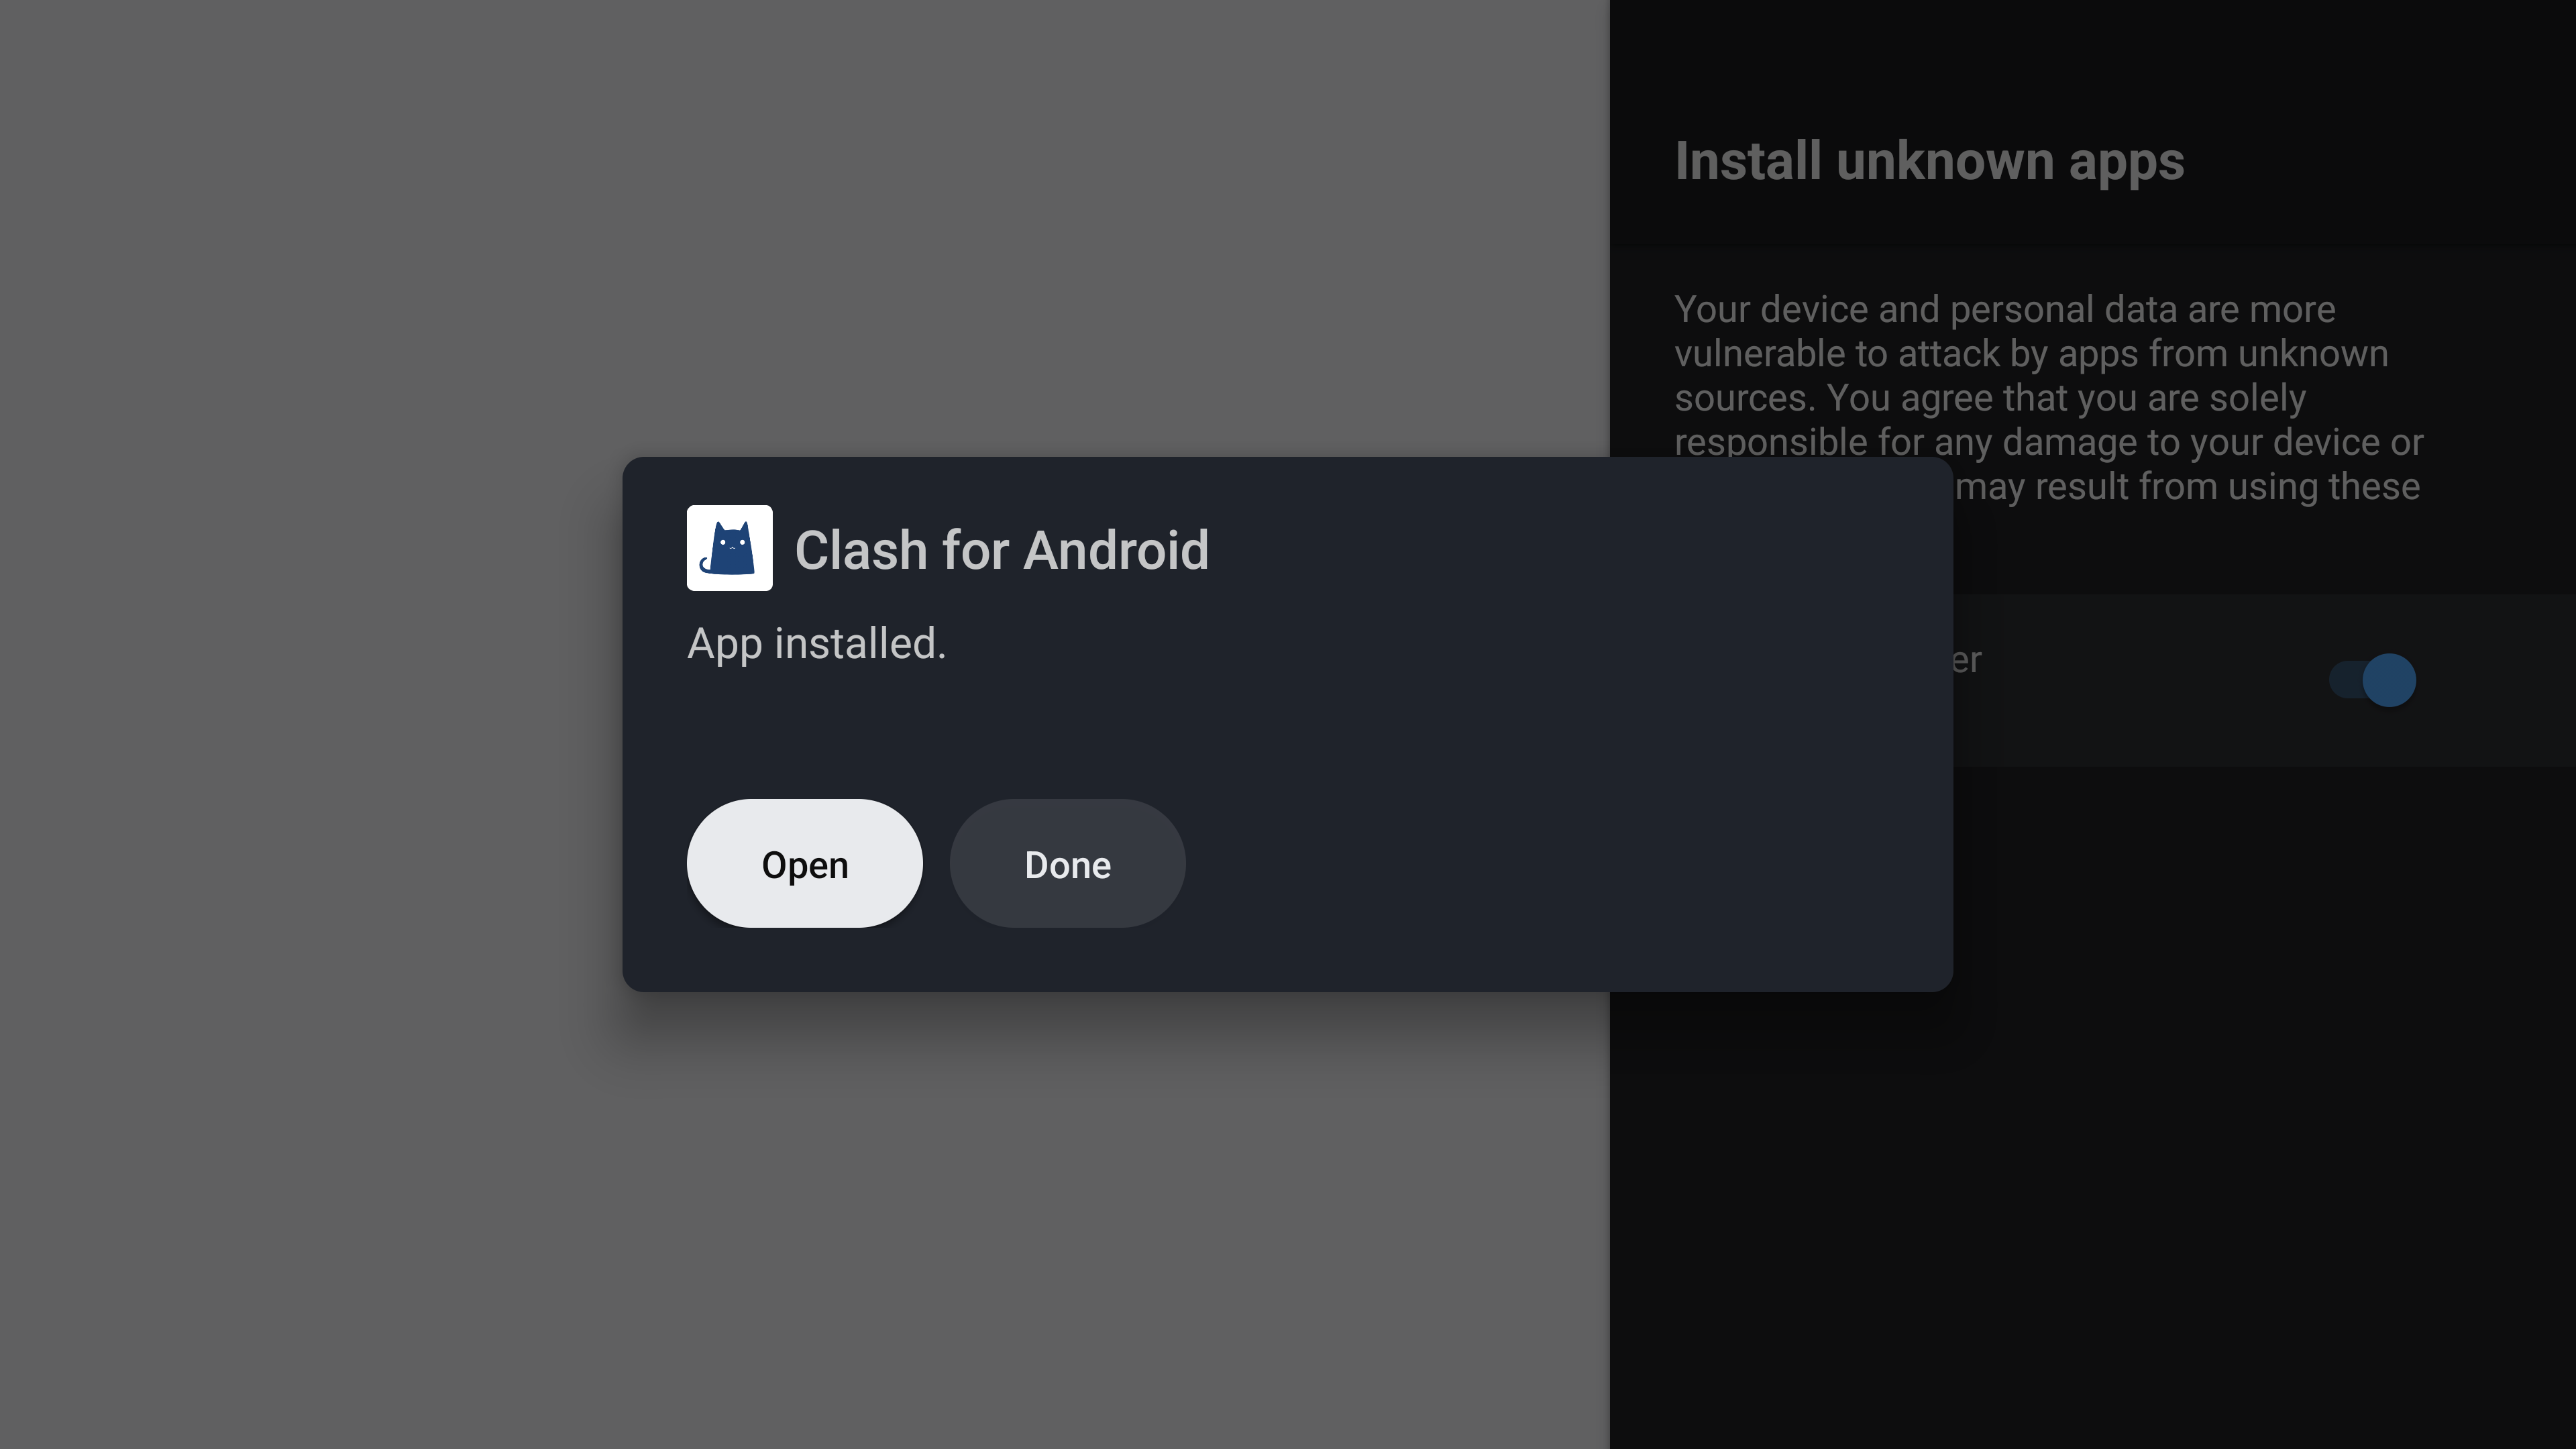
Install and launch the Clash for Android application:
Dialog box after successful installation of the Clash for Android application
Go to Profile to import the subscription:
Clash for Android application interface
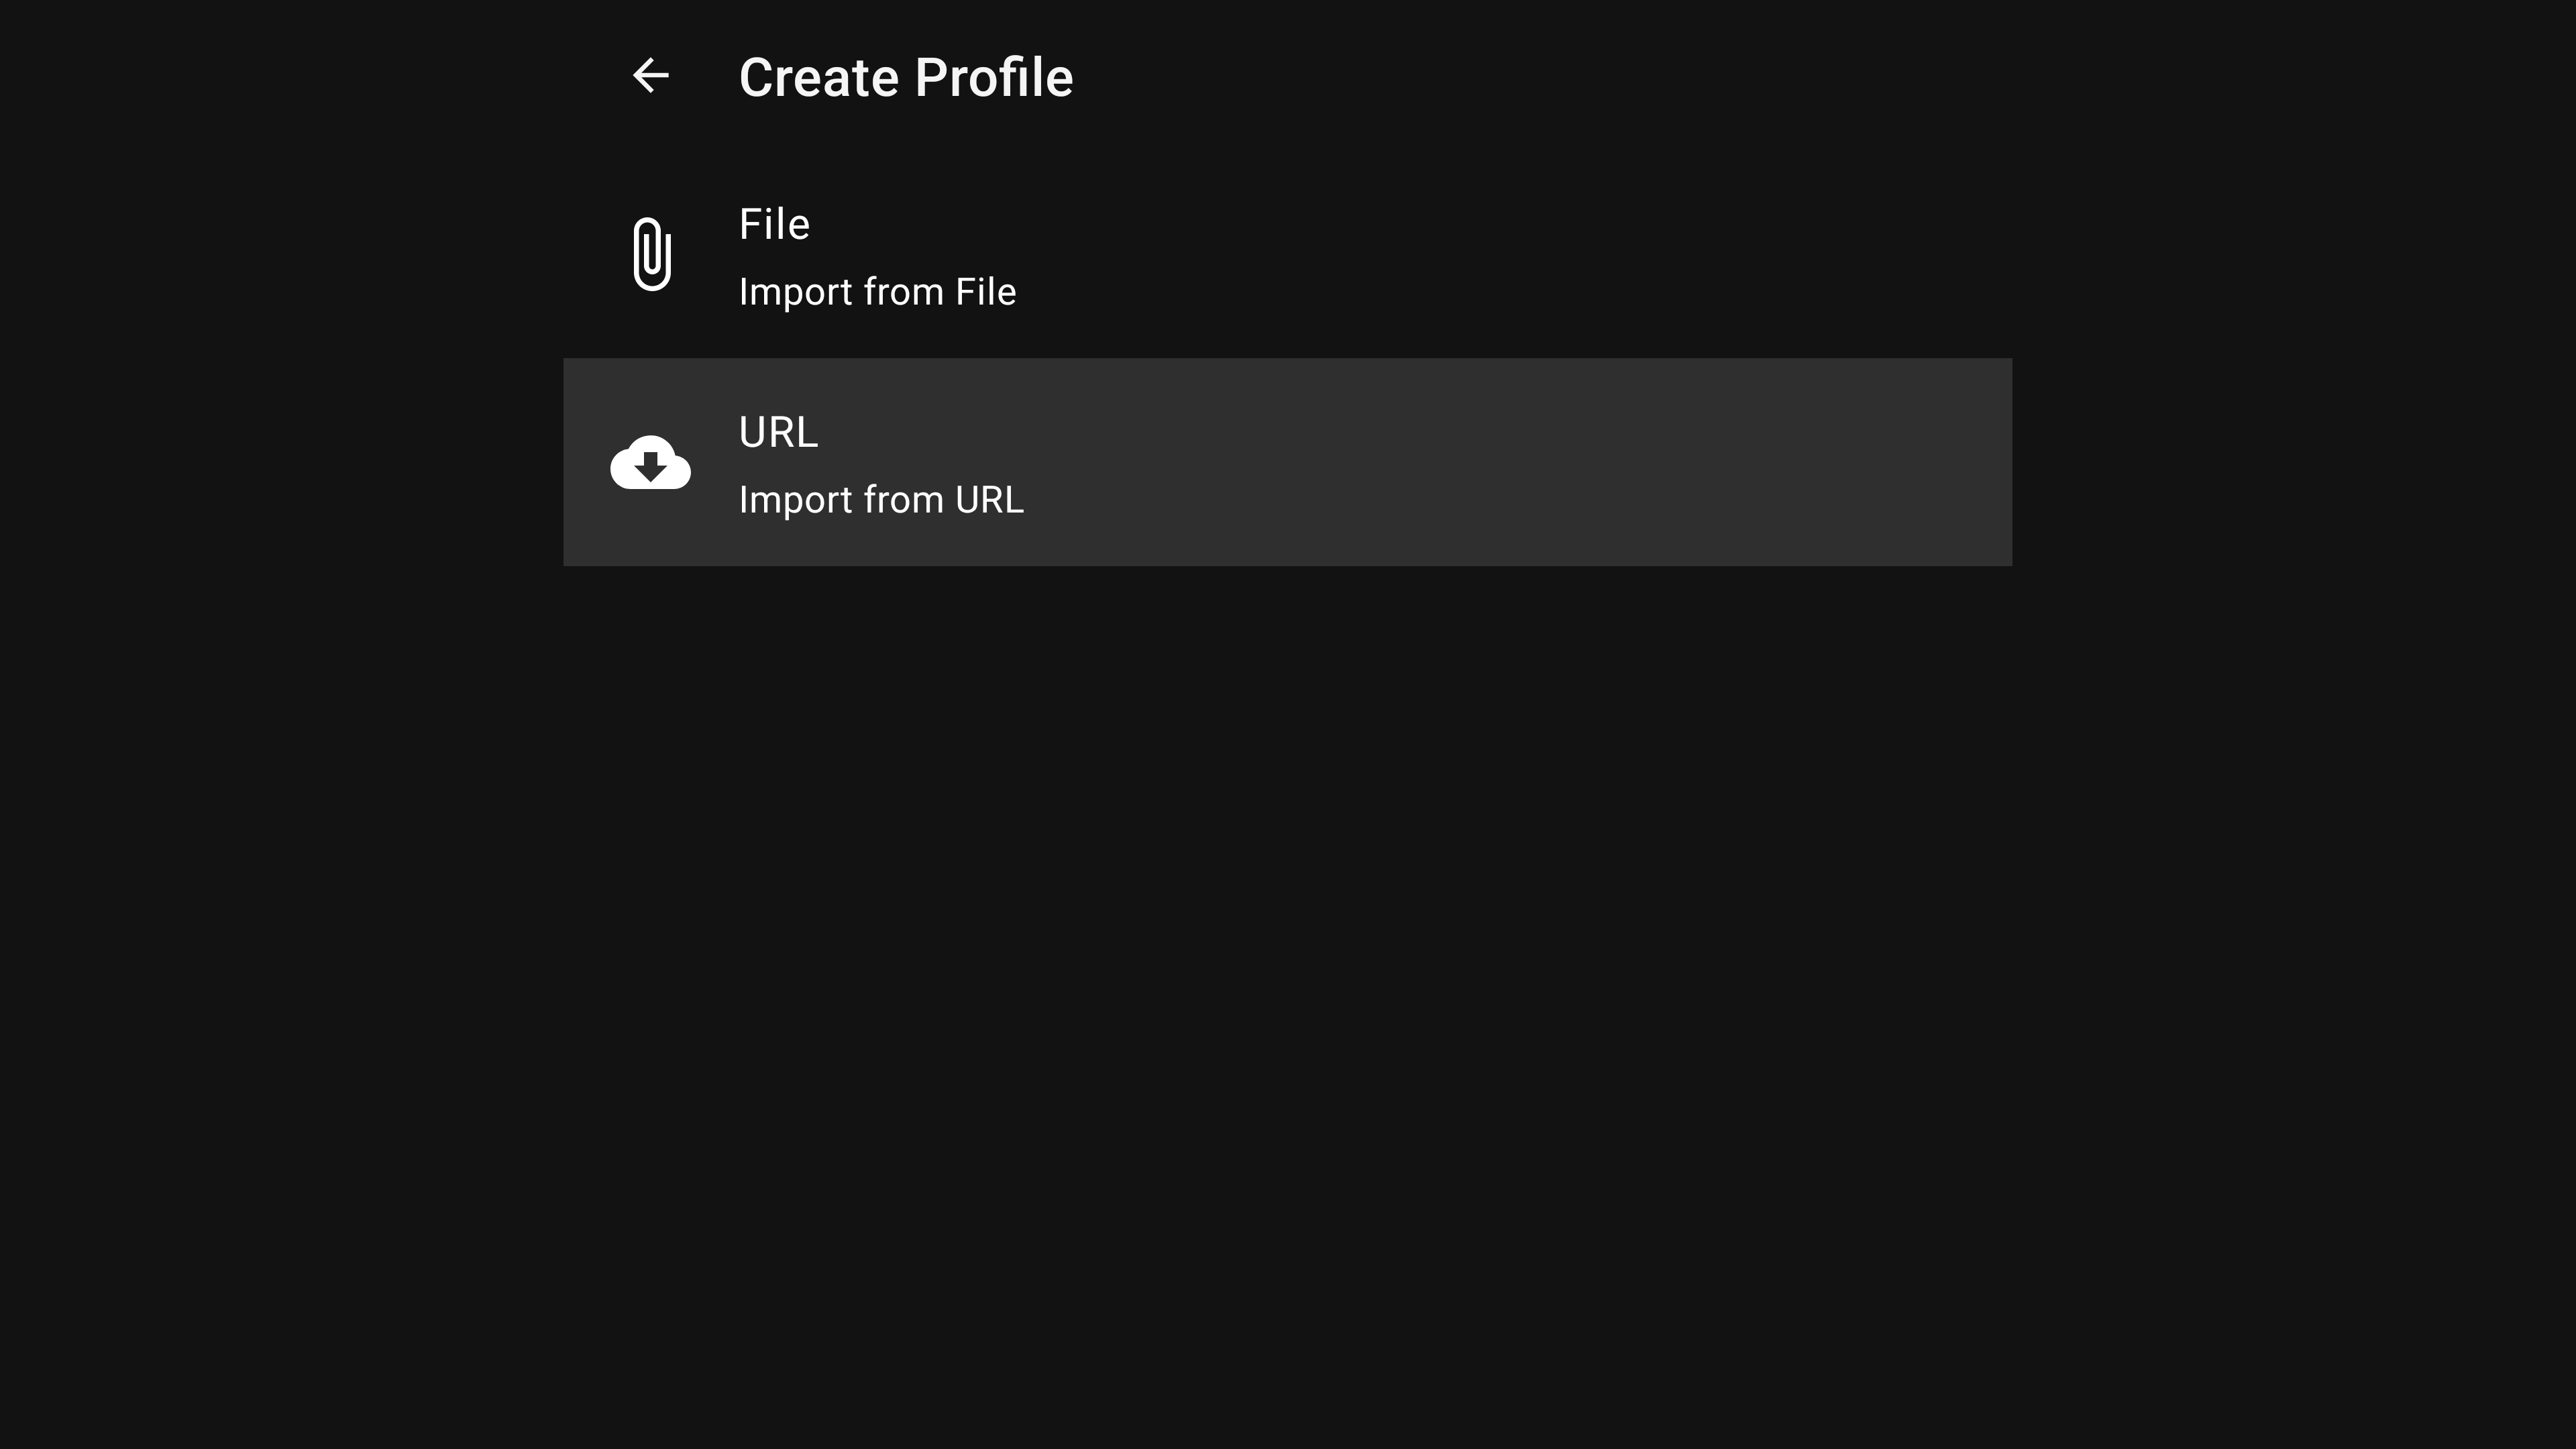
Click the "+" button at the top and select "Import from URL":
Section where VPN profiles will be addedProfile import available via URL or file
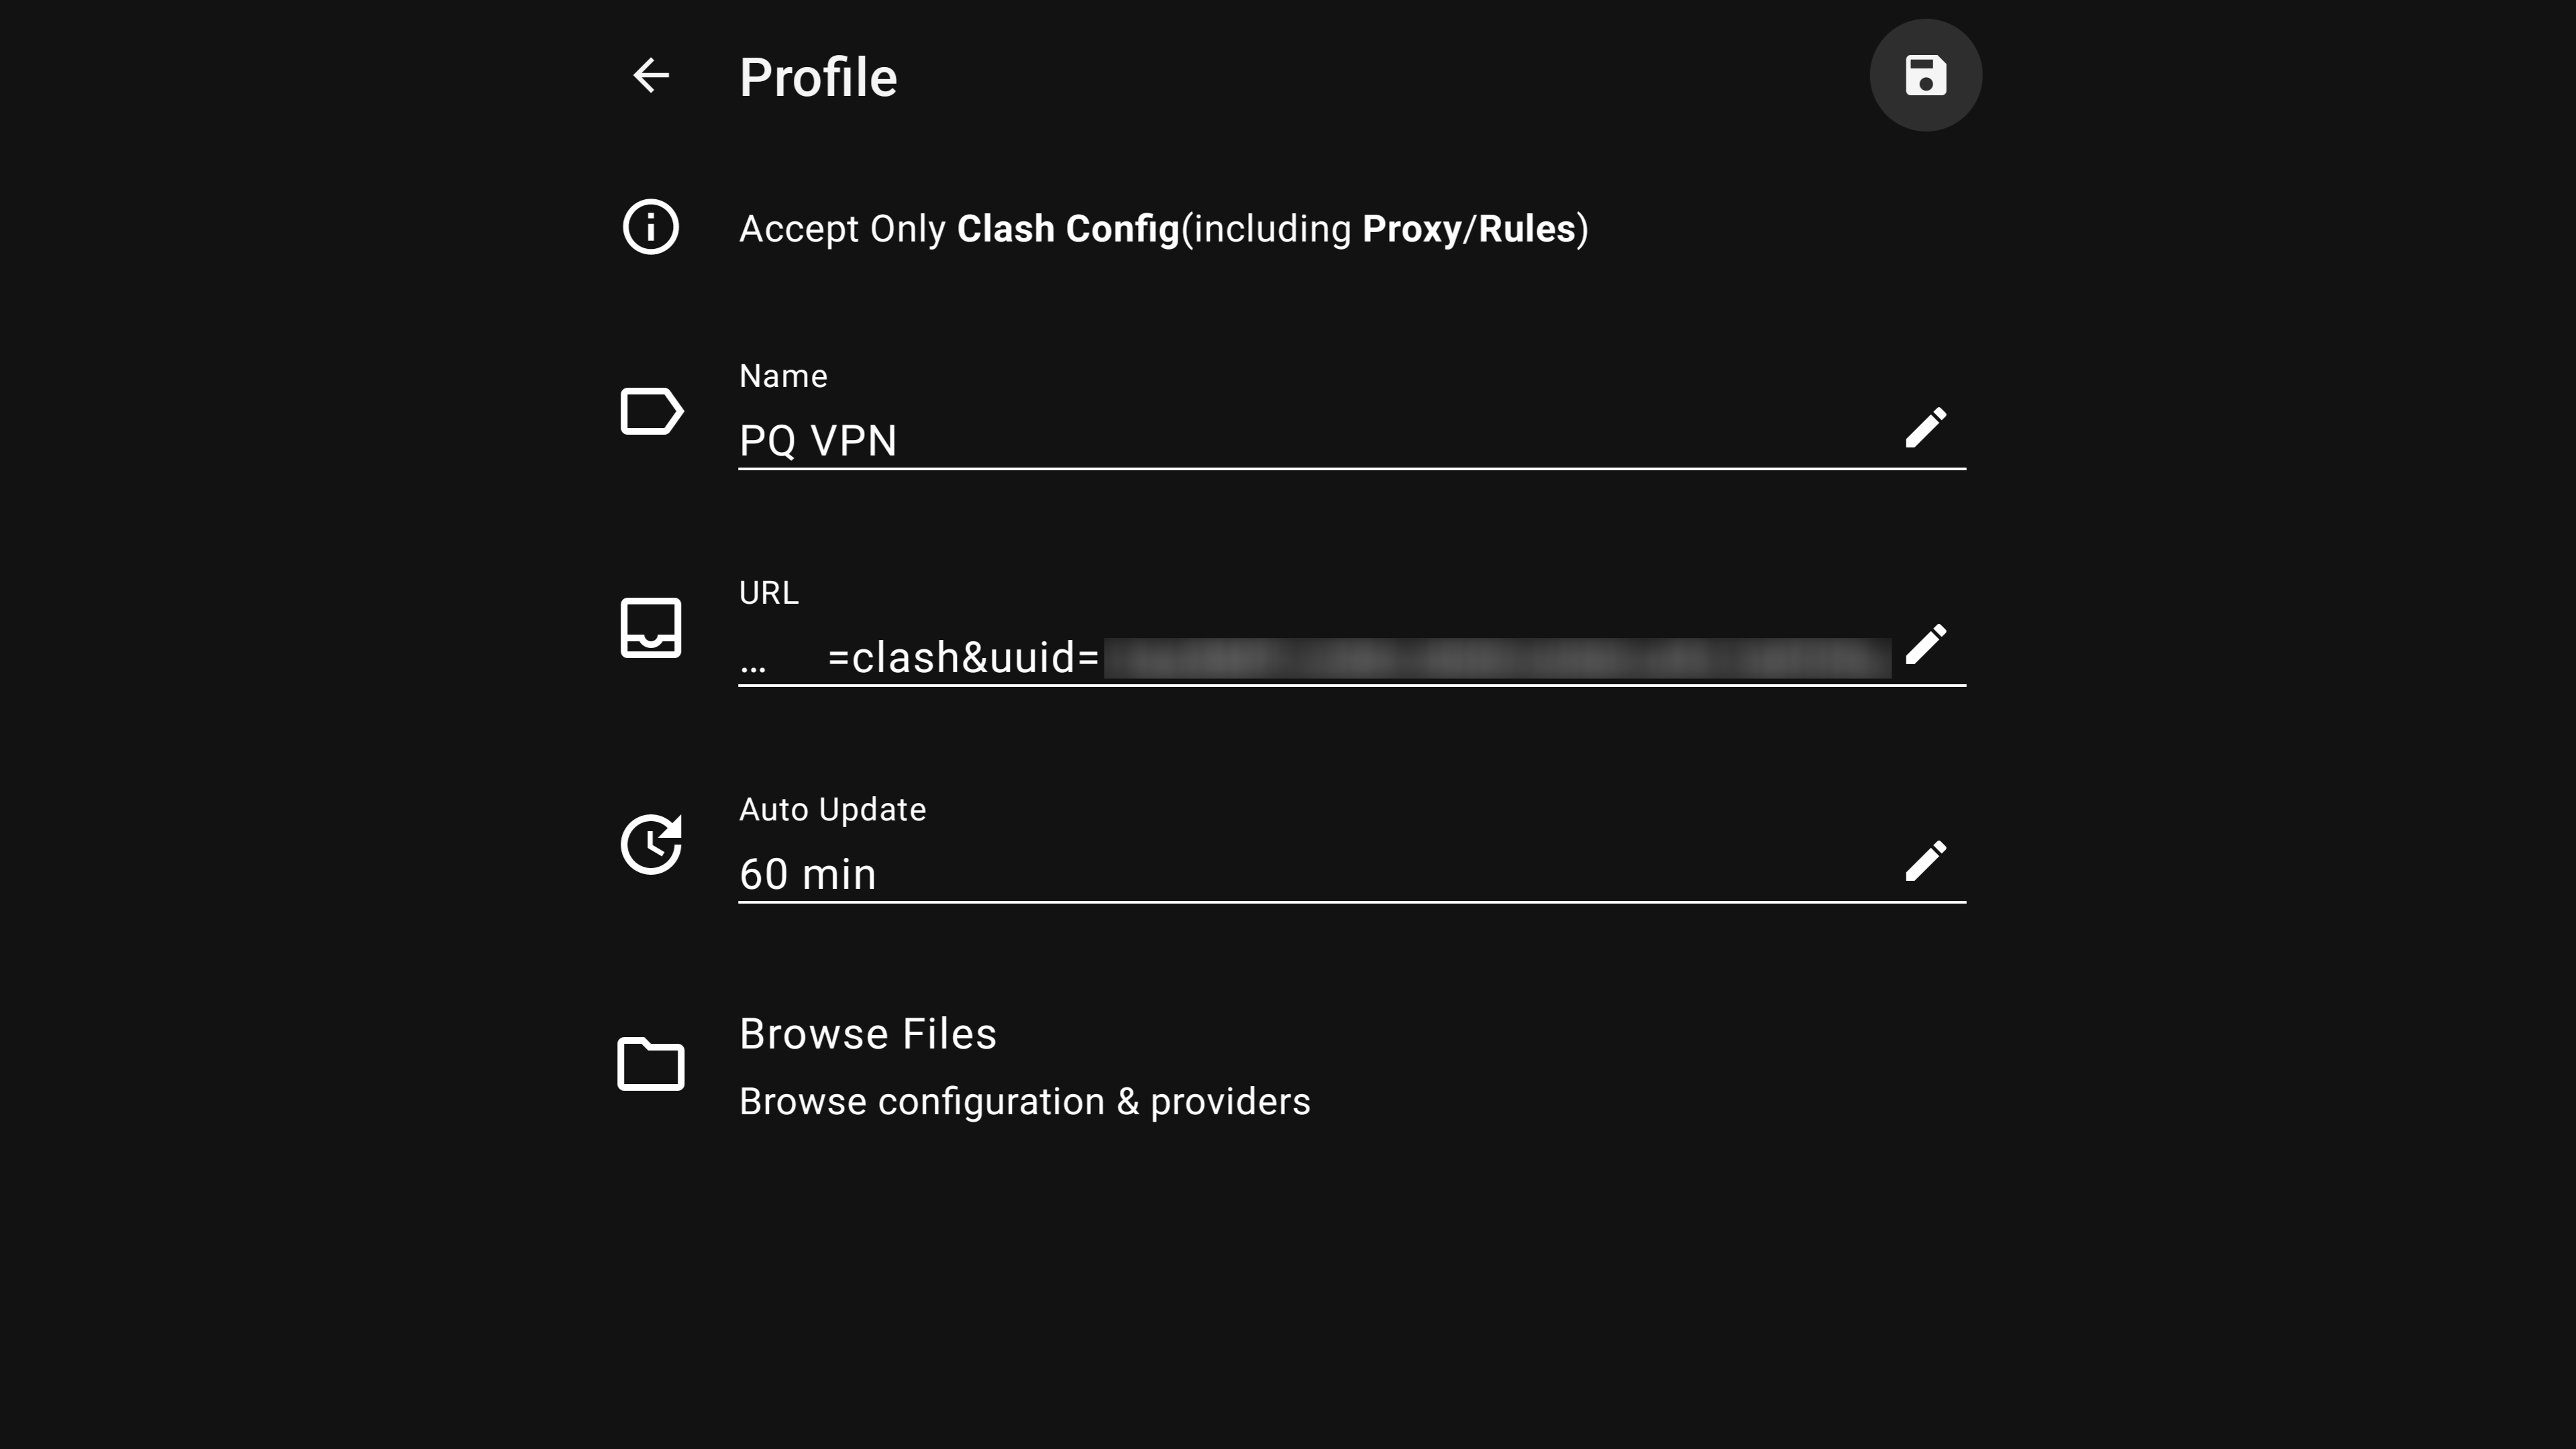
Specify the parameters as shown in the screenshot below:
Profile parameters when importing from URL
You can enter any name for the profile.
In the URL field, paste your subscription link in Clash format.
In the auto-update subscription field, you can set it to 60 minutes.
Automatic updates ensure that your server list remains up-to-date, for example, if a new server is added or an existing one is replaced, this information will automatically sync with your application.
Copy the link to your VPN subscription to the clipboard.
The subscription link is included in the email sent to you.
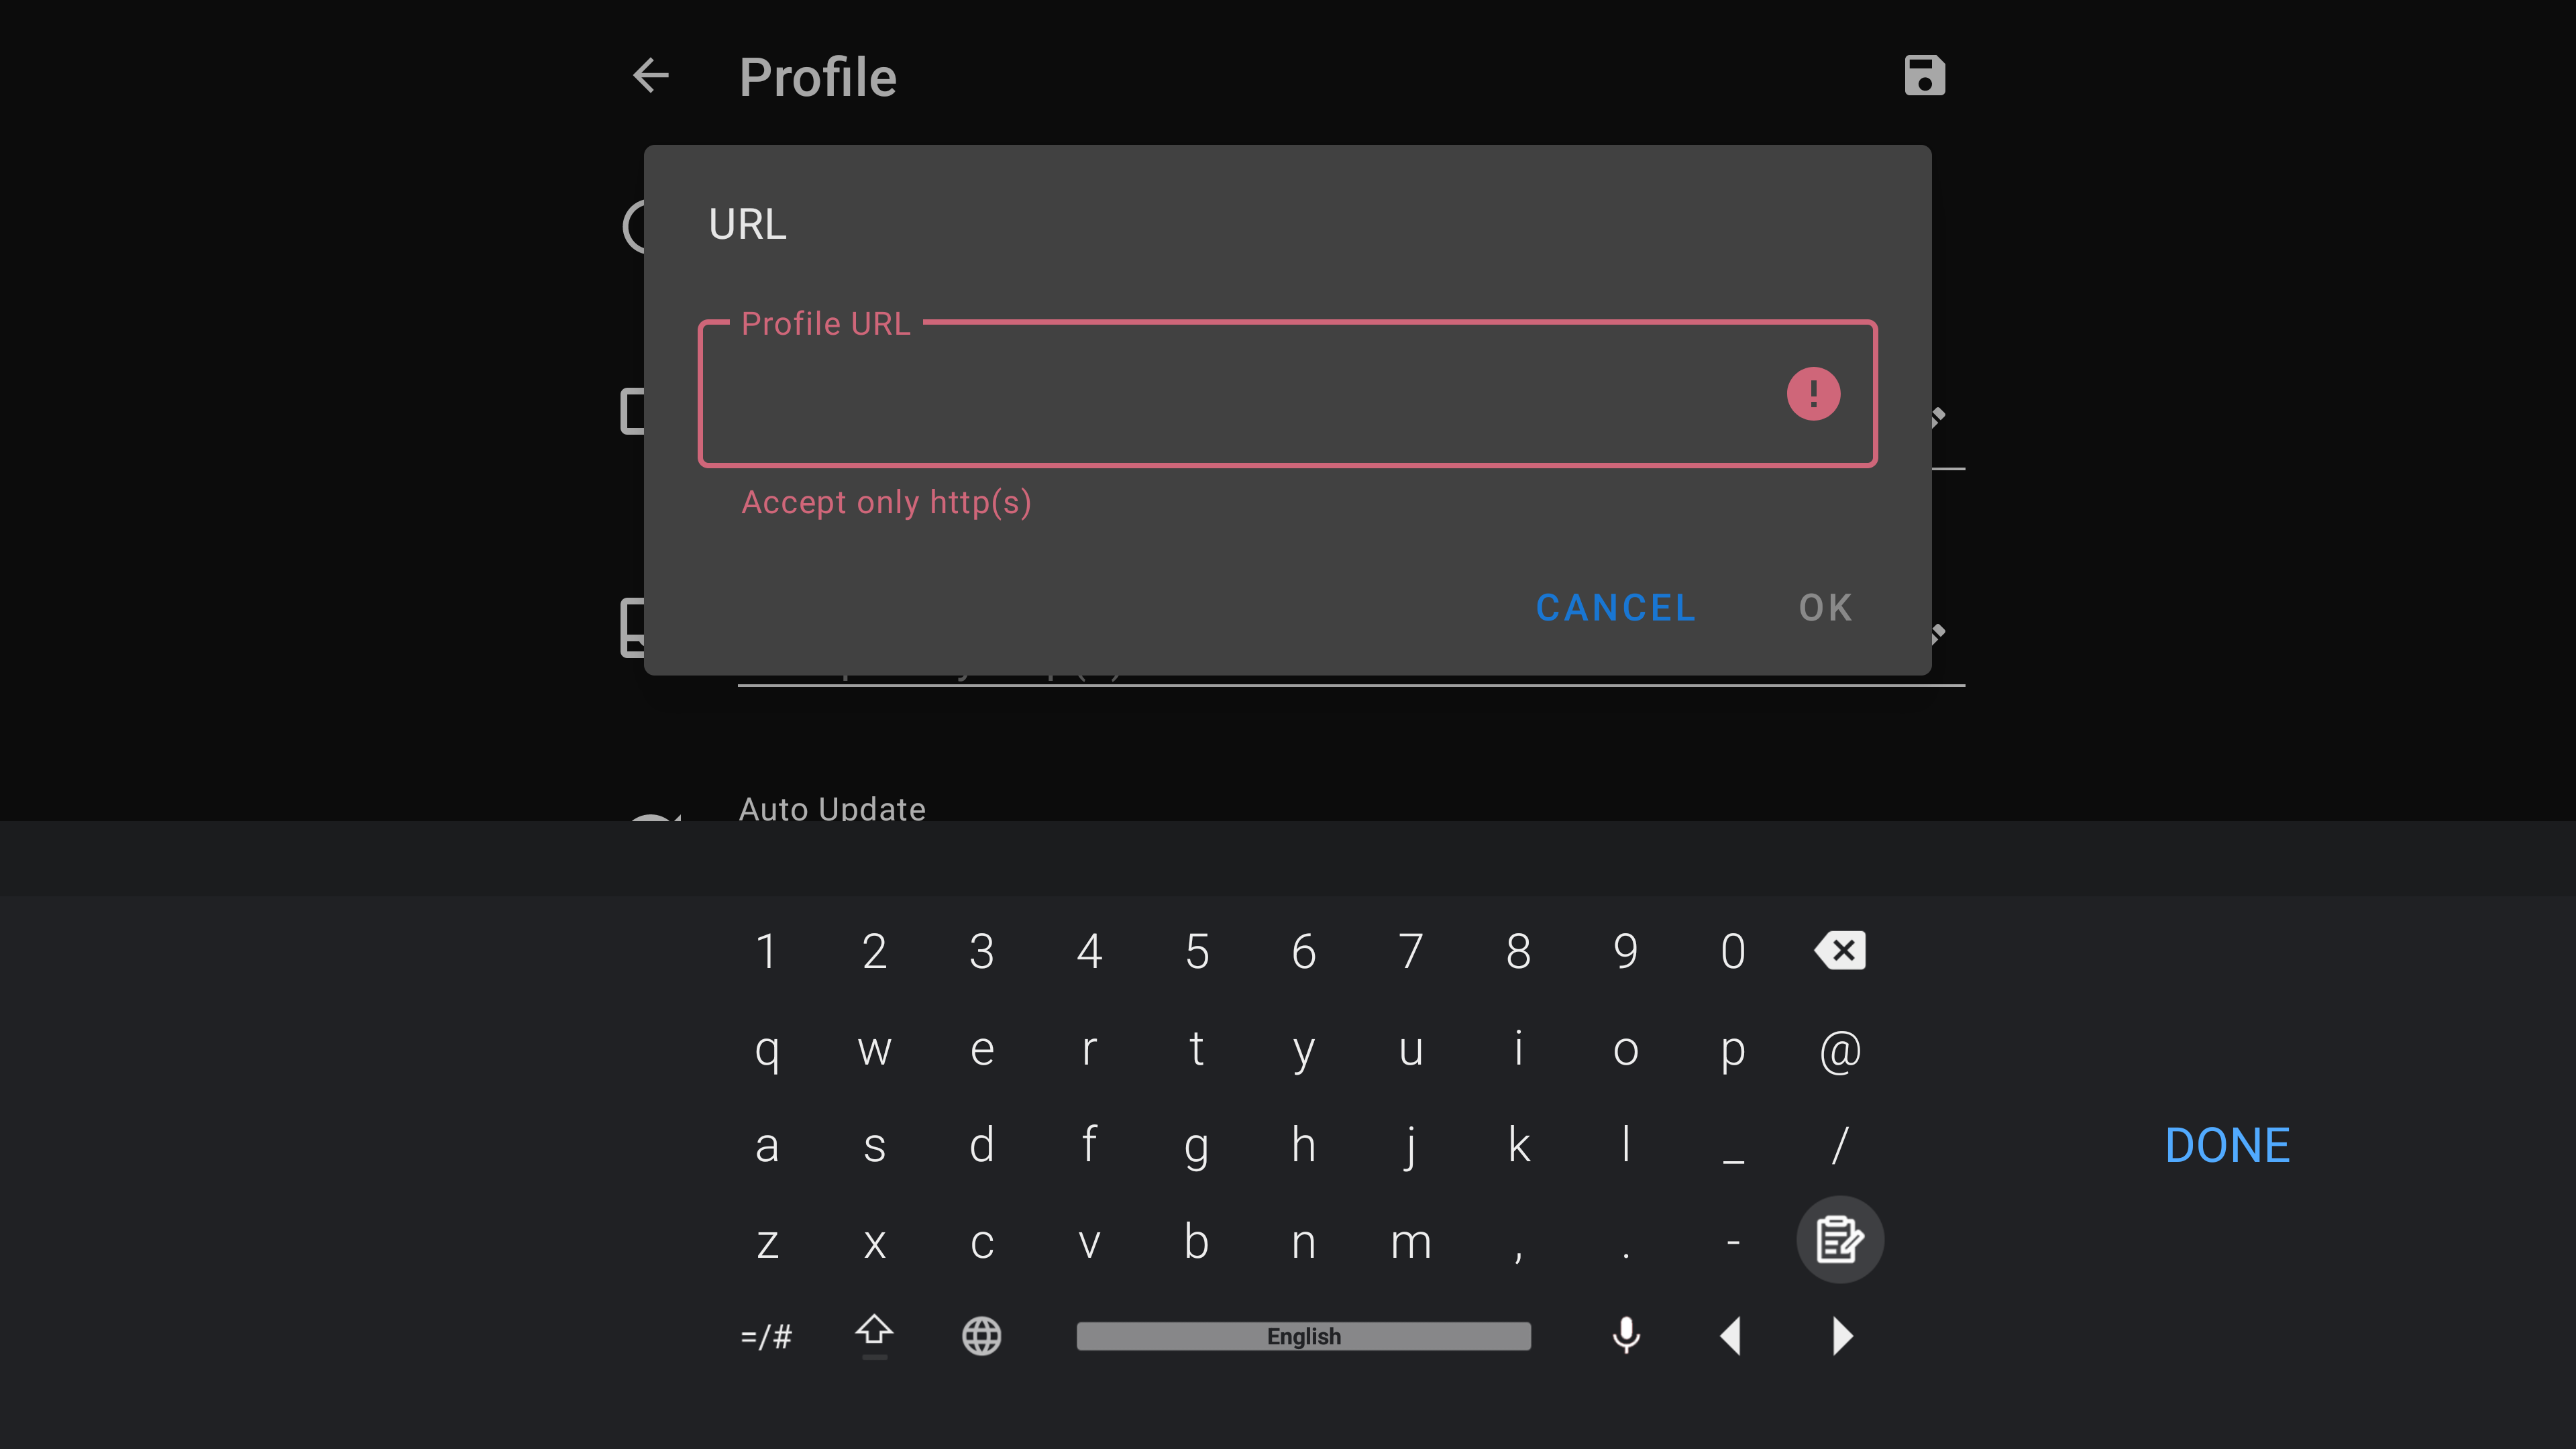
You can enter the subscription link manually (which takes longer and risks errors) or paste it from the clipboard. To do this, you can open a browser on your TV, access the web version of Telegram, for example, send the link to yourself in a chat, and copy it from there on the TV.
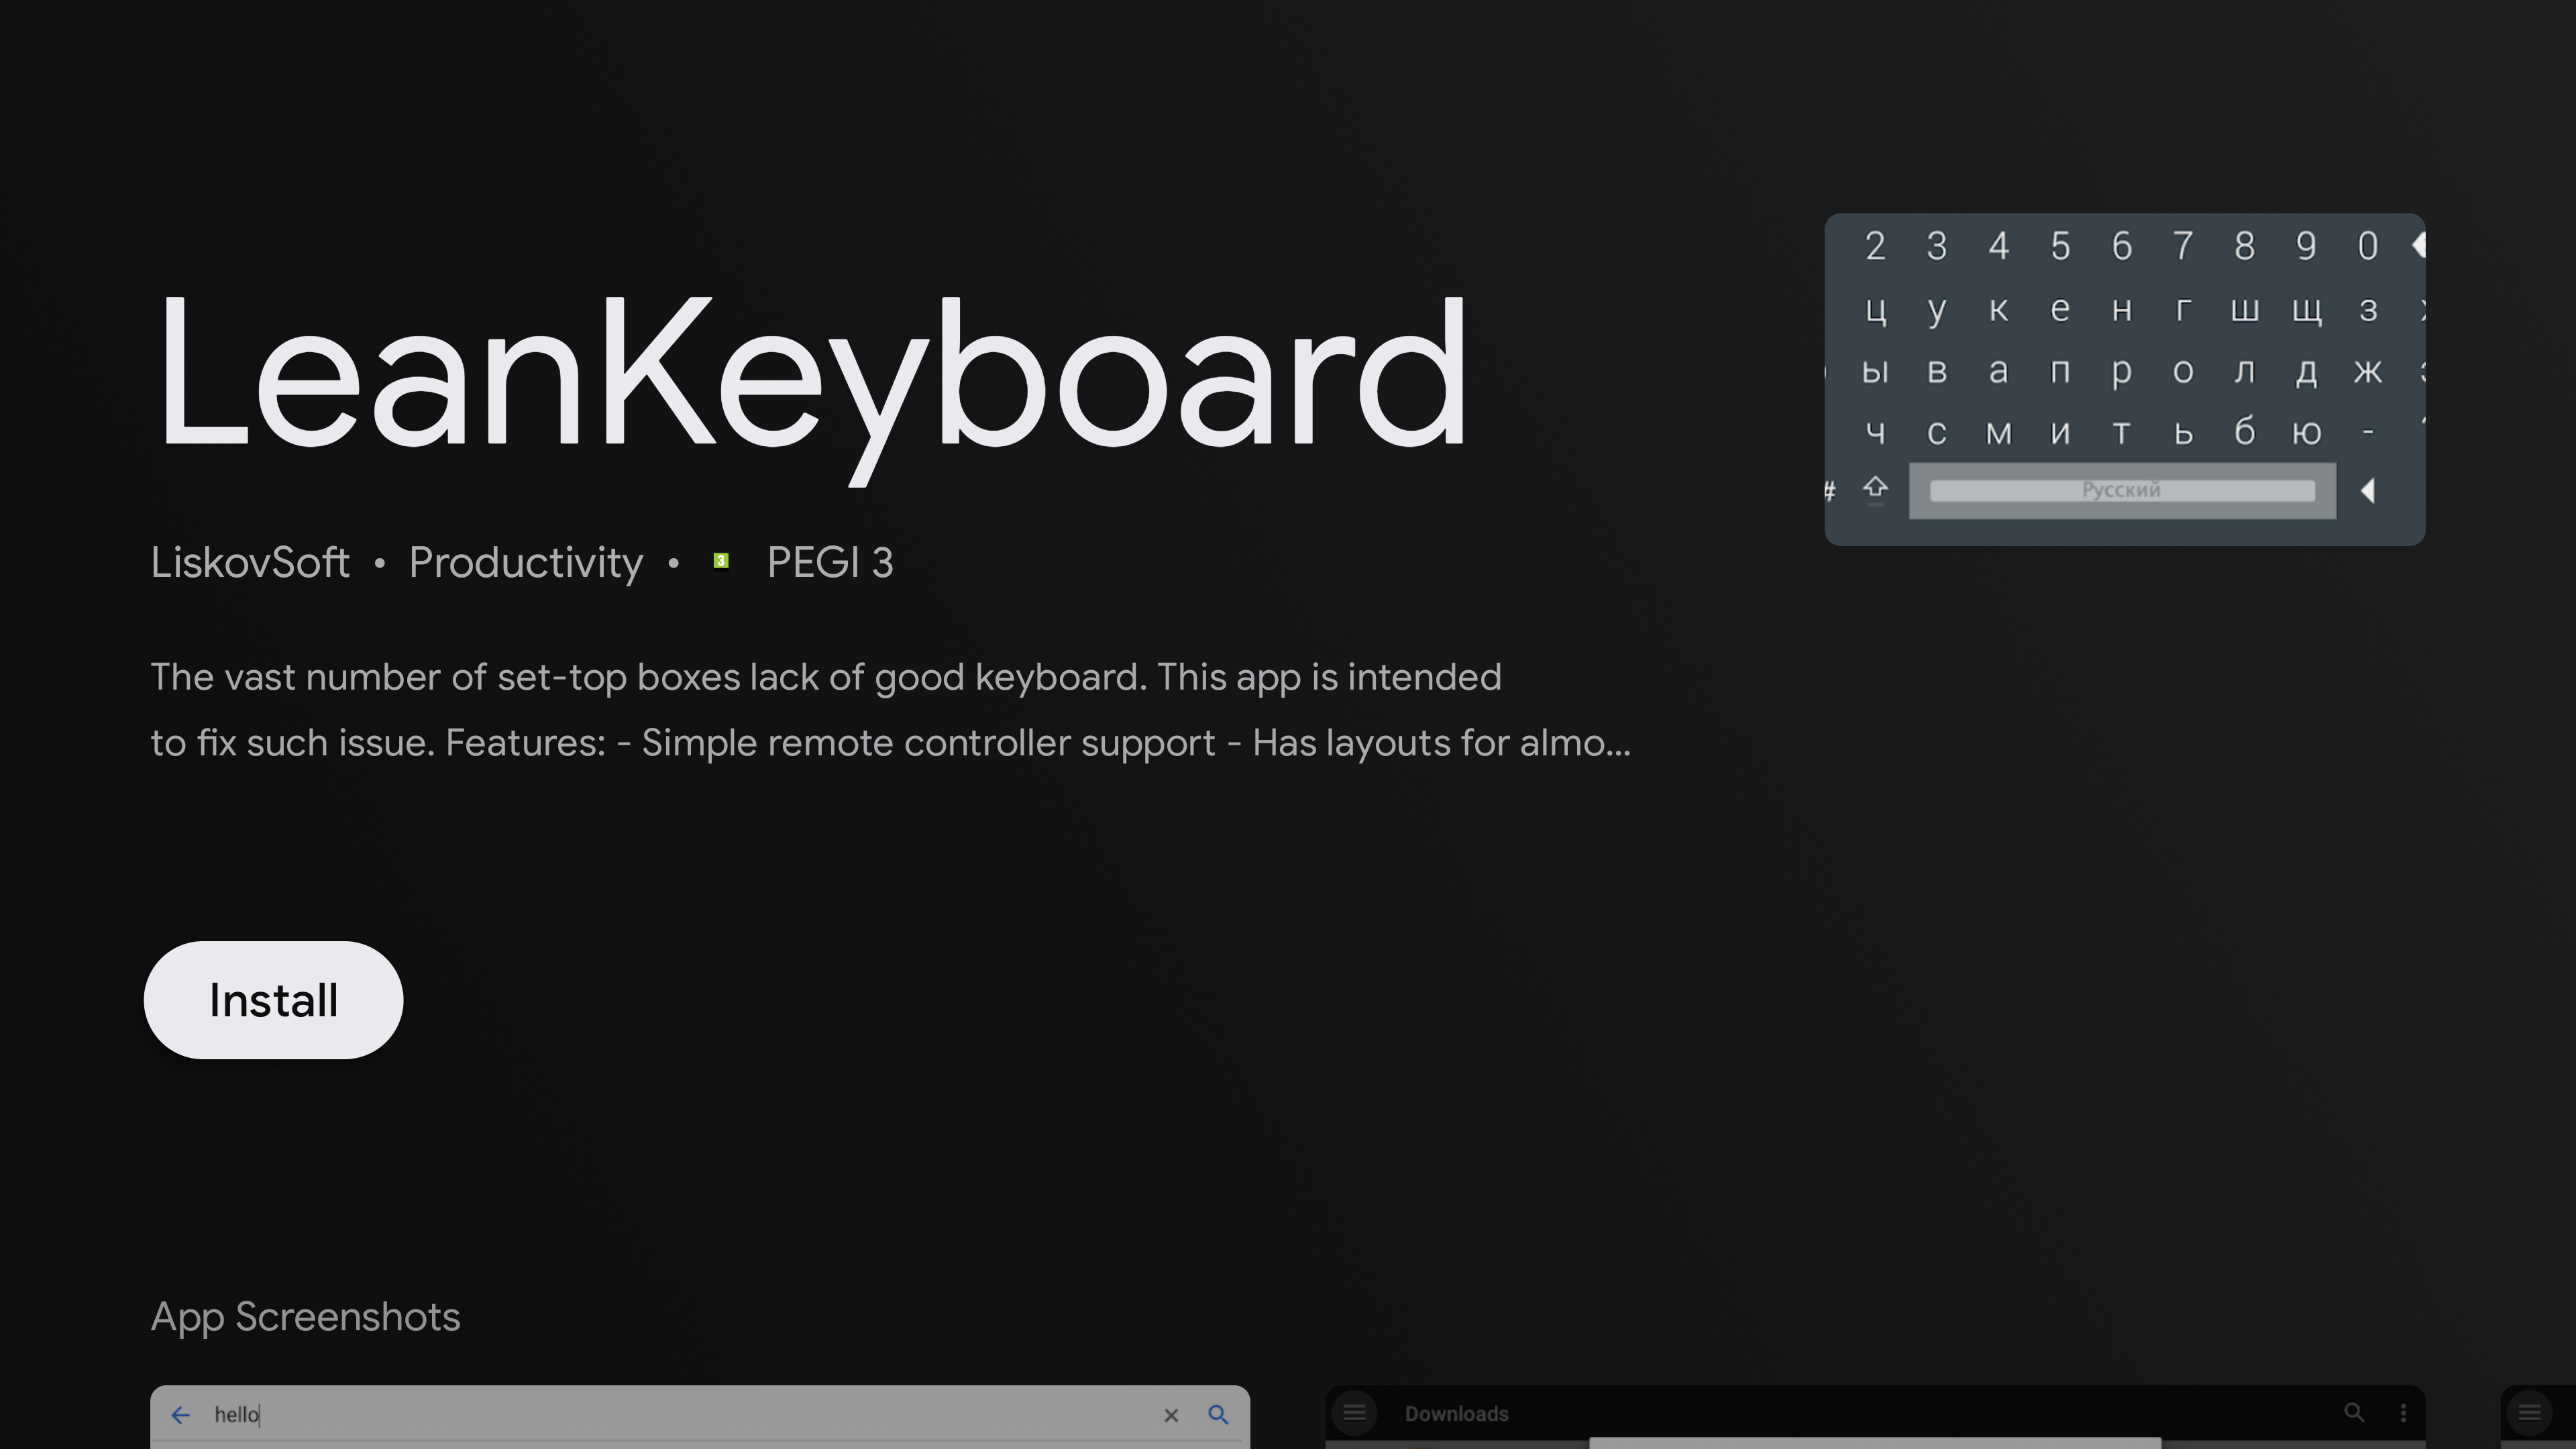
If the standard Gboard keyboard does not allow pasting from the clipboard, you can install a third-party keyboard.
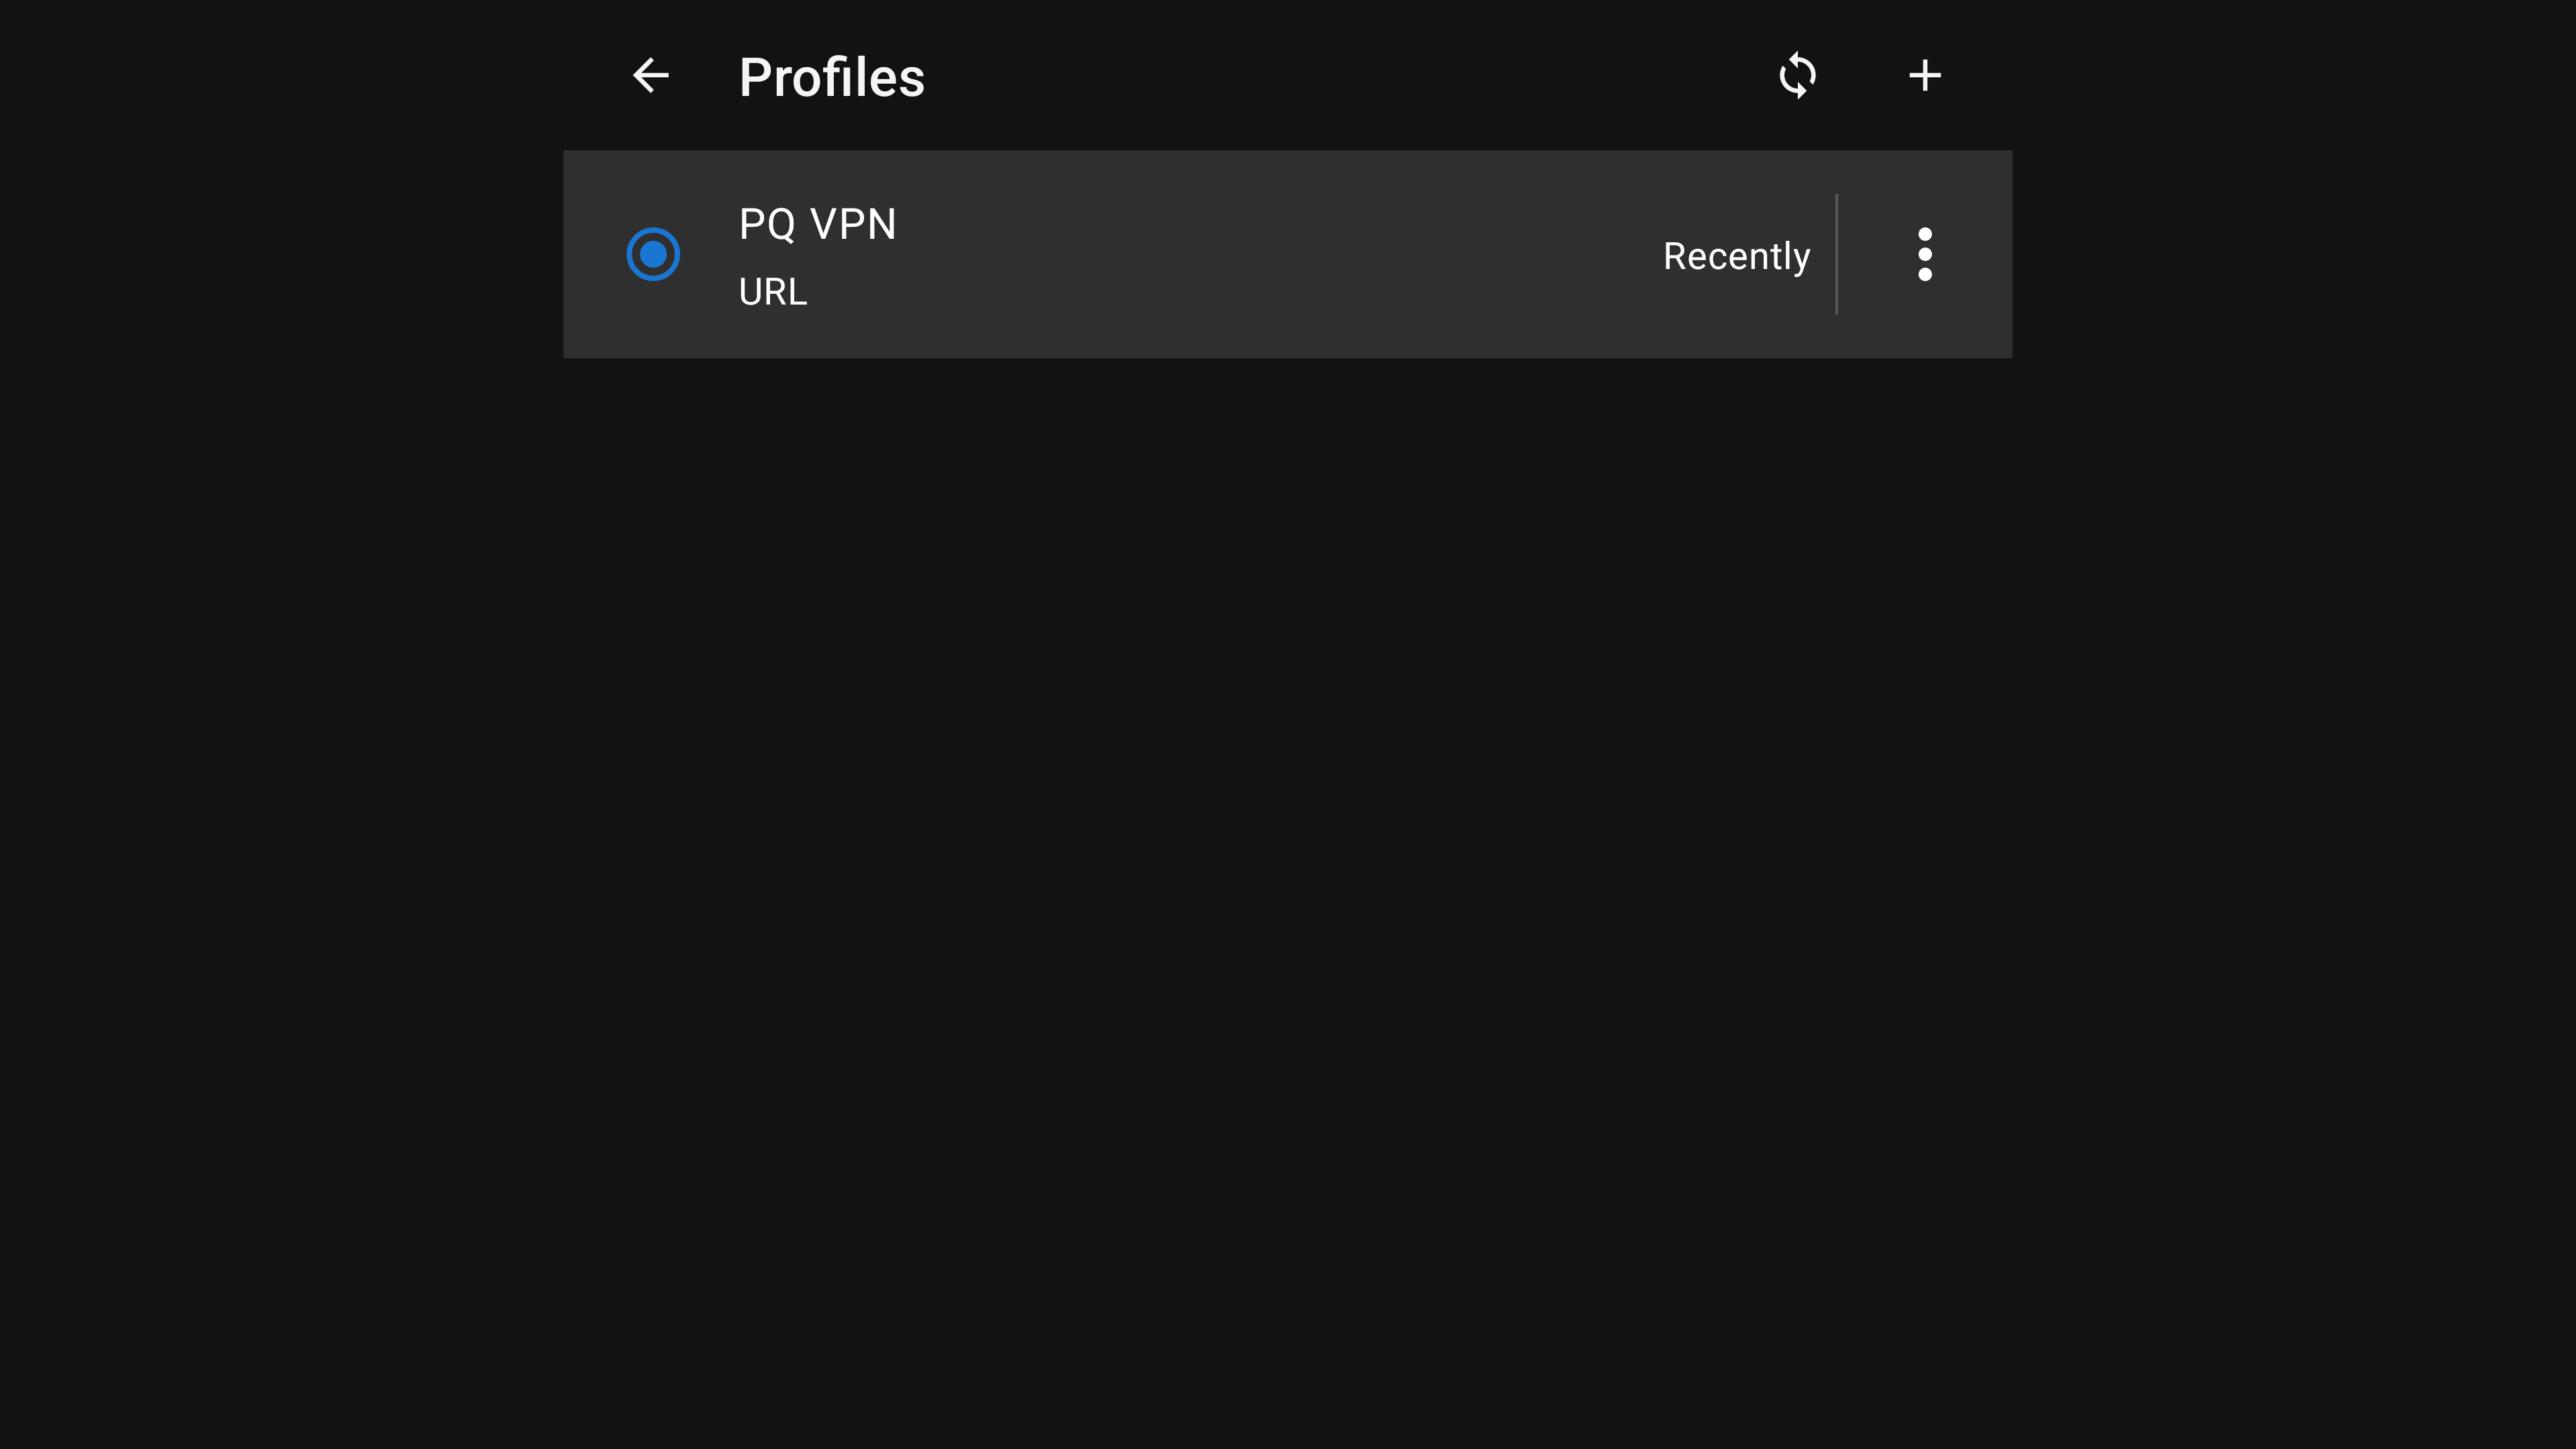
Save the profile by clicking the floppy disk icon at the top, then activate it by selecting the profile and clicking it (a round marker will appear on the left):
Profile activation after import
Return to the main menu of the application and start the VPN by clicking the first "Stopped" button:
First VPN connection
On the first connection, you will need to grant permission to establish a VPN connection in the system.
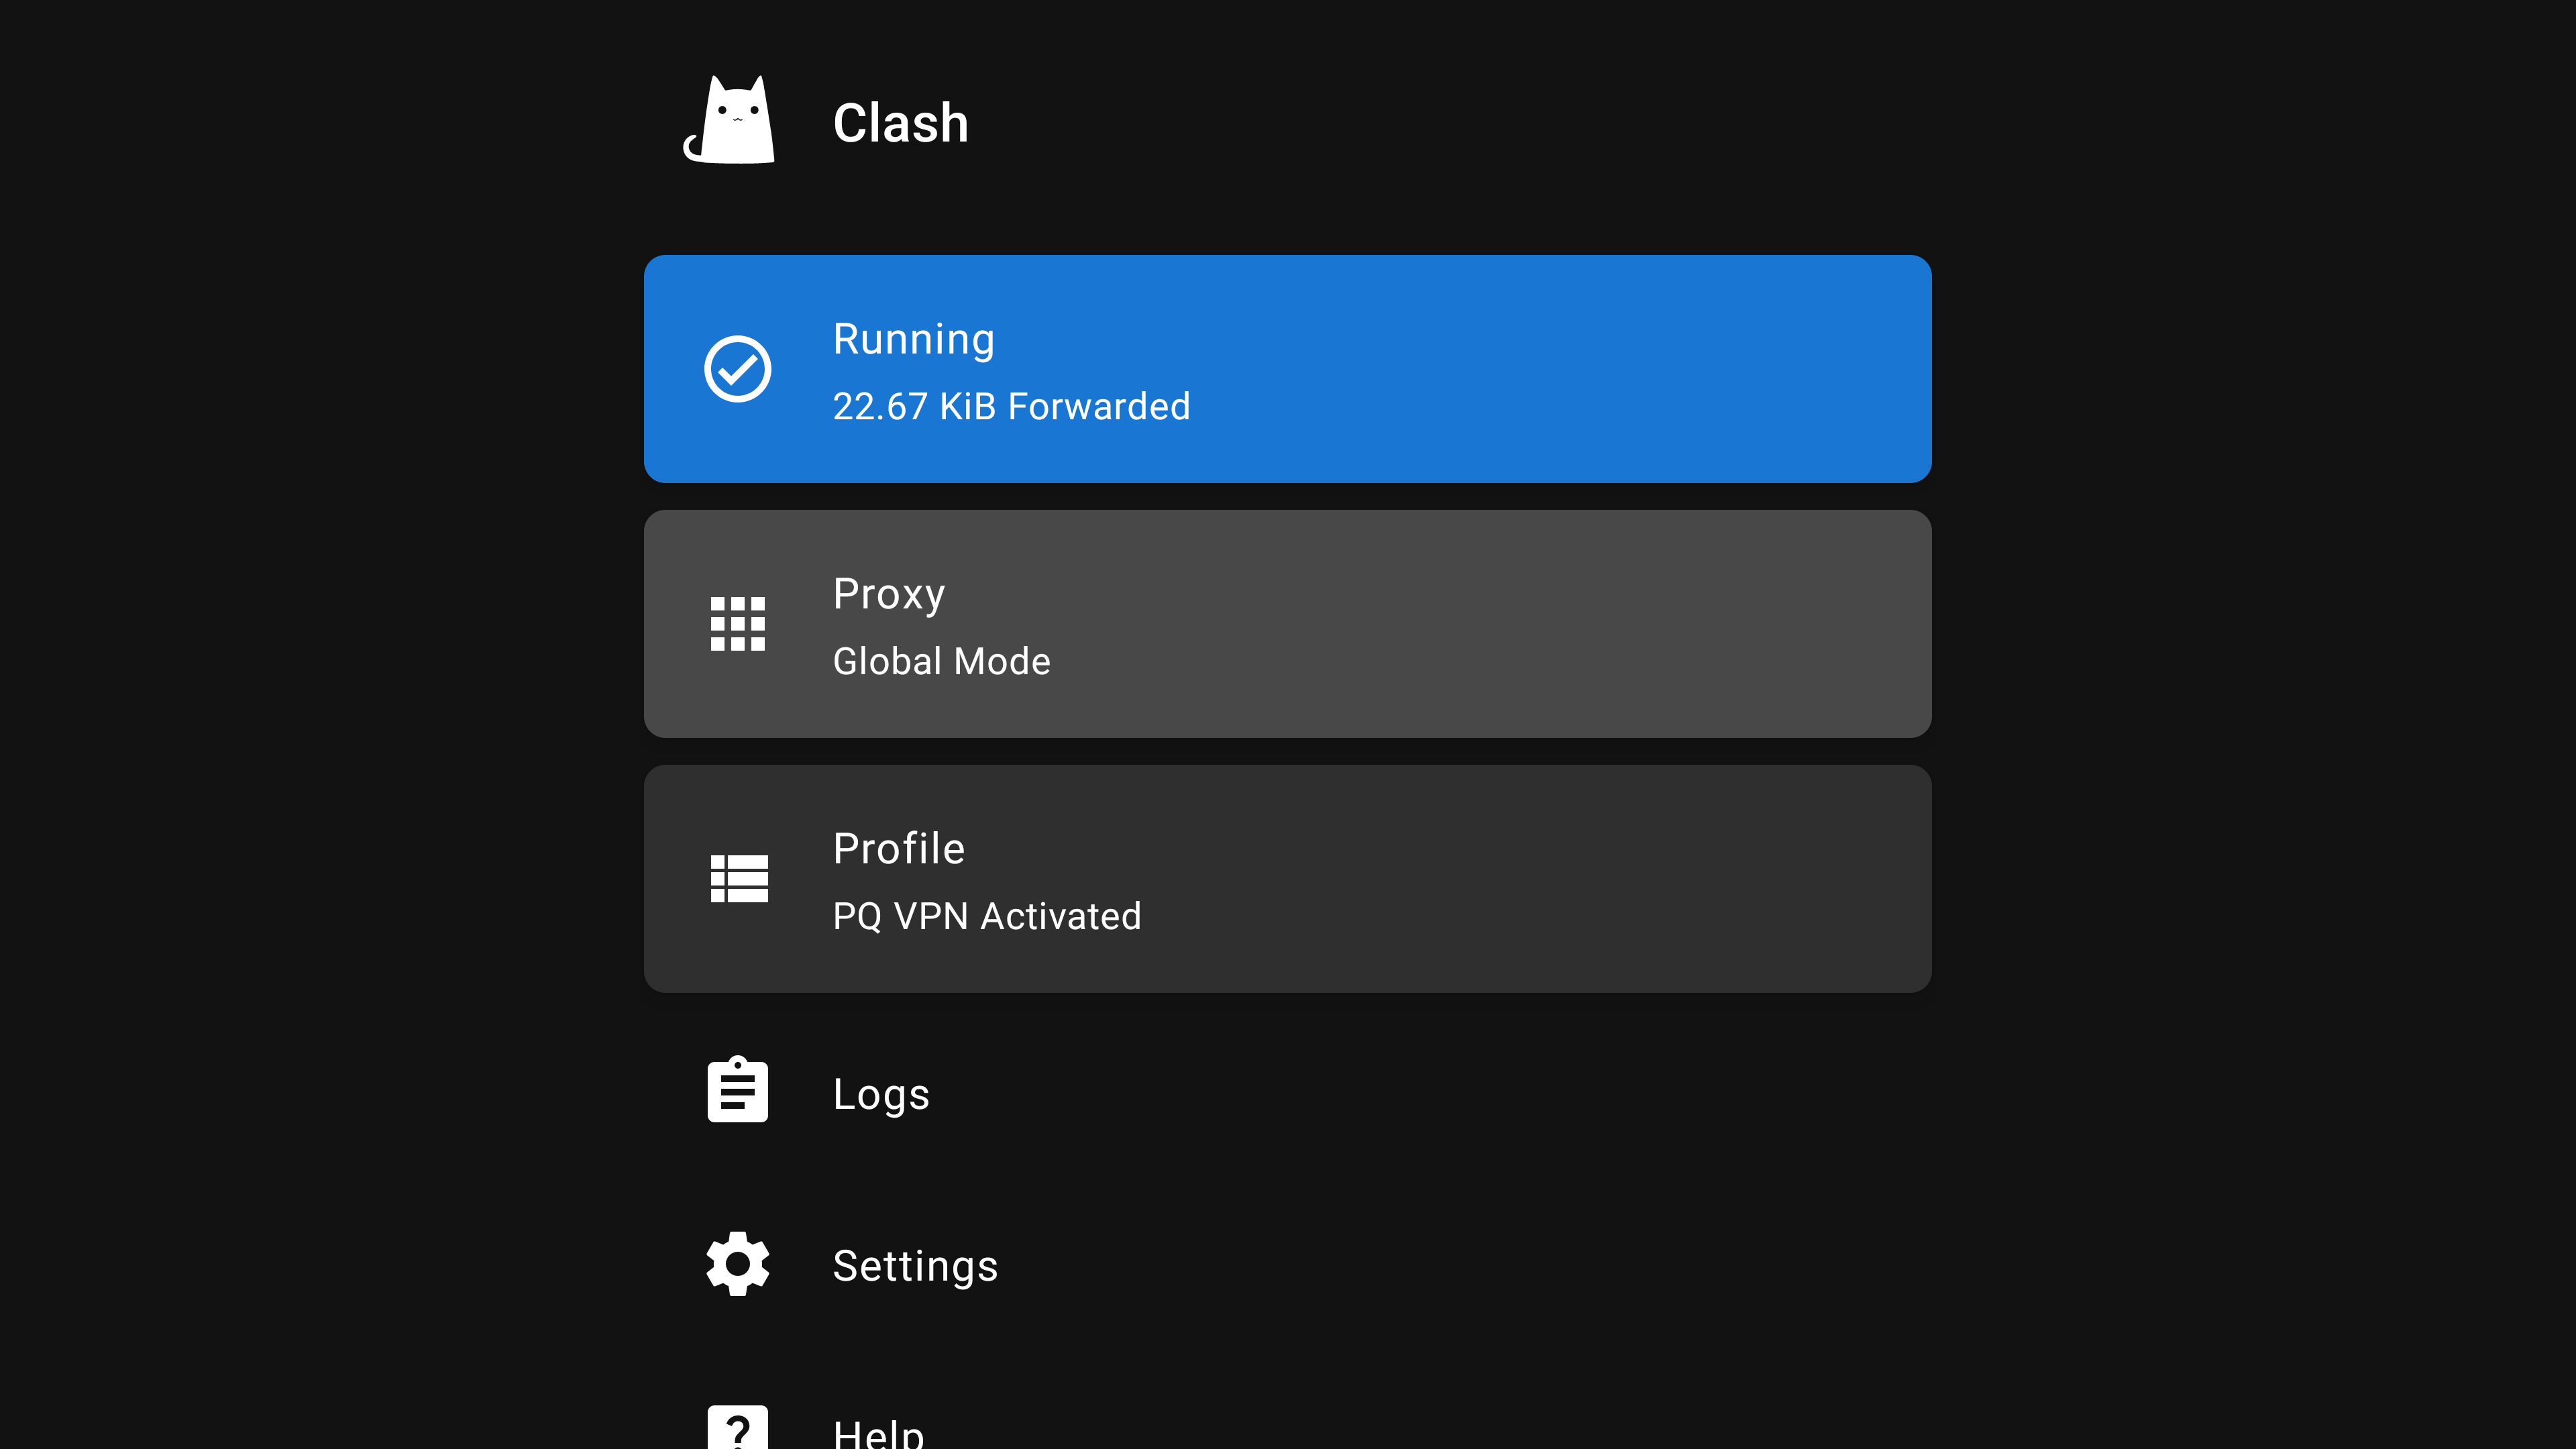
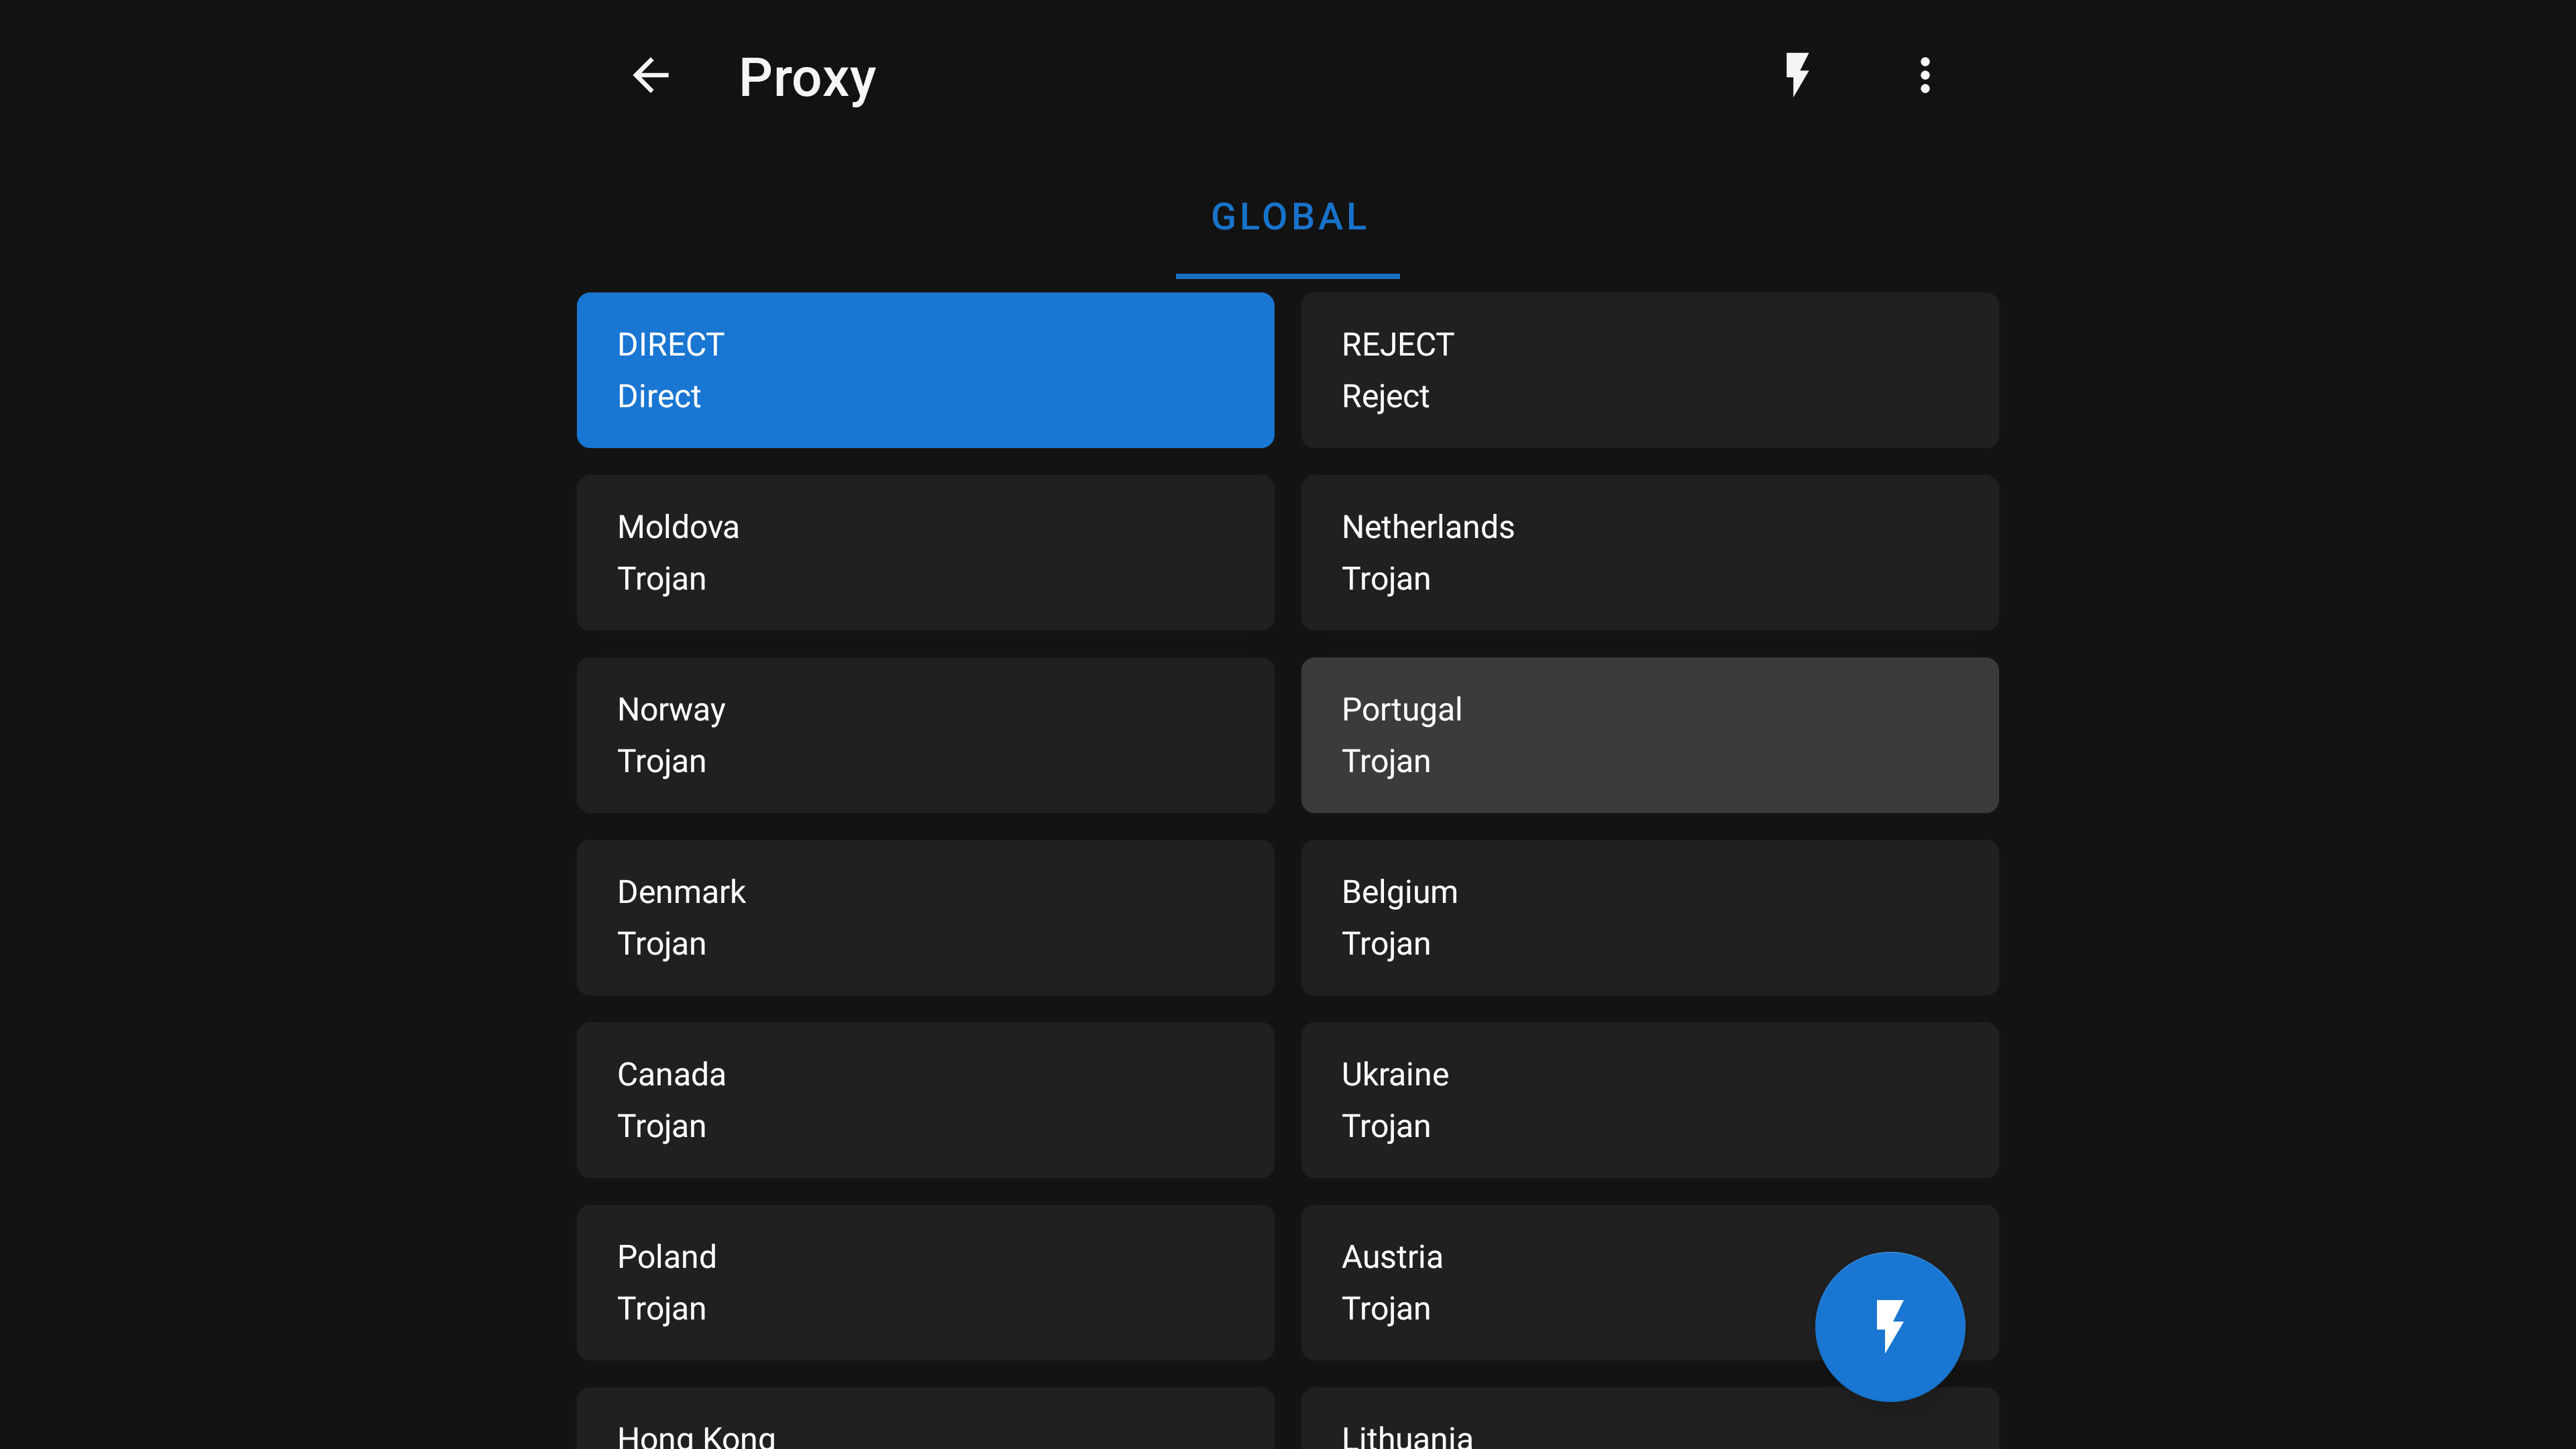
After activating the connection, the status will change to "Running", and the "Proxy" option will appear below. Go there and select the desired server:
VPN profile activation in the applicationLocation selection in the applicationNote: Among the servers, there are DIRECT and REJECT. DIRECT — a policy where traffic is sent directly, bypassing the VPN server. REJECT — a policy where all network traffic is blocked.
When the VPN is not needed, you can simply select DIRECT instead of turning off the application.
Check the VPN operation by opening YouTube or loading the website
https://whatsmyip.com from the TV browser:
Address check after connecting to a VPN server in Portugal
If successful, you should see that your connection is routed through another country. Note: The best performance is achieved with a wired connection. Speed depends on the geographical distance from the VPN server, backbone network channels between checkpoints, current load on your ISP and VPN server channels, your internet plan, and other factors beyond external control.
If the location is unstable, select another one for an optimal internet connection.
MacOS (Apple Silicon)
This instruction is only valid for Mac computers with Apple Silicon processors. If you have a Mac with an Intel processor, use the instruction for Intel processors.
Launch the application:
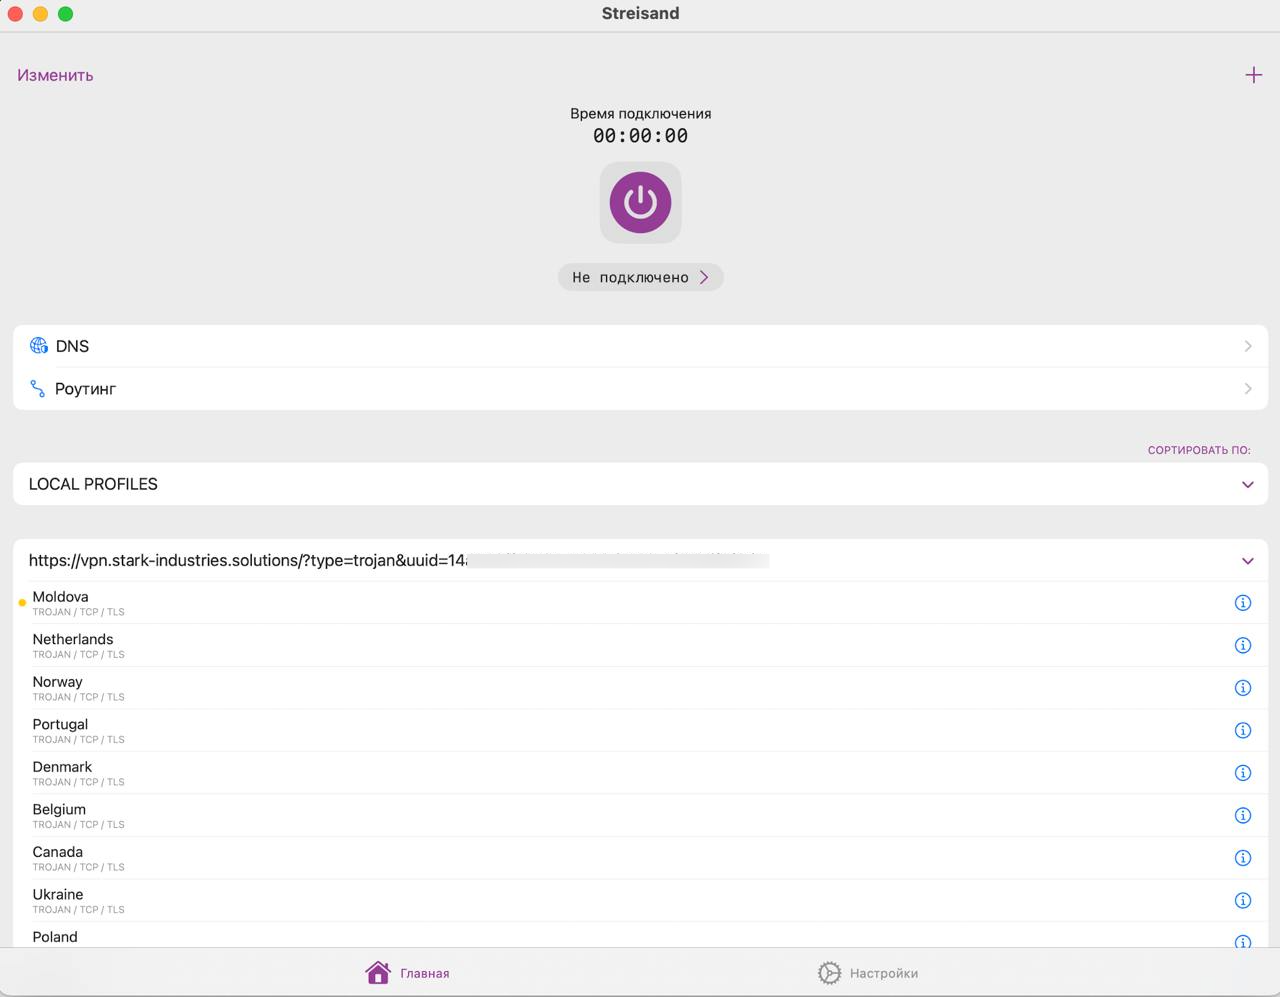
Streisand application interface
Copy the link to your VPN subscription to the clipboard.
The subscription link is included in the email sent to you. Note: You don’t need to copy the subscription contents; only the link is required for import.
Click the "+" button on the right and select "Paste from clipboard":
Import subscription in the Streisand application
Select the desired server and click the connection button at the top:
Connect to VPN from the Streisand application
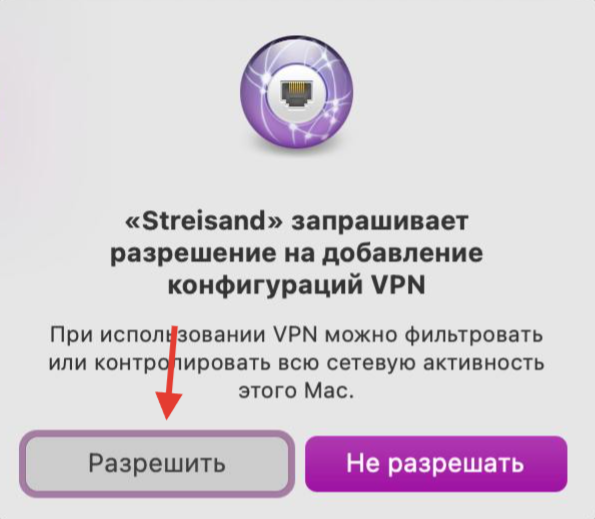
On the first connection, you will need to grant the application permission to create a VPN connection:
Permission request to create a VPN connection
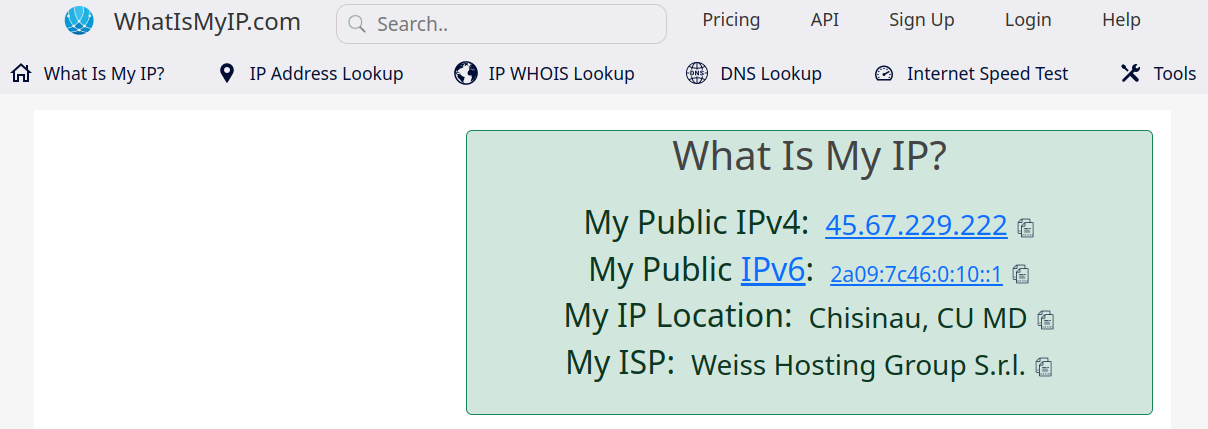
To check the VPN operation, you can open:
https://www.whatismyip.com/IP address check after connecting to the Moldova serverNote: The best performance is achieved with a wired connection. Speed depends on the geographical distance from the VPN server, backbone network channels between checkpoints, current load on your ISP and VPN server channels, your internet plan, and other factors beyond external control.
If the location is unstable, select another one for an optimal internet connection.
This instruction is only valid for Mac computers with Intel processors. If you have a Mac with an M processor (e.g., M1, M2, M3), use the instruction for Apple Silicon processors.
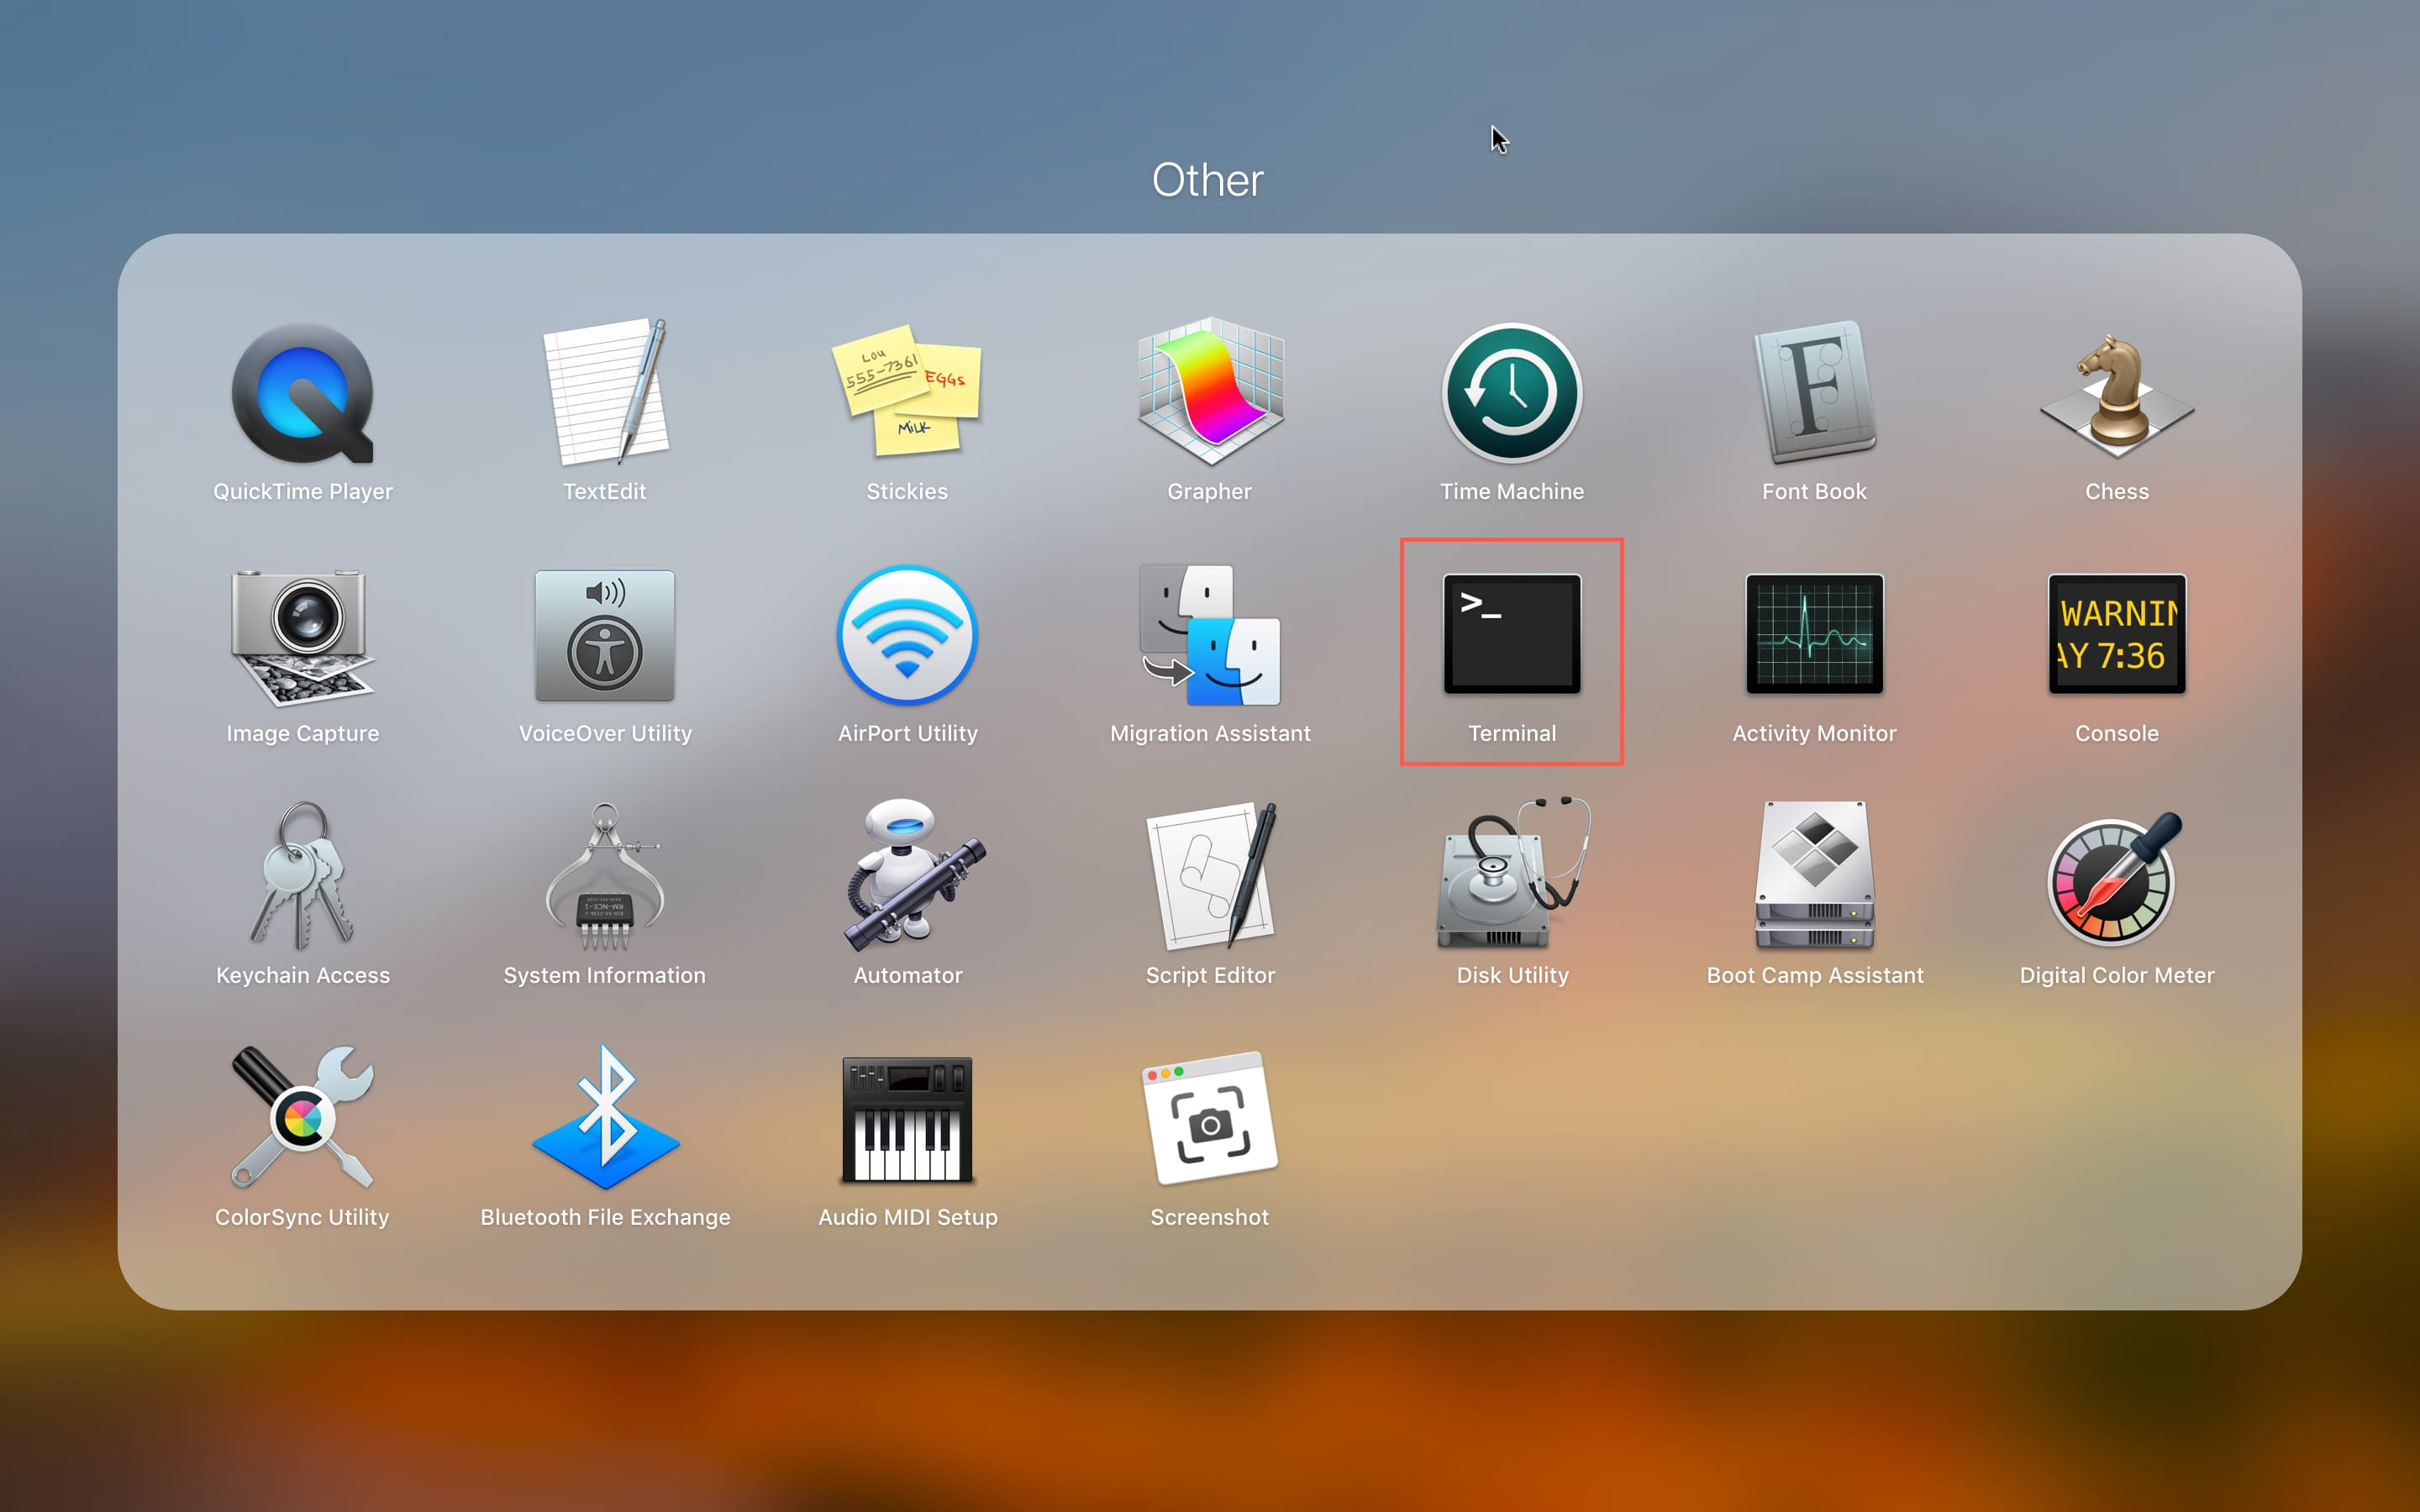
Open Terminal from the list of applications:
Terminal application in the list of utility applications
Note: The application requires Administrator rights to operate in TUN mode. In this mode, it creates a virtual network interface through which network traffic passes. This is necessary for all applications to access the internet via the VPN server.
During the application installation, you will need to enter the user password.
The password must be entered blindly; the characters you type will not be visible on the screen.
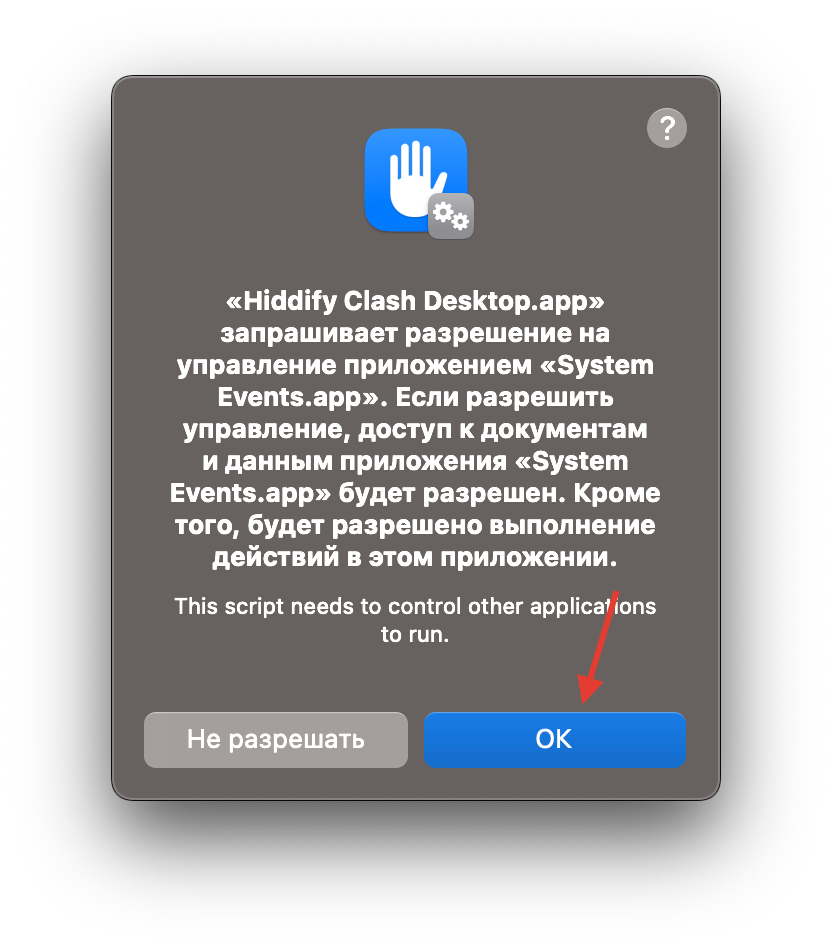
On the first launch, you may need to grant permissions. A shortcut to launch Hiddify Clash Desktop will be created in the general applications list:
Administrator permission request on first application launch
Go to Settings. Enable TUN mode:
Hiddify Clash Desktop application settings
Go to Profiles. Paste the subscription link and click Import:
Import subscription in the Hiddify Clash Desktop application
Copy the link to your VPN subscription to the clipboard.
The subscription link is included in the email sent to you.
Go to Proxies. Enable Global routing mode:
Application operating mode selection
Select the desired server and check the VPN operation:
Note: Among the servers, there are DIRECT and REJECT. DIRECT — a policy where traffic is sent directly, bypassing the VPN server. REJECT — a policy where all network traffic is blocked.
When the VPN is not needed, you can simply select DIRECT instead of turning off the application.
To check the VPN operation, you can open:
https://www.whatismyip.com/IP address check after connecting to the Moldova serverNote: The best performance is achieved with a wired connection. Speed depends on the geographical distance from the VPN server, backbone network channels between checkpoints, current load on your ISP and VPN server channels, your internet plan, and other factors beyond external control.
If the location is unstable, select another one for an optimal internet connection.
 Android

 iOS
iOS


 Windows


 Linux
Linux